Laser welding has become an increasingly popular technique in jewellery making due to its many advantages over traditional welding methods. In this blog post, we’ll explore the benefits of laser welding for jewellery making and why it’s becoming a go-to choice for jewellery manufacturers.
What could I use laser welding equipment for?
- Seam welding
- Soldering
- Re-sizing rings
- Re-clawing
- Re-tipping
- Fixing jump rings and chains
- Creating bezels
- Adding earring posts
- Filling porosity
What are the benefits of using laser welding equipment?
- Welding creates robust and lasting joints between different metals.
- Joins a variety of different metals including gold, silver, platinum and stainless steel.
- Specifically designed and developed for jewellers
- Great for repairs on ring shanks without causing discolouration
- Extraordinary cleanliness and precision of work
- High processing speed – can cut a 20 minute task down to 5 minutes increasing your productivity.
- More cost-effective compared to traditional soldering techniques, especially for professional jewellers.
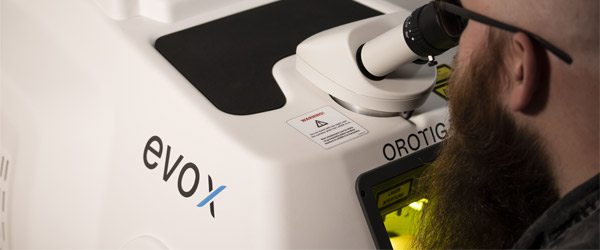
How Does Laser Welding Work in Jewellery Making?
Laser welding works by using a highly focused laser beam to join two pieces of metal. The laser beam generates intense heat that melts the metal, creating a precise weld that is both strong and durable.
What makes laser welding such a great process for jewellery making is that allows for the precision needed to join delicate metals and intricate designs together. Plus as the bond created is strong, its ideal for jewellery that will be subject to wear and tear.
Here are some basic steps on how to use a laser welder:
- Before using any laser welder read and set up your welder to the manufacturers instructions. Ensure the machine is clean and all the component parts are properly connected.
- Make sure to wear any appropriate safety gear, and to ensure the area is well ventilated and free from flammable materials
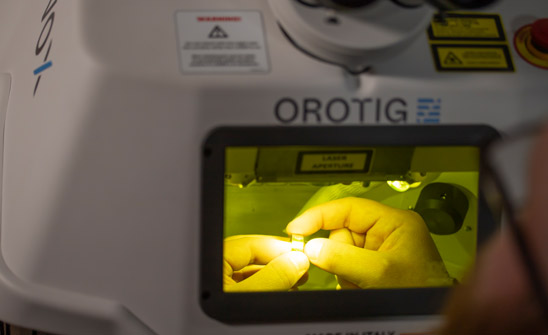
- Place the pieces of metal you want to weld into the machine’s welding chamber, making sure they are properly aligned and secured
- Once you have adjusted the settings and positioned the pieces, activate the laser beam using the foot pedal or handpiece. Move the laser beam slowly across the welding area.
- After welding, polish out any rough spots or discoloration around the weld. Clean the metal pieces thoroughly using a degreaser or alcohol.
- Inspect the weld for any defects or imperfections, such as cracks or porosity. If necessary, repeat the welding process to improve the weld quality.
Are you interesting in purchasing a laser welder? Take a look at our range here.

Cooksongold