Clay is a great medium to produce quick and varied designs. Fimo, PMC and modelling clay can all be utilised at this time of year to produce trinkets, charms and decorations that will give your Christmas a unique touch.
Preparation
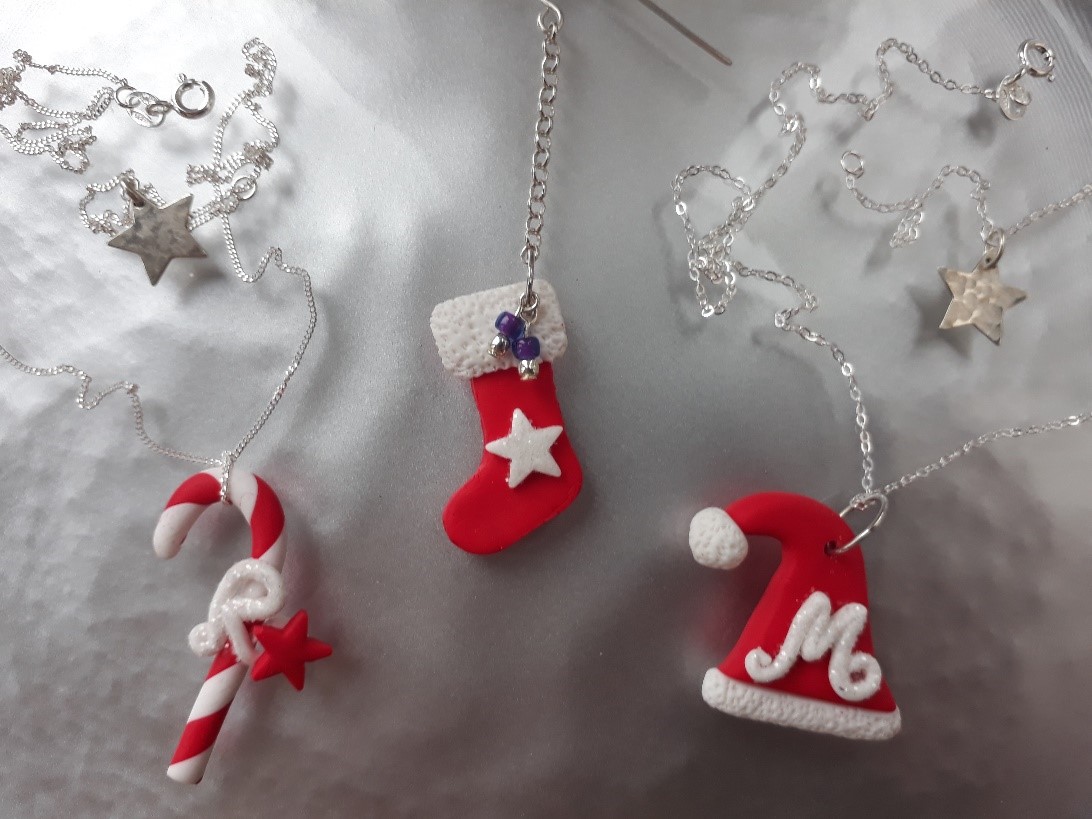
When working with clay, the techniques used are universal and can be applied across a broad spectrum of products available. Molding, sculpting, stamping and texturing are just some of the methods that we have used to make the examples above. These are techniques that anyone can try, regardless of age or skill.
We decided to experiment with Fimo due to its bright red and white Christmas colours available. A little goes a long way, as so many items can be produced from these little 85g blocks.
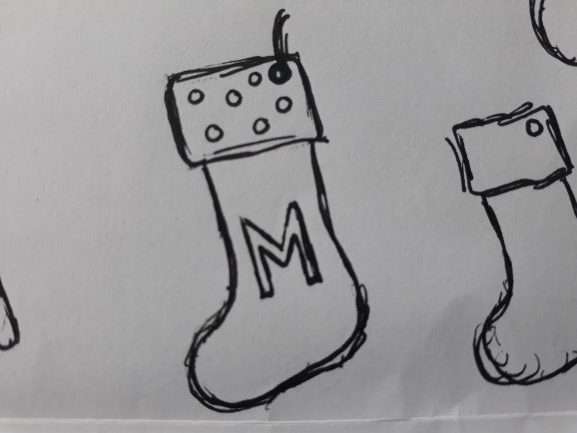
We suggest before you get started to plan your ideas. Our Christmas ideas involved many of the usual motifs associated with Christmas such as stars, Christmas Stockings and Santa Hats. We also incorporated some personal details in the form of Initials and so used this as the basis for the designs.
How to make clay Christmas decorations
Step 1: Roll and shape
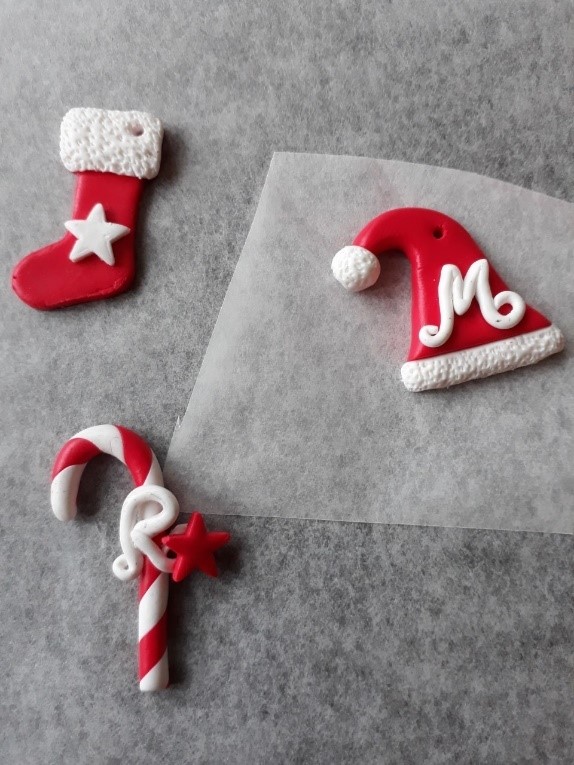
Make the stocking and hat by rolling out the red Fimo on greaseproof paper and then mark the outline out gently with a knife before cutting (You can mold the piece, but the shape is crisper when it’s cut out).
To make the candy cane twist together two equal, rolled out lengths of clay, then rolled smooth into one sausage once you have the desired effect.
Step 2: Make the details
Make the details separately to the main body of each piece, as these will be glued on later.
- To make the top of the stocking, repeatedly push in the pointed end of a burnishing tool into a rectangle of white Fimo to create a fluffy texture.
- To make the star, stamp out using small plastic cutters into white Fimo.
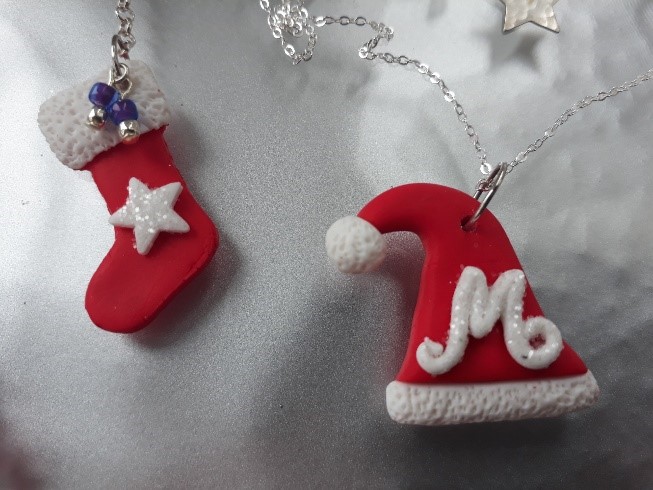
- The letter ‘M’ was created from a very thin length of clay which was rolled until thin enough to then be manipulated into shape.
Step 3: Add jump ring holes
When making any sort of model like this don’t forget to make a small hole, not too close to the edge, which you can use to suspend the piece once finished. (we used a small drill bit which can be gently twisted through).
Step 4: Bake
Bake all of the pieces separately on a sheet of grease proof paper, following the instructions provided with the clay.
Step 5: Glue the details
Paint Fimo glue onto the details then gently press then onto the hat, stocking or candy cane and hold in place for a few seconds. To make the pieces catch the light and sparkle add some subtle glitter.
Step 6: Add a jump ring
Add a large jump ring to allow for the thickness of the clay and then decide what fittings to attach. Simply thread through wire or cord to create decorations to adorn your Christmas tree . If you use an oversize jump ring and add some beads, they would be equally suitable as glass charms.
In this instance, these models were designed so the hat and candy cane became pendants with the addition of a chain and some charms. These Christmas Stocking hung very nicely so we added a long chain and an ear wire to create a singular drop earring. Details were added using dropper wires and beads to add additional colour and interest.
Clay is such a gratifying material to work with as the results are quick and if you make a mistake you can simply roll it out and start again. Our advice would be don’t be too rigid with your designs; it’s better to work within the parameters of the material itself and adapt accordingly, that way you will have more success. Also don’t be afraid to mix other materials into your final design. Gather together your beads, sparkles and charms to add texture and colour and you may find the whole family wanting to have go.
Written by Joanna Varney
Joanna has worked in and around the jewellery industry for well over 20 years. She has designed and created her own pieces as a designer maker, as well as working in jewellery retail on a much larger scale, producing designs and NPD for some of the UK’s largest high street retailers

Cooksongold