Strip soldering, or stick feed soldering, is a great technique for pieces which require either a large amount of solder or a lengthy solder join. It can also be useful in areas that pallions of solder would be otherwise difficult to position. It involves a direct feed of solder which is drawn along a seam using heat, thus creating a very neat join.
Strip soldering is often used for larger items in silversmithing, but can also be useful for smaller objects with long seams or seams which would be difficult to clean up post soldering, so it is a useful technique to learn. Although a little tricky to master, it will ultimately save you a considerable amount of time, particularly if you are making larger objects, so it is worth persevering.
Note: one of the key things to remember when attempting strip soldering is not to apply the flame directly to the end of the solder, as this will simply melt it onto your work. Instead, the solder needs to be positioned towards the end of the seam whilst the heat is progressively directed along the full length of the join to draw the solder along.
How to strip solder a curved strip onto a flat surface:
1. Anneal the curved strip and file the edge to be soldered, so it is smooth and flat.
2. Check that the curved strip fits tightly against the flat surface, and ensure there are no gaps.
3. Sand the flat surface with emery paper to ensure it is grease free, and do the same with the edge of the curved piece.
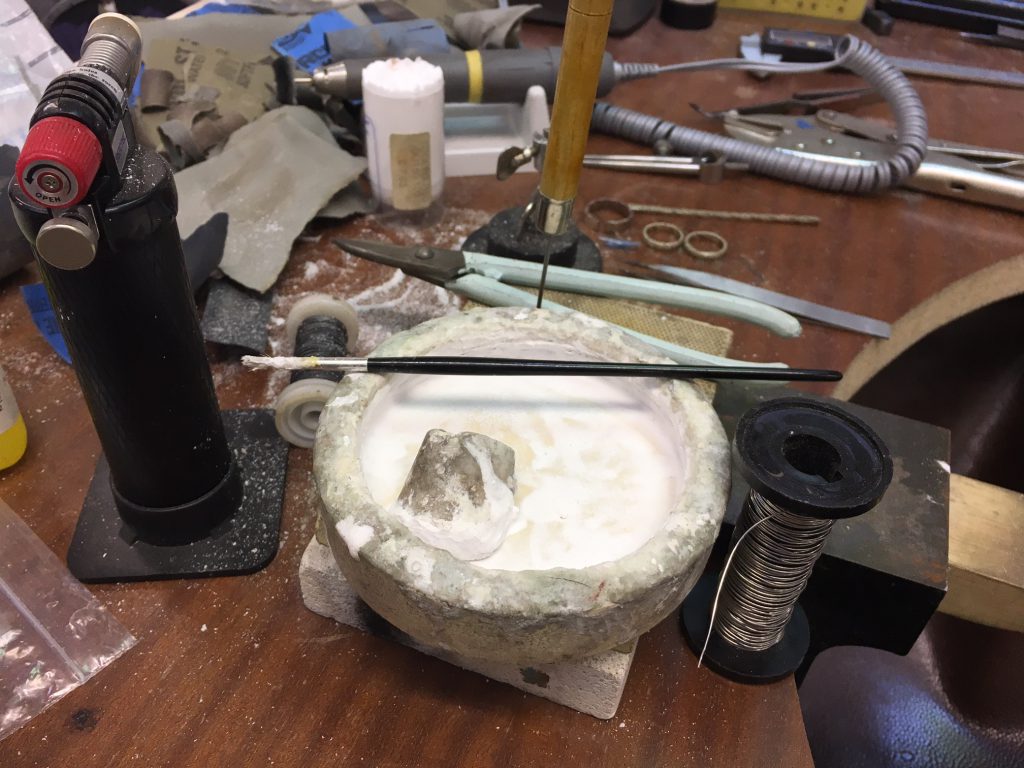
4. Apply flux to the flat base piece using a paintbrush, and place onto a heatproof surface. Next apply flux to the curved edge to be soldered and place in position.
5. Take a long piece of hard solder, and lightly rub with emery paper. You need to allow enough length for you to hold throughout the soldering process, so better to have too much rather than too little.
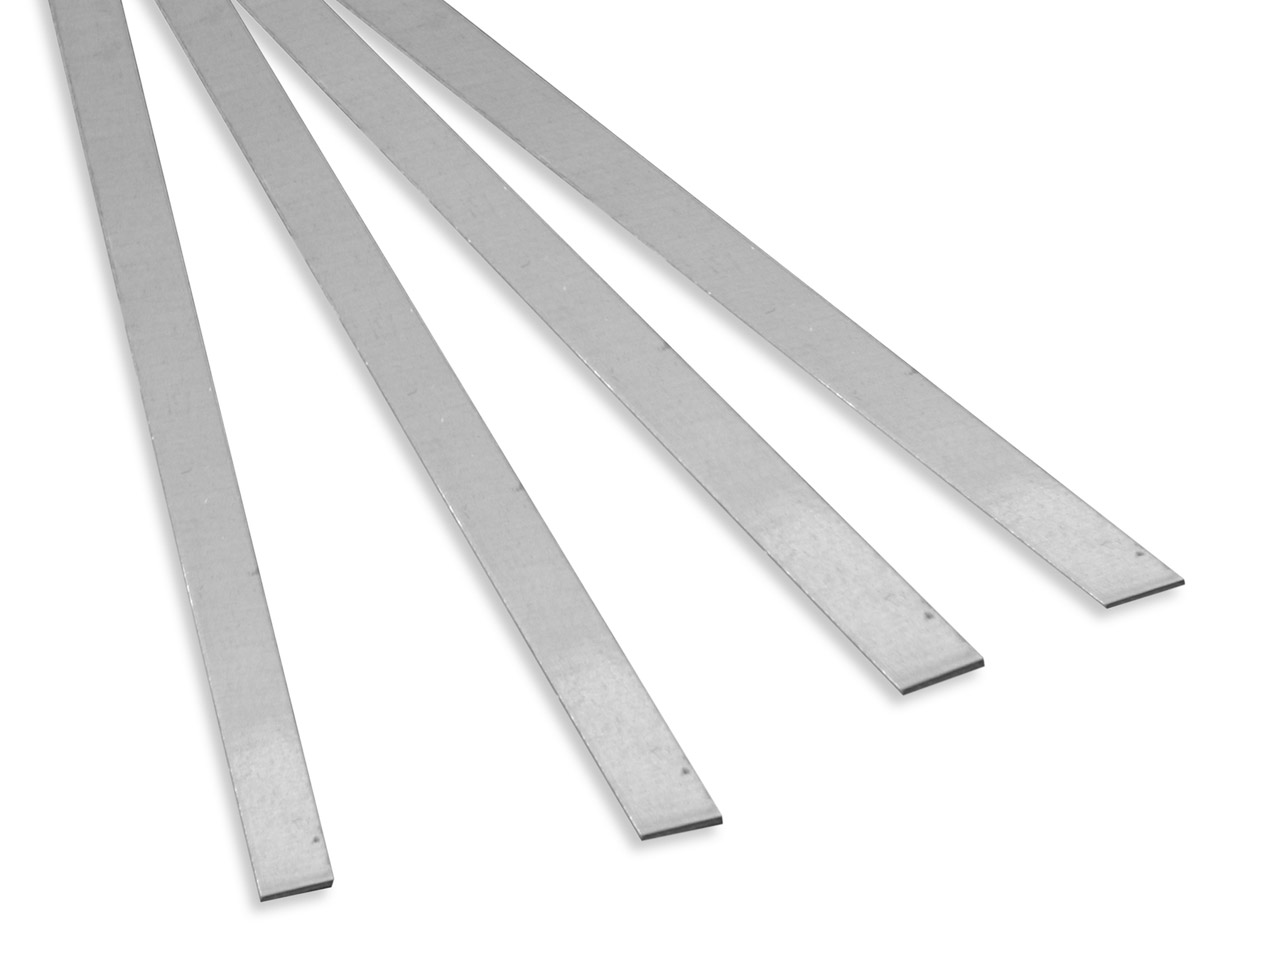
Solder Strip
6. You are unlikely to need the full width of a standard solder strip unless you are working on something very large, so cut a thin strip off with your shears and flatten it down to make it straight and even.
7. Pick up the solder with a pair of reverse action tweezers, and flux the end. Take your torch in one hand and the tweezers in the other, and you are ready to start soldering!
8. Using a medium sized flame start to heat the flat base piece, moving the flame constantly, and gradually start to incorporate the curved strip so that you have an even heat distribution.
9. As the pieces start to change colour, position your solder at the end of the seam with the tip touching the metal. At this point, ensure the heat is directed further along the seam to draw the solder towards it.
10. As the solder starts to flow, keep moving the flame along the join to guide it right to the end.
11. Remove the flame as soon as the solder has run the full length of the seam.
12. Cool, quench and pickle the piece.
All being well, you should have a smooth and continuous solder join with very little excess to clean up. If, however, you do find you have uneven blobs of solder where you don’t want them, then they will need to be filed away in the usual way unfortunately. As your ability grows, the need to do this will ultimately become less and less.
There are a number of other soldering techniques you may wish to master before trying strip soldering. Why not take a look at our guides to simple soldering and sweat soldering to get you started?

Cooksongold