If you’re just starting out in jewellery making then polishing is something that is on your list to learn. This is why we had Pop Up Jewellery put together this blog to guide you into the world of polishing
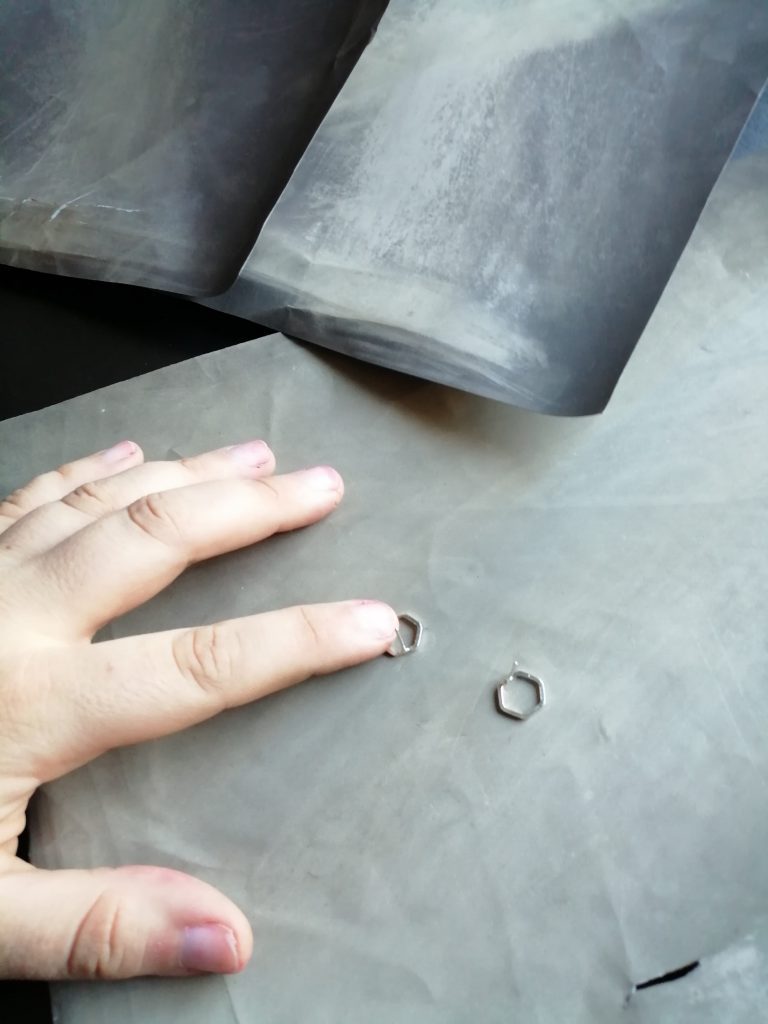
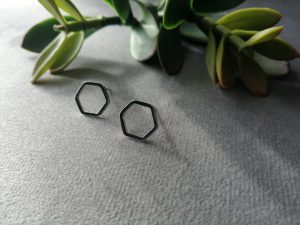
I became a polishing fiend when I started creating my own jewellery. There was something about taking a dirty piece of silver and buffing it to the point I could see my own crazed reflection that had me in awe! So today I am going to share how to polish silver jewellery, using a pair of my simple hexagon studs as an example.
How to Polish Silver Earrings: Step-by-Step
Step One: The Sanding
I always begin with sanding down my pieces. This part is quite methodical as I go from grade 500, to 1200, and lastly 2000. When sanding, I always like to sand in the same direction to get rid of any fine scratches.
Step Two: The Polishing
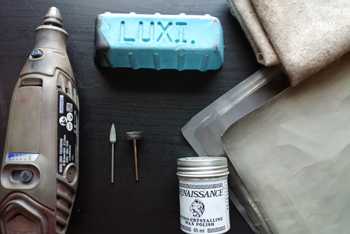
This is just the first polish I give to my pieces (I did tell you I was a polish fiend!). Begin with adding some Luxi Blue Polishing Compound to your leather pendant wheel and the base of your silver. I like to do this in circular motions.

Step Three: Getting Rid Of Scratches
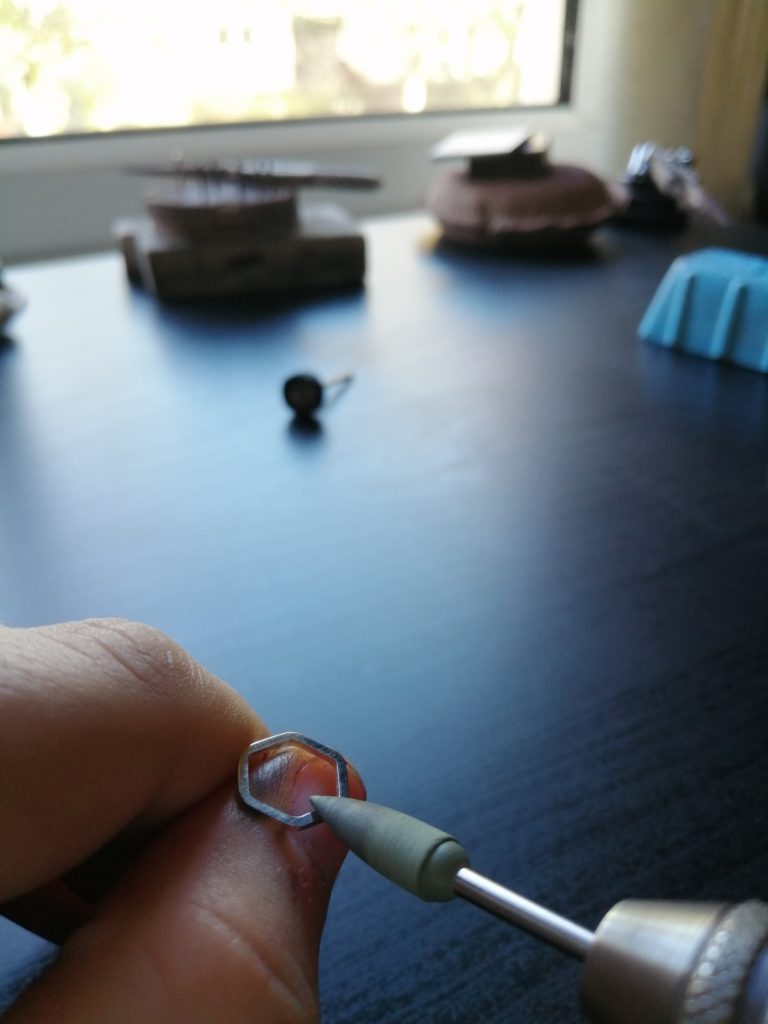
Once you have given your piece its first polish, take your extra fine rubber burr and go over your piece again. I do this in circular motions and also following the shape of the jewellery. I suggest doing this once or twice for optimum results.
Step Four: Another Polish
Go back in with your Leather Pendant Wheel and Luxi Blue Polishing Compound. Never rush the final polishing stage, as this is where you see your design start to come to life! Once you have finished with the polishing, give it a wee buff with a soft polish cloth, if you find there is still some scratches repeat steps three and four!
Step Five: Waxing
Don’t worry I don’t mean the painful waxing! I mean adding a tarnish protection coat, this is the last stage involved in polishing silver jewellery and is also the relaxing part. It is where you take five minutes to breathe and actually appreciate the work that goes into your jewellery!
To use the wax, I pop a little bit on a cotton bud (you don’t want a lot) and give my earrings a light layer of wax, before leaving it to sit for 20 minutes. After twenty minutes, give your piece a buff with a cloth and then you’re done.
Now you know how to polish silver jewellery, it’s time to give your old designs a new lease of life. Just make sure you have all the right silver polishing tools for the job before you get started. Looking for more advice like this? Check out our polishing hub online today.

Pop Up Jewellery
Our jewellery is heavily inspired by the Art Deco time period and a focus on geometric shapes and is also individually handmade in sterling silver from every solder join to that last polish you can know your jewellery was made specifically for you!