Resin is a thermosetting liquid plastic, consisting of two parts – a base resin and a hardener or catalyst. Resin is fantastic for jewellers as it can be finished in a similar way to metal, using files, papers and polishing, and can also be drilled. It can be used in jewellery to cast solid objects, as a coating or used in a similar style to traditional “hot” enamelling to decorate and inlay. Resin can be used to add colour and interest to jewellery pieces and are available in clear, opaque or translucent colours, glitter, metallic and pearl effects
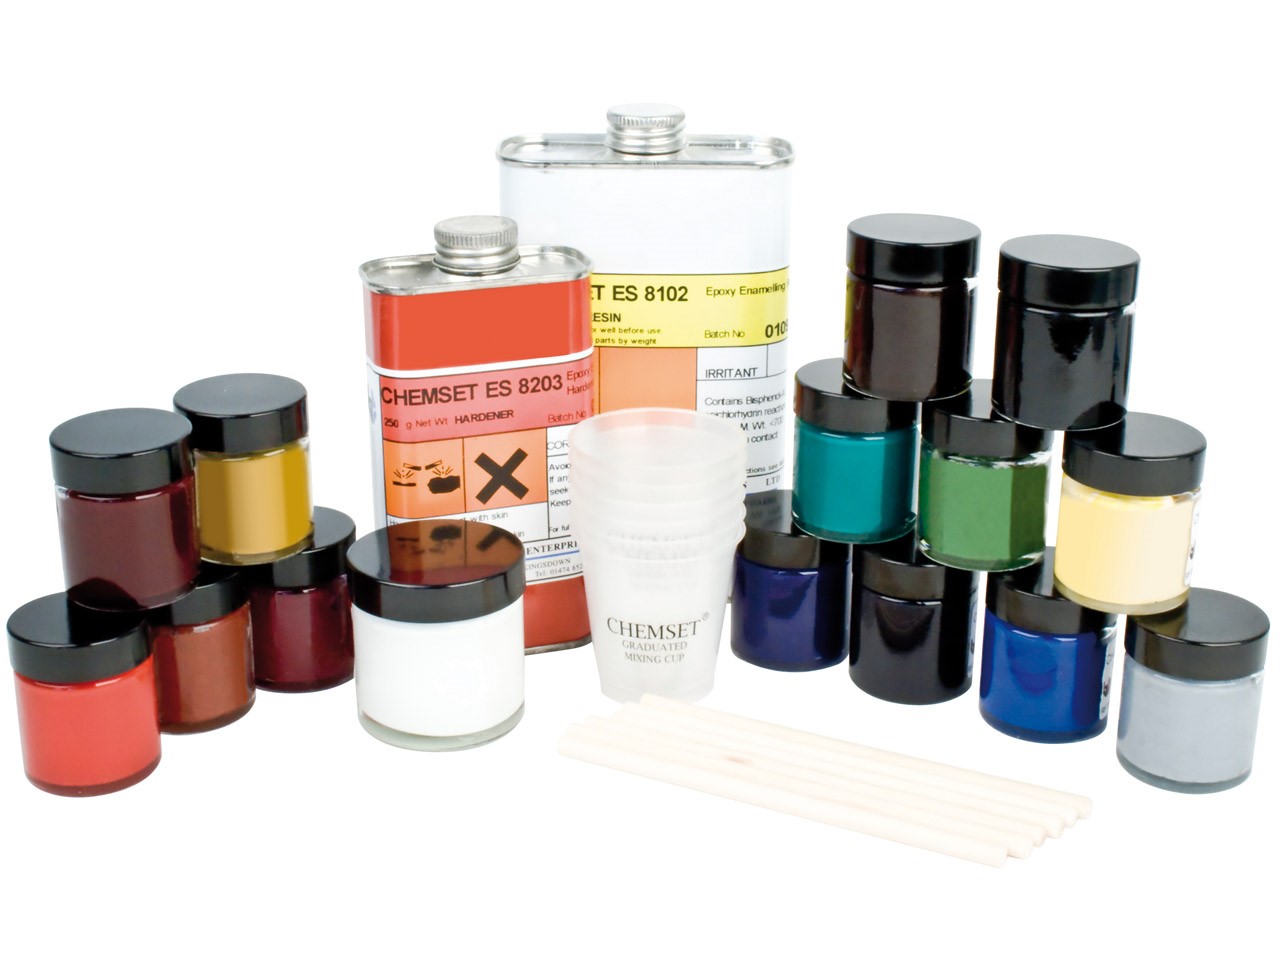
At Cooksongold we sell epoxy resin and epoxy adhesive, but polyester resin and bio resin are available elsewhere. Cooksongold sells Chemset epoxy resins and Gedeo epoxy resin packs.
Gedeo resin comes in clear and coloured varieties, in a pack with mixing cups, gloves and instructions. Gedeo resin packs are perfect as an introduction to resin as they require everything you need to get started.
Chemset epoxy resins are liquids, sold individually or in starter sets available in clear, opaque or translucent colours, glitter, metallic and pearl effects. A gel variety is also available which is suitable only for use on domed surfaces. Chemset has a wide range of choice for creating unique colours, effects and individual projects.
Health and Safety
- Resin can produce toxic fumes so use in a well ventilated area and where advised use a respirator mask designed for fumes. See specific product for more details.
- Wear gloves to avoid direct contact with skin – prolonged or repeat exposure can cause sensitivity and irritation (nitrile or butyl gloves are best) If contact does occur, wash it off immediately using soap and water
- Wear protective goggles to protect eyes from resin splashes
- Use a dust mask when drilling, sanding or polish to prevent inhalation of airborne resin particles
- Keep the work area free from food or drink to avoid contamination and accidents
- Dispose of liquid resin safely, use the manufacturer’s guide or contact the local authorities for advice – do not pour down the drain as the chemicals are harmful to the environment
Setting Up a Workspace and Materials
Epoxy resins are fine to use in a workshop or the home, providing health and safety procedures are followed, away from distractions like children and pets! For a productive and safe workspace, have a clean and tidy work area, such as a dining table or work bench, good ventilation at room temperature and protective equipment.
What you will need:
- Set of digital scales
- Wooden mixing sticks
- Paper cups
- Paper towels
- Pipettes, cocktail sticks and/or plastic squeeze bottles (for detailed application)
Mixing Resin
Epoxy resin, generally, is mixed in a ratio of 2 parts base resin:1 part hardener, although this does vary when adding colours or effects. Epoxy resin can take up to 24 hours to cure completely and cures best in a well ventilated warm room.
To mix 150g of clear resin:
- Place a paper cup on the digital scales
- Pour 100g of base resin into the cup, slowly and from a height to disperse air bubbles
- Remove cup from scales and repeat with 50g of hardener in a separate cup
- Slowly add the hardener to the base resin, again from a height
- Use the wooden mixing stick to very slowly stir the two parts together, for 5 minutes
- The resin mix is ready to go!
It is important to use the correct measurements, mix slowly and for the appropriate amount of time, or the resin will develop air bubbles or not cure properly, leading to tackiness if under-cured or cracks and brittleness if over-cured.
Colouring Resin
Cooksongold sells a variety of Chemset Epoxy Resin colours and effects including opaque, metallic, pearl, sparkle and transparent.
Mixing ratios are slightly different when colouring the resin:
Opaque Colour – (2 parts base resin with up to 5% colour : 1 part hardener)
To mix 150g of opaque colour resin:
- Place a paper cup on the digital scales
- Pour 95g of base resin into the cup, slowly and from a height to disperse air bubbles
- Remove cup from scales and pour 5g of opaque colour into a separate cup
- Mix the 5g of opaque colour and 95g of base resin together using a wooden mixing stick, for five minutes
- Pour 50g of hardener into an empty paper cup
- Slowly add the hardener to the base resin and colour mix, again from a height
- Use the wooden mixing stick to very slowly stir the two parts together, for another 5 minutes
- The opaque colour resin mix is ready to go!
Transparent, glitter, metallic and pearl – (2:1) these are already mixed with base resin and so require to be mixed with only with hardener. Powdered pigments and soft pastels can also be used to colour epoxy resin, which are available from art shops.
Finishing and Polishing
If required, fully cured epoxy resin can be finished and polished in a similar way to metal surfaces. Wet and Dry Papers can be used on a flat surface or on a buff stick to sand the resin, however this must be done wet to avoid particles becoming airborne. Finishing mops can also be used with the pendant motor or polishing motor, with a polishing compound such as Vonax for plastics (998 208) or Luxi Yellow Aggressive (997 433). Again, polish resin wet by dipping the piece into water and apply light even pressure to avoid melting and misshaping the resin.
Applications
Casting Solid Objects with a Mould
Epoxy resin can be used in a similar fashion to metal to ‘cast’ a solid form from a mould. Silicone moulds are fantastic to use with resin as they are flexible which makes the cured resin easy to remove. Many moulds are available from Cooksongold and you could use decorative ice cube trays. Resin ‘casts’ can be drilled into to make a pendant, glued to a jewellery blank to make a statement ring… the possibilities are endless.
Cooksongold sells a variety of silicone moulds including Pebeo jewels and Pebeo buttons, bangle moulds, which are very suitable for Epoxy resin casting.
Making a Silicone Mould
Making a silicone mould is extremely easy to do – all you need is a ‘master’ to make a mould from, which could be practically anything from a shell, existing jewellery, a figurine or a found object.
Cooksongold sells Flexi Mould Compound (860 134) and Gedeo Silligum Moulding Compound (870 300 or 870 301) both are simple to use. These moulding products come in two equal parts which when mixed together, will set to make the firm but flexible silicone mould. Simply mix the parts together following the instructions and cover over the ‘master’.
Coating
Photo, postcard and patterned paper charms are easy to make with just a walled metal blank (like this one), paper and resin. Simply cut the paper to fit inside the frame, position and cover with a coat of PVA glue and leave to dry completely. Pour over clear resin to trap the paper and wait 24 hours to cure. These make really personal gifts!
Cloisonné-Style
Cloisonné is a technique in traditional enamelling where walled sections within a piece separate different colours, which works really well with epoxy resin. Many blanks are available or you can make your own in silver, copper, gold, etc.
Inspiration
Some really useful books:
Enamelling By Ruth Ball
Engraving And Enamelling: The Art Of Champleve By Phil Barnes
Resinspiration
Amazing jewellers using resin a really fresh and interesting way:
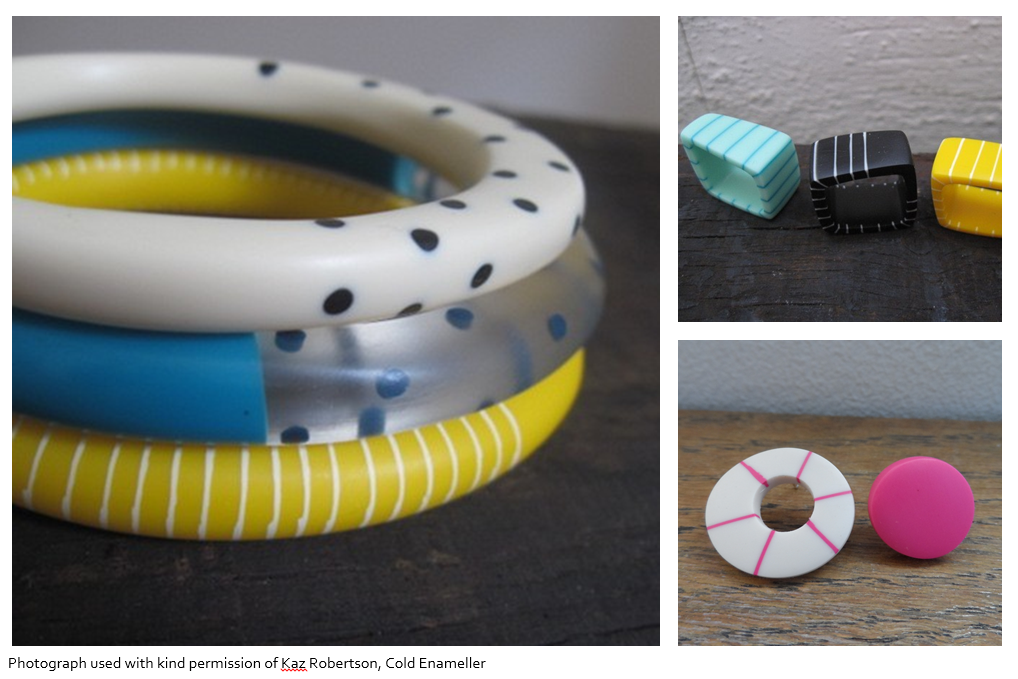
Kaz Robertson – www.kazrobertson.co.uk
Cheryl Barnes – www.veryberyl.com
Denise Reytan – www.reytan.de

Cooksongold