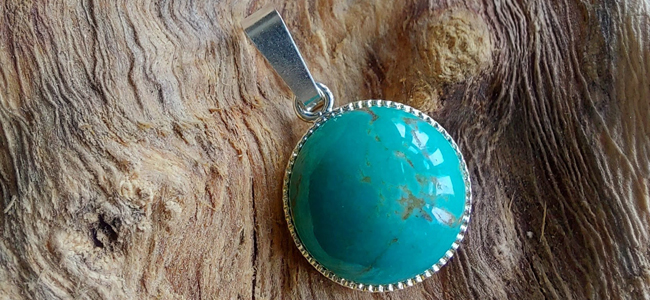
Who doesn’t love a pendant and with so many beautiful stone options to choose from, you can rapidly build yourself a collection suitable for every season, with this quick and easy project.
Step One
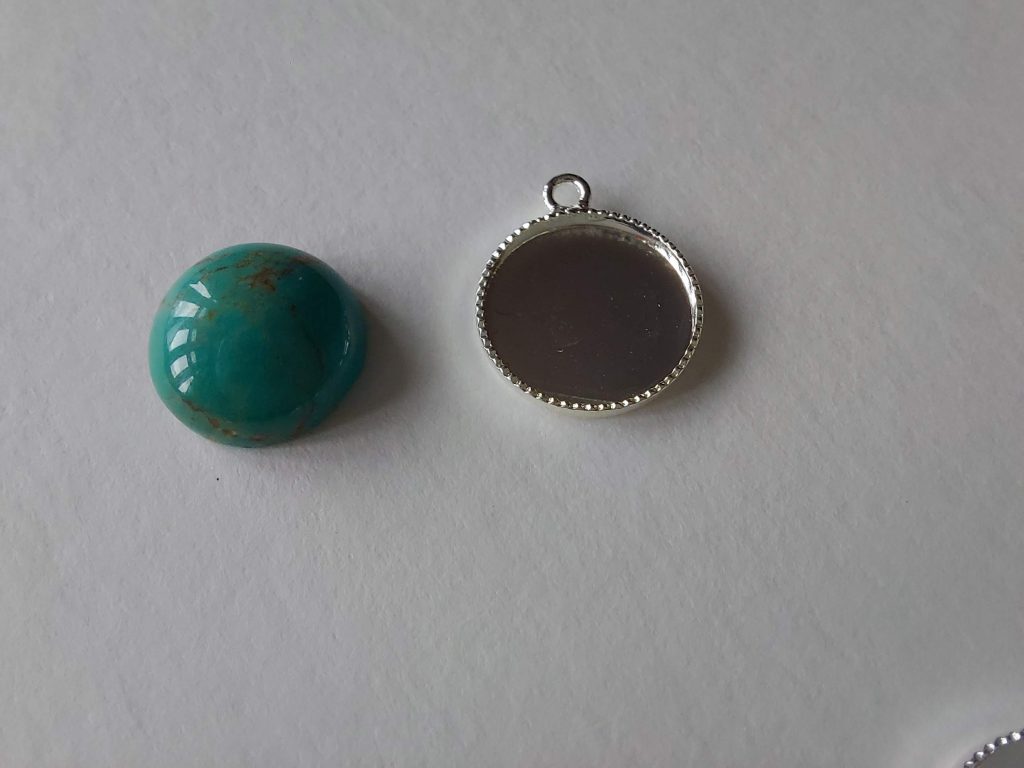
Lay out your stone next to some of the settings (you get a pack of 10) and try them out for size.
N.B. The depth and dimension of a stone can vary within size categories meaning that one 10mm round stone may well look different to another placed alongside it. A cabochon stone has a smooth, rounded top with no facets which can sit quite proud or alternatively, relatively flat meaning that some will fit into settings better than others. The beauty of this project is you get a pack of 10 Edge Cup Settings which again can vary slightly, so with a little trial and error you will find a cup to fit your stone.
Step Two
Once you have a good match, position the stone over the setting to check the fit without pushing too hard as it might get stuck.
Once you are happy with the fit, prepare the glue.
N.B. Araldite Crystal is a two-part, epoxy adhesive which is extremely strong and dries quickly leaving you only a 5-minute working time. It must be mixed in equal parts to work correctly.
Squeeze out an equal quantity of glue from each tube, onto a disposable surface. Mix with the spatula provided until thoroughly combined.
Step Four
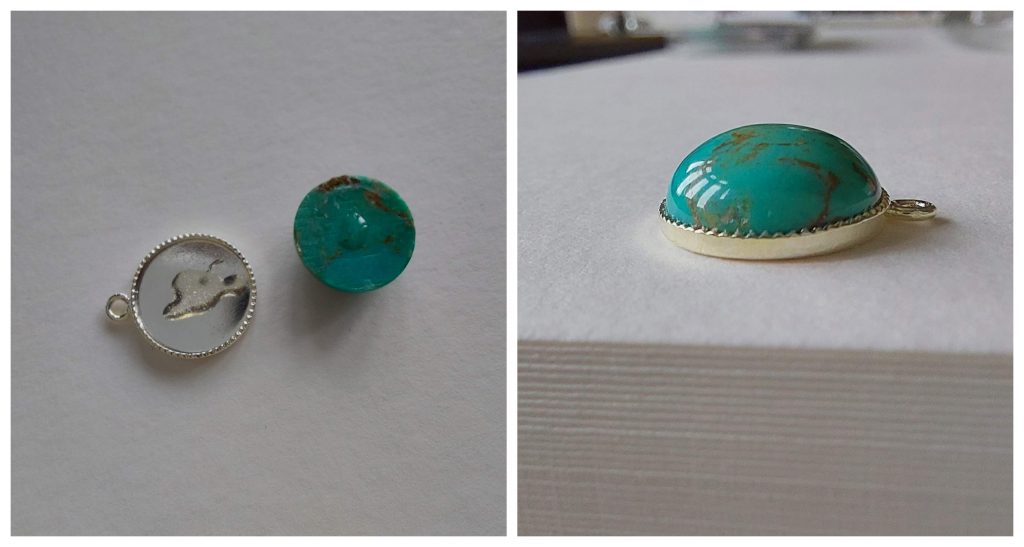
Place a small amount of the mixed adhesive onto the centre of both the upturned stone and the edge cup setting. Don’t be tempted to put lots of glue everywhere as it will ultimately be pushed out of the cup once the stone is in position resulting in a mess and a big clean-up operation!
Step Five
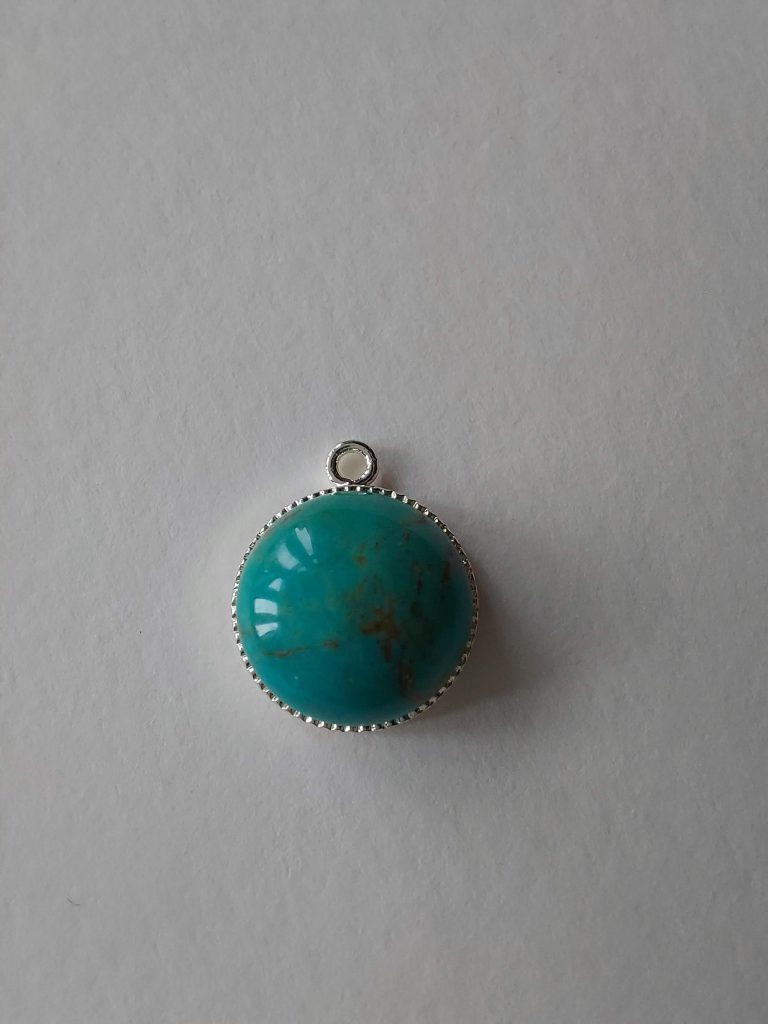
Turn over the stone and firmly push it into the setting. You might need to use considerable force to do this. I found it best to do it on a flat surface using my thumb. You are very likely to hear a click once the stone is flat and fully in position. Check the profile from the side if you are unsure.
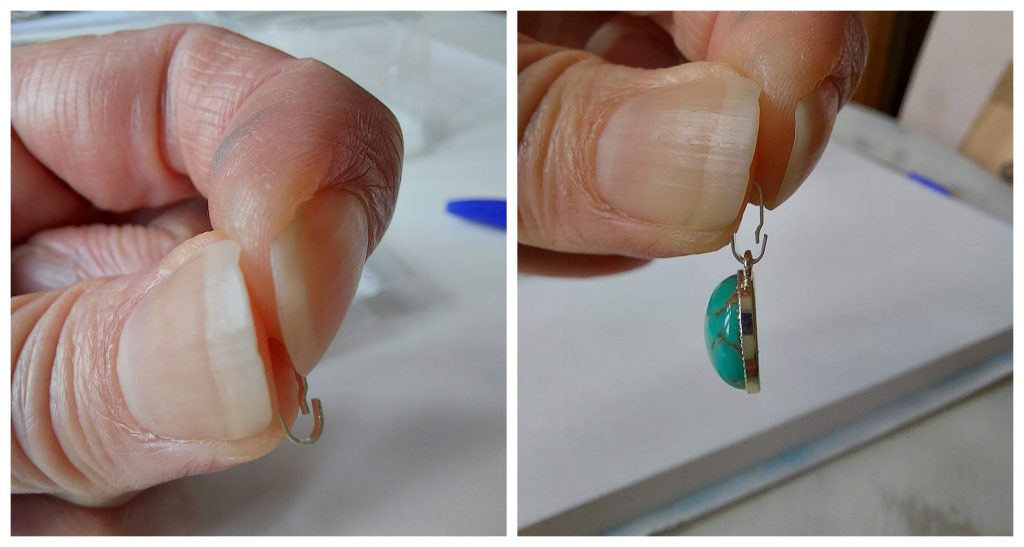
You are now ready to add the pendant bail which will allow the pendant to be suspended on a chain or cord of your choosing. Take a bail between your thumb and forefinger and squeeze gently to open it up.
Then slide the loop of the pendant over the open end of the bail ensuring that the plain side of the bail is facing the same direction as the stone.
Release the pressure once the pendant is on and allow the bail to close.
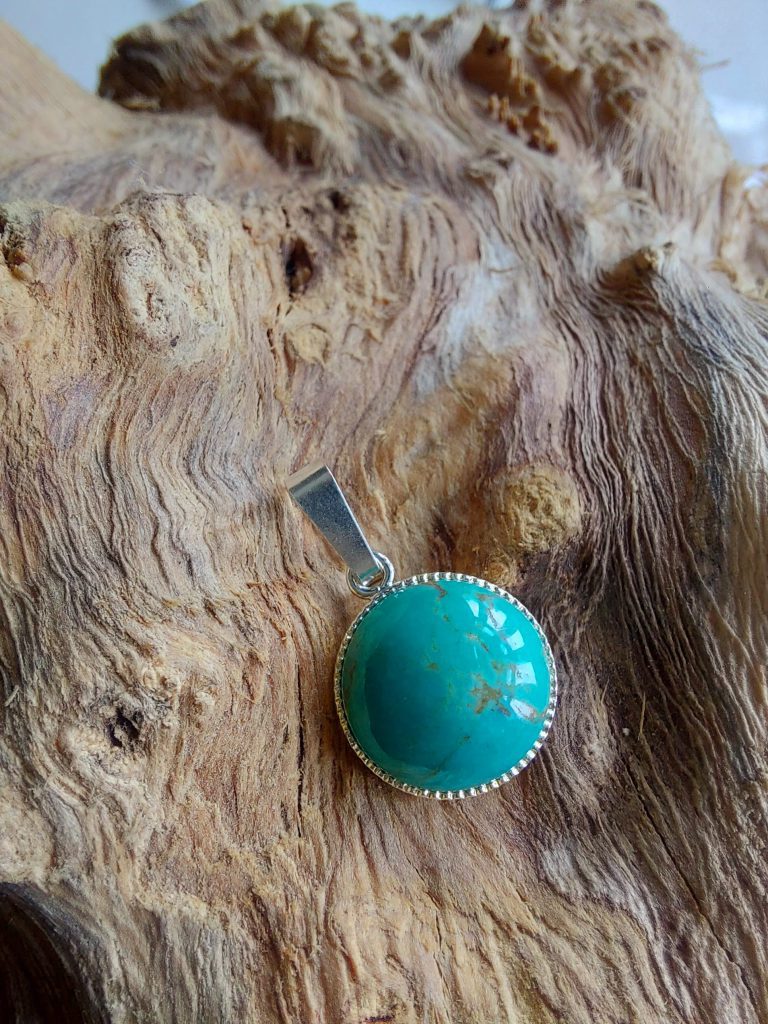
Voila! One finished pendant ready to be worn on a chain, cord or ribbon.
Quite clearly, the possibilities with this sort of project are endless so have fun experimenting with different stones. You can also ring the changes by adding an additional decorative connector to the loop at the top of the setting or alternatively double up and make a pair of drop earrings by adding a pair of hook wires/stud and loop fittings. Once you start, you won’t want to stop!
We want to see what you have been making! Share your creations with us on social media, tagging in Cooksongold on Facebook, Twitter and Instagram.

Joanna Varney
Joanna has worked in and around the jewellery industry for well over 20 years. She has designed and created her own pieces as a designer maker, as well as working in jewellery retail on a much larger scale, producing designs and NPD for some of the UK’s largest high street retailers