If you’re just looking into jewellery making, then maybe this simple Open Back Ring project could help? It takes 30 minutes to make and is completely non soldered
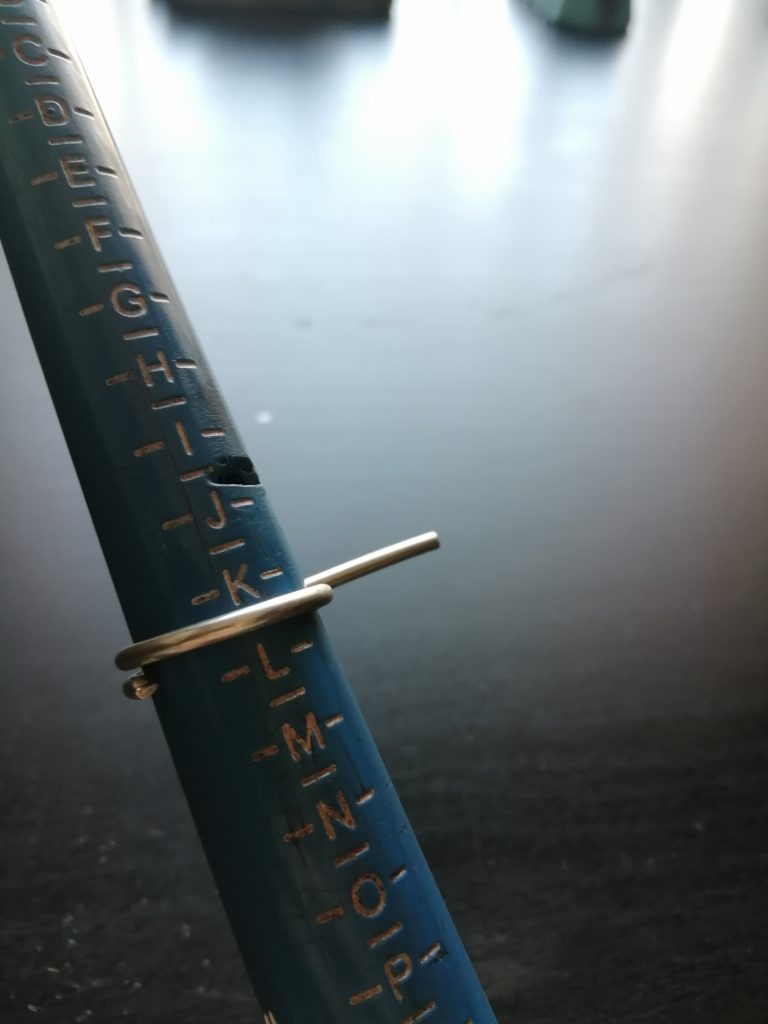
Step One: Find your size
Begin with wrapping your wire around your ring sizer to find your desired ring size. As we are making an open back ring you can either make a whole circle like me or leave a bit open at the back, personally I like to make a full circle just to always have that back up of extra wire there just in case I make the ring size to big or small
2mm round wire is a great wire to use for an open back ring, it is thick enough that it won’t become brittle if you open and close it, and it is also thin enough to give off a dainty stacker ring look.
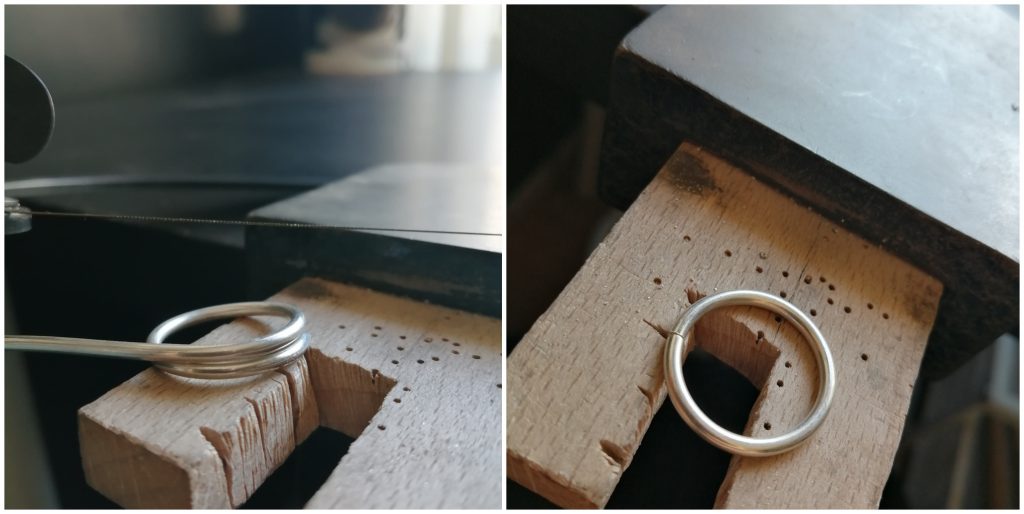
Step Two: Sawing
Once you have your size and your shank made saw where the two bits of silver overlap each other, just like you would if you were going to solder the ring closed but this time you don’t need to worry about getting that perfect join for soldering! One you have finished your sawing, shape your shank into a perfect circle, continuingly going back and forth checking the size is correct and removing excess silver if needed.
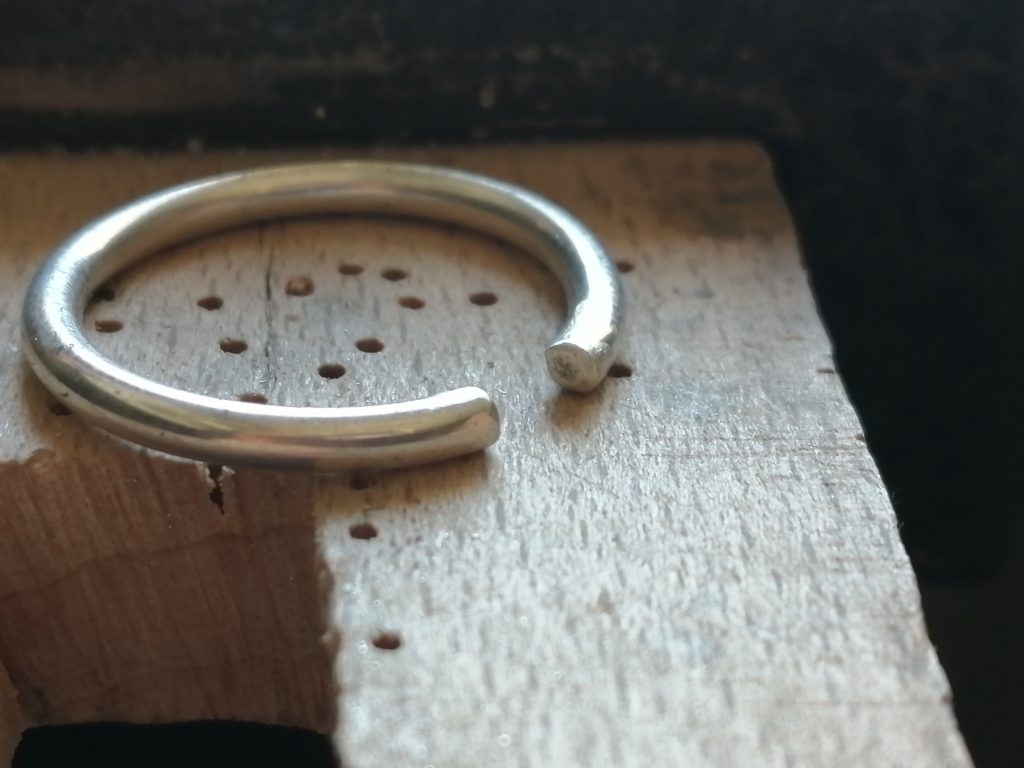
Step Three: Open the Back
Now we have our perfect sized circle shank use your saw to create that open back, now be careful as open back can be tricky sometimes, make the gap too big or small and it can pinch the skin on the back of your finger, I would like to say there is a certain space size I have but I tend to just eyeball it!
This space came out at around 4mm, when it came to finding the gap, I just kept trying the ring on, clenching my first and opening it to make sure there was so pinching!

Step Four: Sanding
Sanding is another way we can stop that pinching! Use your emory paper of rubber burr to blunt down those to ends to create a smooth finish! Once again making sure you use yourself as a guinea pig to make sure there is no pinching issues!
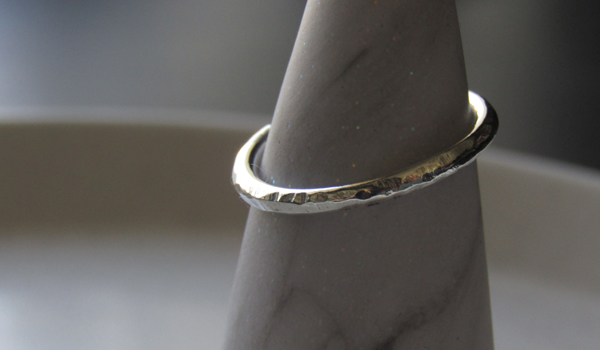
Step Five: Finishes
Your ring is pretty much finished now! All that is left is adding in the finishing touches, to finish this ring I decided to take a half round file and file some scratches and indents into this ring, out of the whole process of making this ring it was actually this step which took the most time
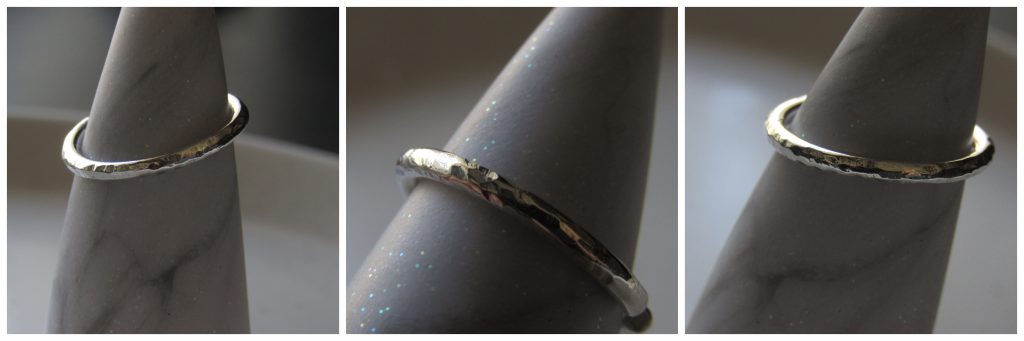
After filing I sanded down the ring and then polished!
We want to see what you have been making! Share your creations with us on social media, tagging in Cooksongold on Facebook, Twitter and Instagram.

Pop Up Jewellery
Our jewellery is heavily inspired by the Art Deco time period and a focus on geometric shapes and is also individually handmade in sterling silver from every solder join to that last polish you can know your jewellery was made specifically for you!