
Who doesn’t love a good hair accessory? Cute hair clips are a fantastic addition to any look but they don’t have to cost as much as you think. Why not DIY your own hair pins using Fimo soft clay? Fimo soft clay is a versatile and incredibly easy to use clay that can easily be moulded to create a range of designs including these delicate flower pins.
Whether you’re going to a wedding, party or any other special occasion, a fashionable hair accessory is the perfect addition to any look which is why we’ve put together this easy to follow guide on how to make your own accessory using Fimo clay.
DIY Hair Accessories Step by Step Guide
Step 1
Cut a strip from the block of white Fimo soft and knead it softly. Then roll it into a long string and divide it into small, equally sized pieces using a sharp knife or a blade. Next, roll the small pieces into small balls.
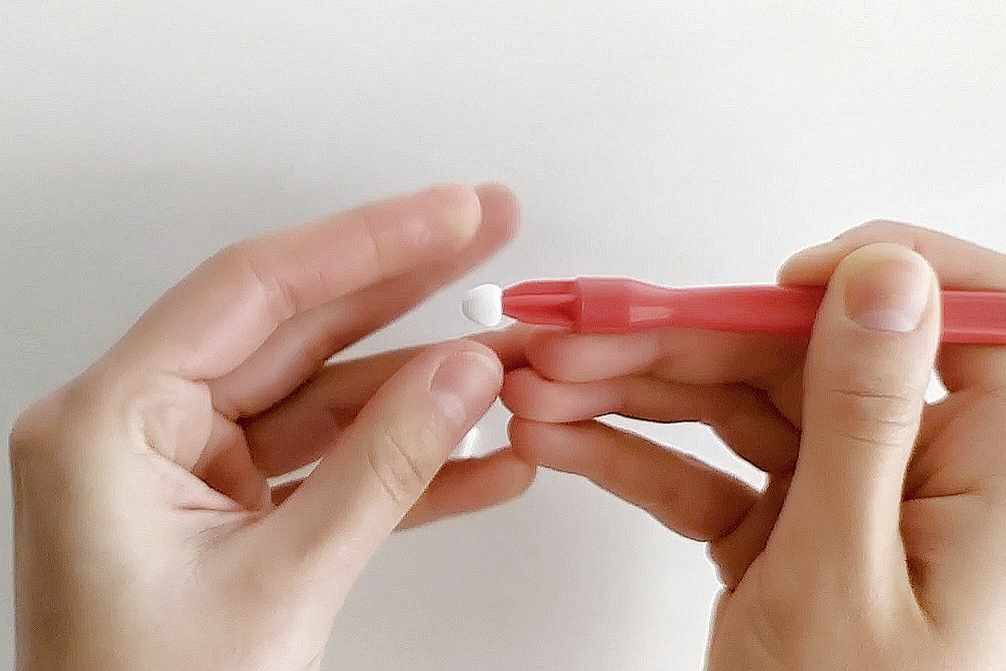
Step 2
You can now take the 5-pronged red modelling tool and press it once into each of your little balls. This already gives a hint of a flower shape.
Step 3
Then carefully trim the flowers at each notch. These will later become your petals.
Step 4
Next, shape the petals with your hands.
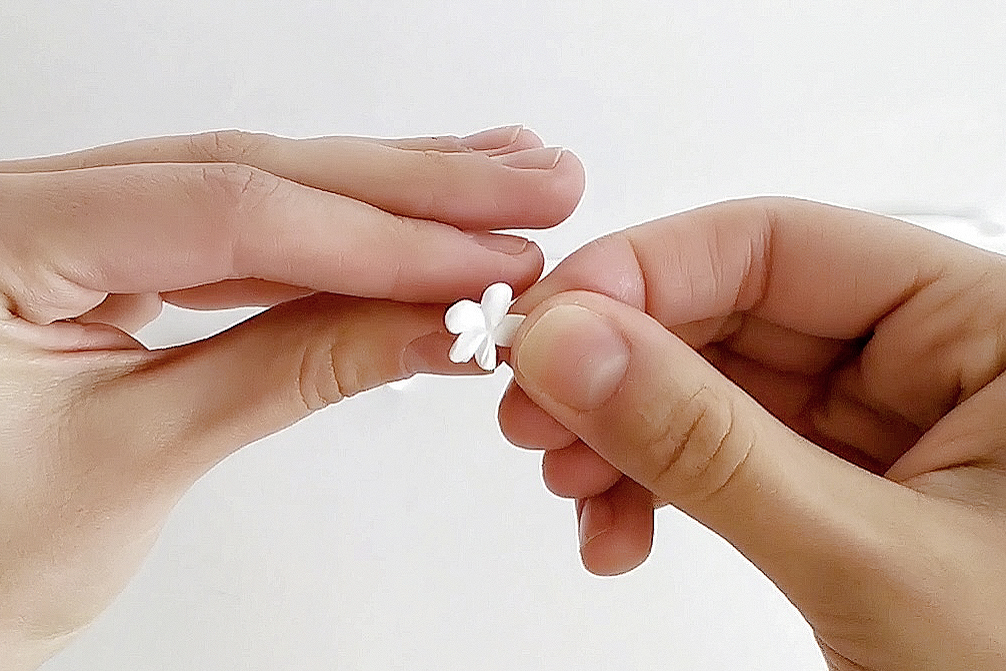
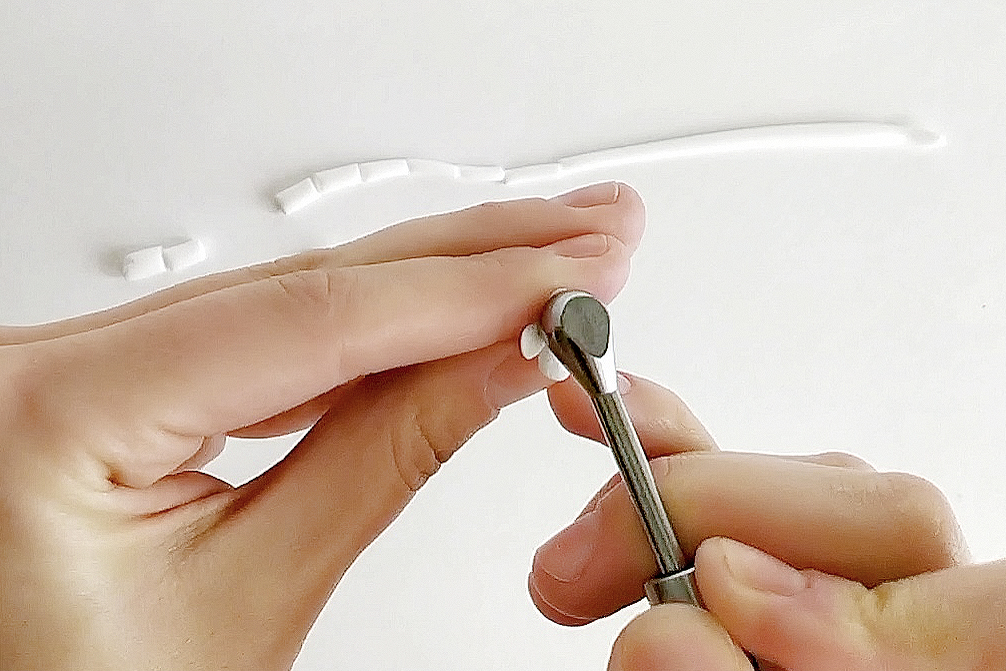
Step 5
Use the ball tool to make sure the petals are nicely rounded.
Tip: Wear gloves to prevent the petals from sticking to your fingers.
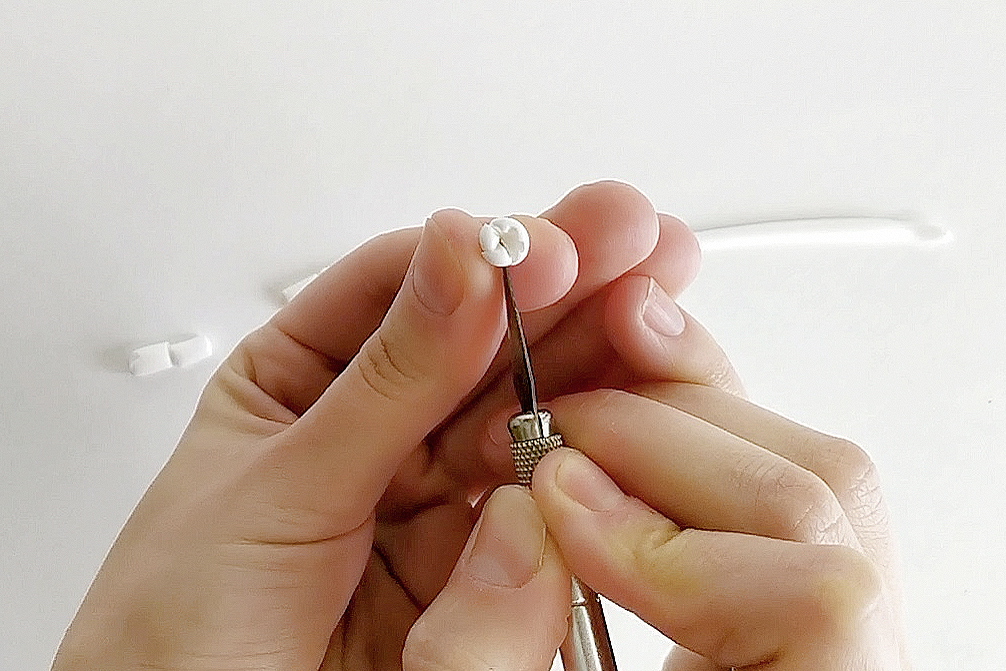
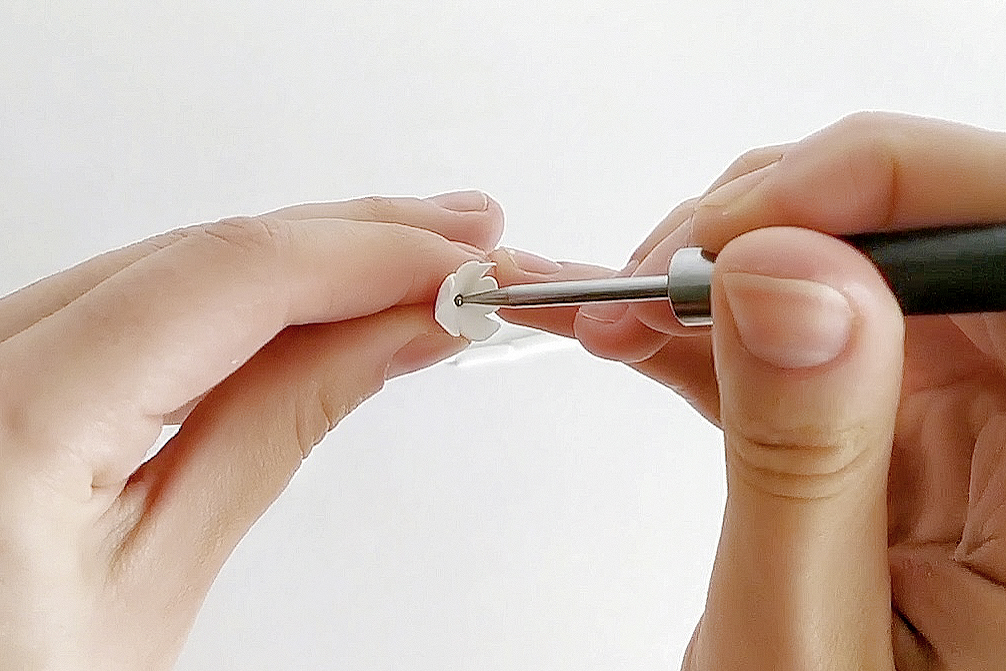
Step 6
You can now use the small ball on the tool to make a small depression in the middle of the flower. Cut the flower stem with a sharp knife or blade.
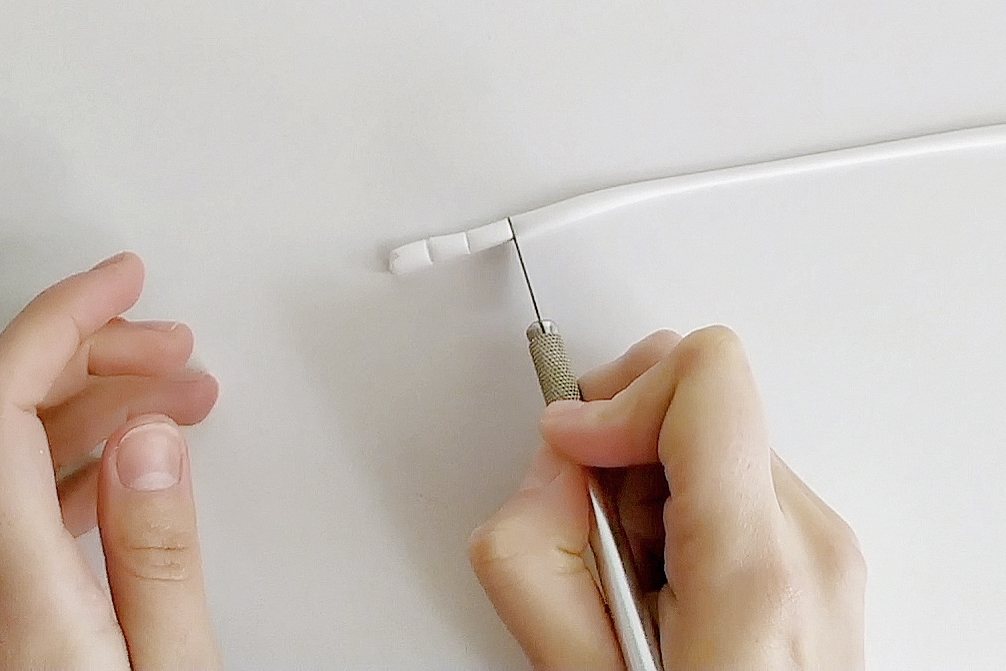
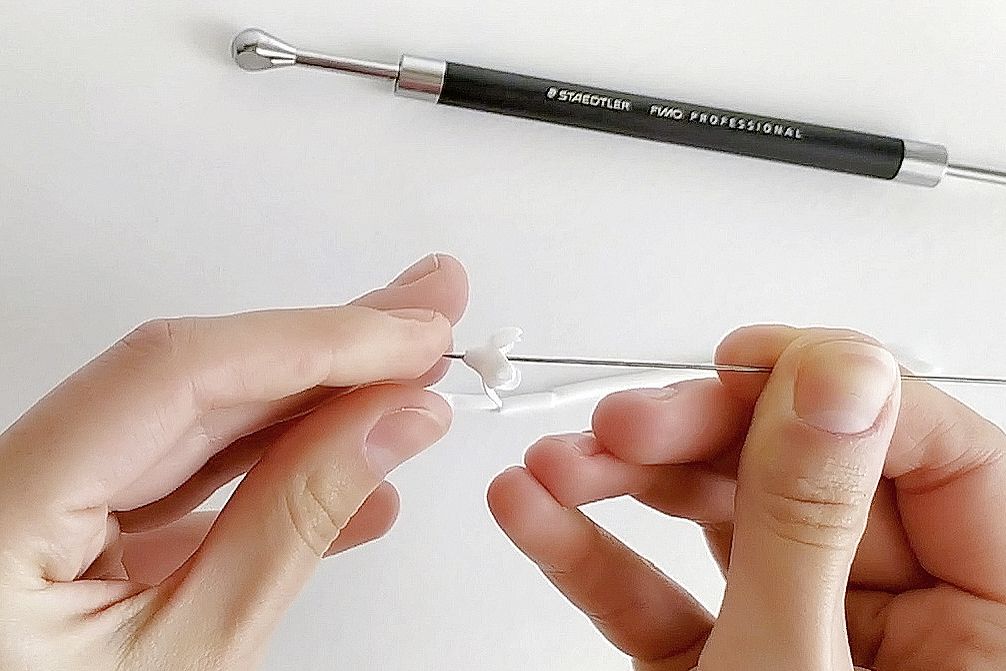
Step 7
Now use the bead piercing needle to skewer your little flowers through the middle and make the hole that the wire will later be threaded through. Now harden all the flowers in the oven at 110°C / 230°F for 30 minutes.
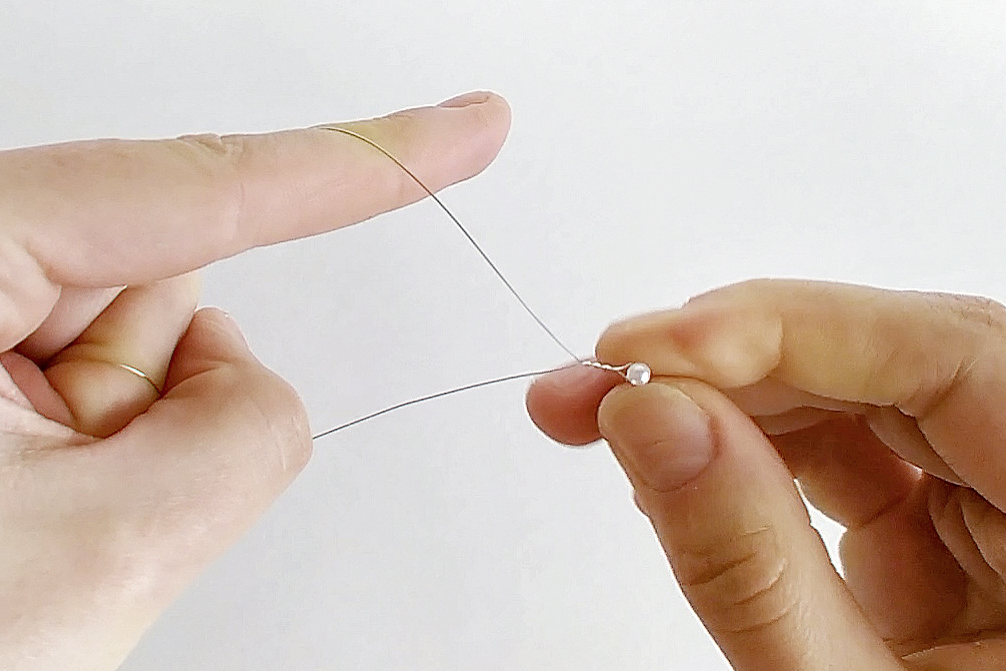
Step 8
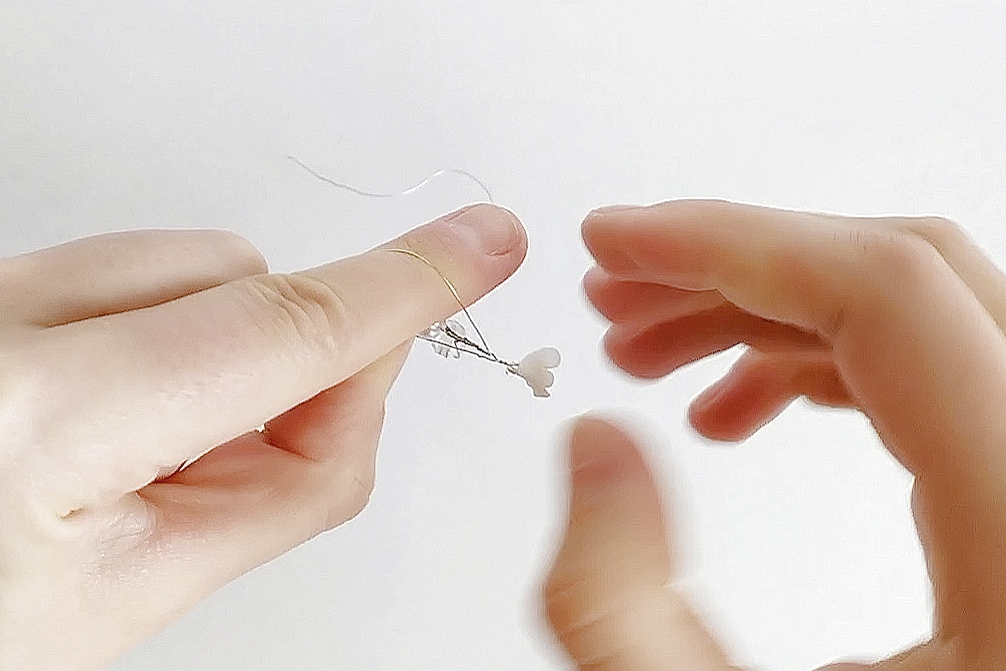
Once you’ve let your flowers cool down, it’s time to decorate your hair accessories! To do this, cut a piece of wire (20-30cm) and double it in the middle. Thread the smallest bead first, then twist the wire.
Tip: Do not cut the long wire immediately. This makes it easier to handle and ensures that the wire does not bend where you do not want it to and break. Always twist the wire in one direction.
Step 9
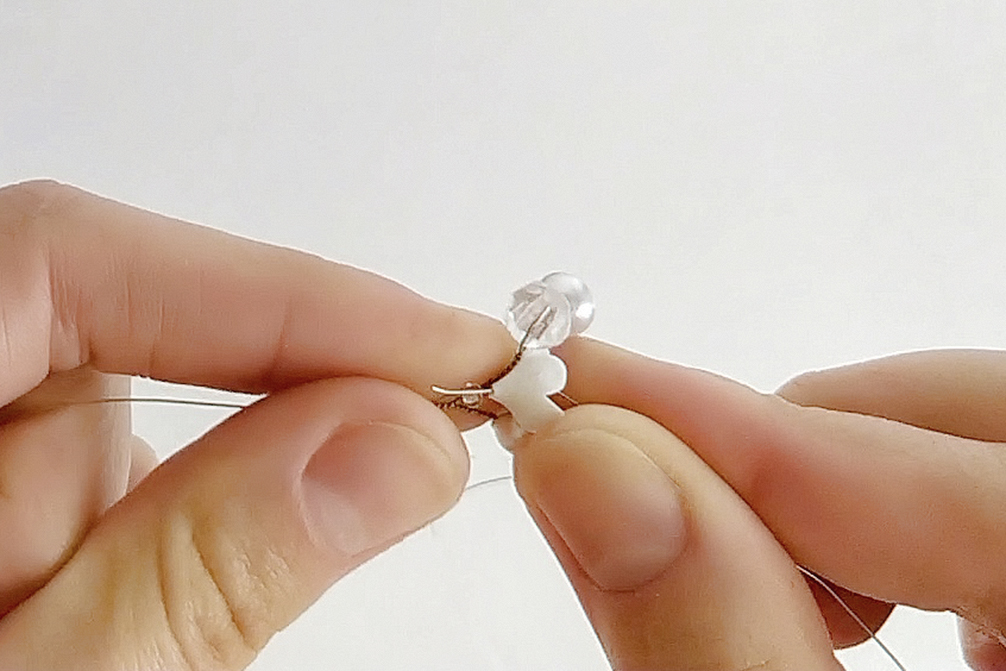
After attaching one or more flower beads, take a Fimo flower and slide it on. Thread flowers and beads alternately on the wire. Putting a small bead in the middle of each Fimo flower also makes it look pretty.
Step 10
Press all the beads firmly into the flowers and twist the wire quite tightly. This ensures that each flower is securely attached to the wire. The end result should look like a sprig of flowers and pearls.
Tip: Do not twist the wire too tightly to prevent it from breaking.
Step 11
Now attached your bunch of flowers to the hairpin. To do this, twist the wire around the hairpin several times.
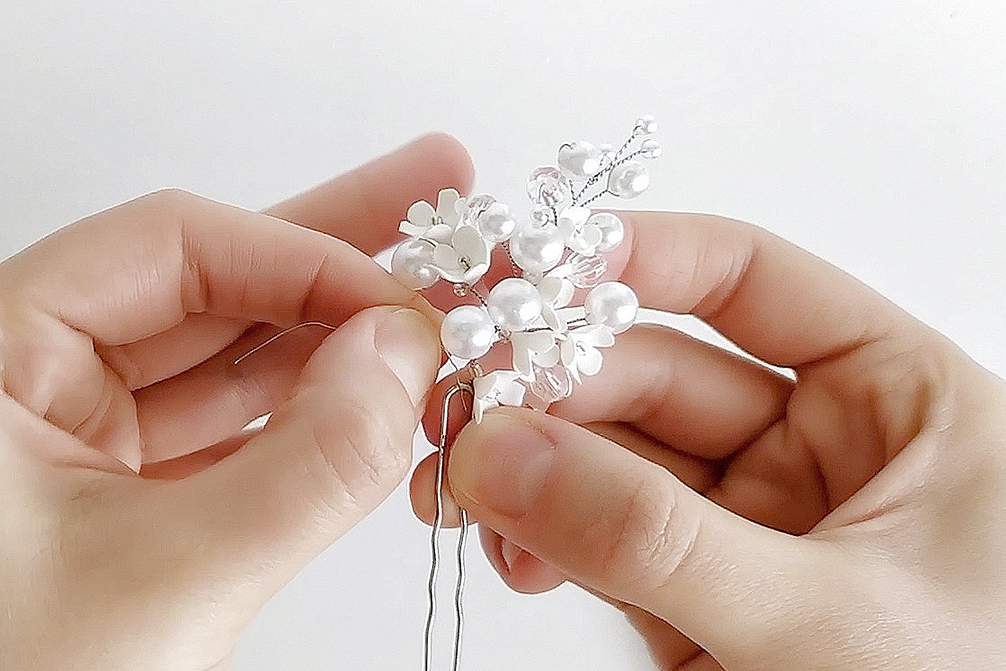
This is such a fun tutorial and a great way to create something personalised for yourself or even as a gift. Hair clips are always popular and perfect for any age so why not save yourself some money and put your creative skills to the test by learning how you can make your own.
These Fimo hair pins are a great addition to your hair accessory collection. With such a huge range of Fimo soft colours in stock, you can easily choose colours more suited to your own tastes or for any specific theme or design you make have in mind.
Using Fimo clay is such a fun way to get creative! If you haven’t already then why not check out the rest of our Fimo projects and our full range of Fimo clay and Fimo tools and accessories to start getting creative today!

Cooksongold