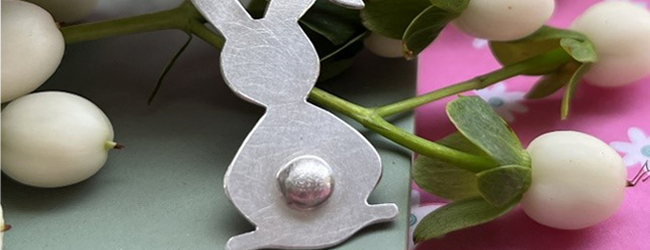
This Easter Bunny Pendant uses piercing and soldering techniques. Learn how to make by following our simple step by step written instructions.
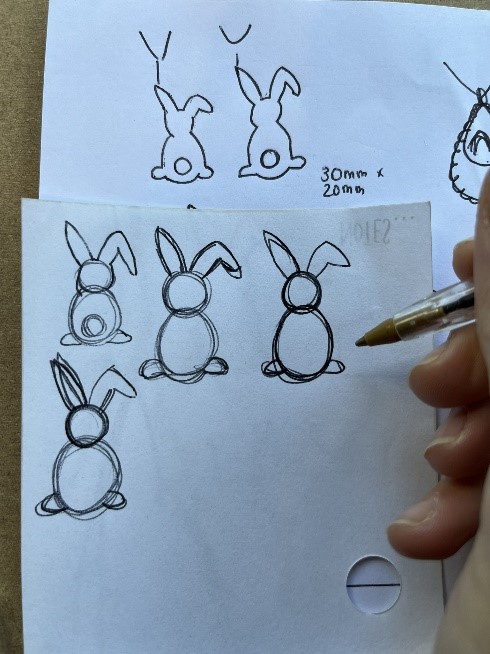
Step One
Draw out your bunny design on paper and cut out. Use this template to draw around on your silver.
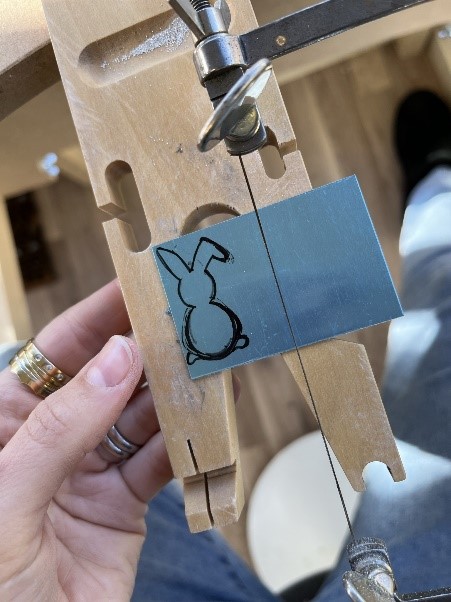
Step Two
Place your silver on a benchpeg and use your piercing saw to carefully cut out the bunny shape.
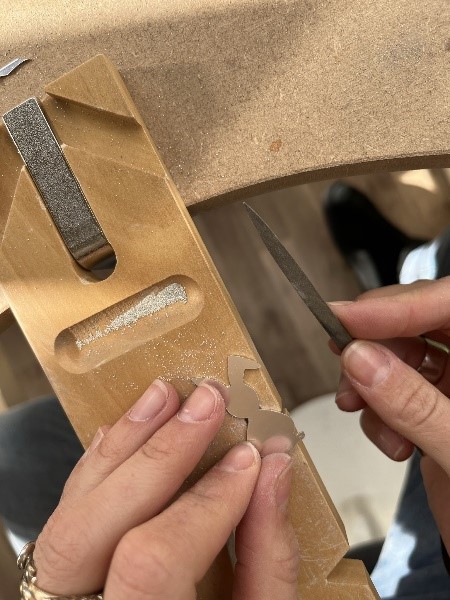
Step Three
File away any uneven edges using your needle files and smooth the edges using emery sticks by supporting the silver against your benchpeg.
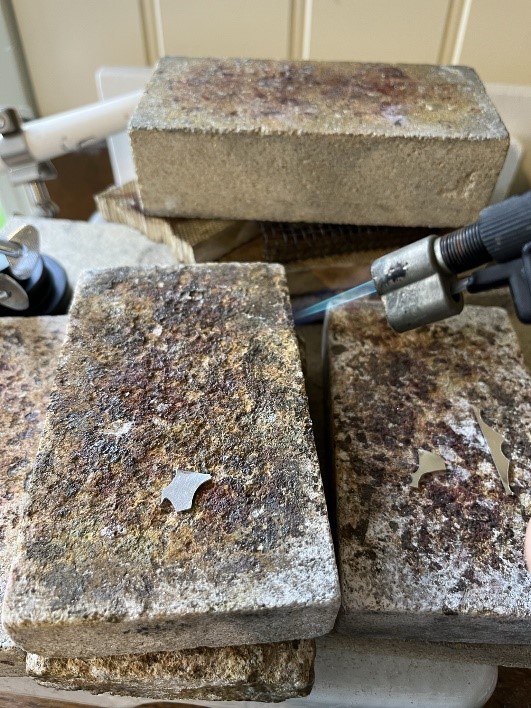
Step Four
Take a small piece of the scrap silver that has been cut away and place on a heat-proof brick. Using your blowtorch heats the silver until it melts and forms a blob.
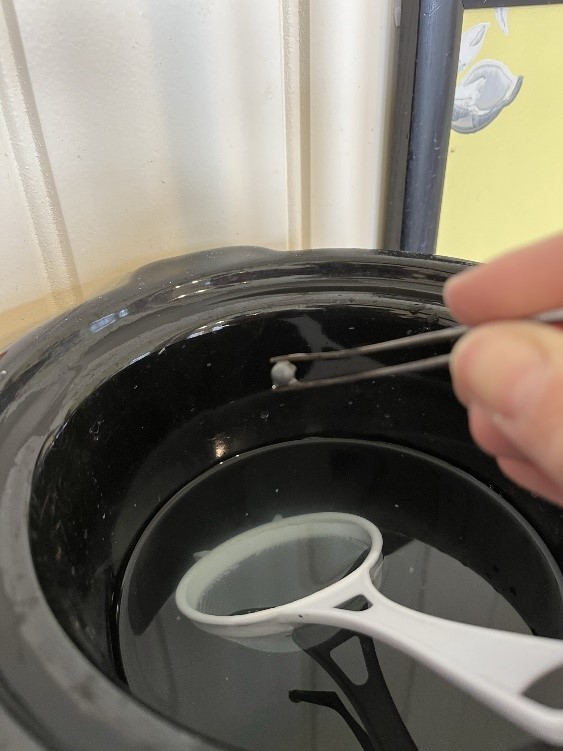
Step Five
When slightly cool quench in water using tweezers to hold and add to a warm pickle.
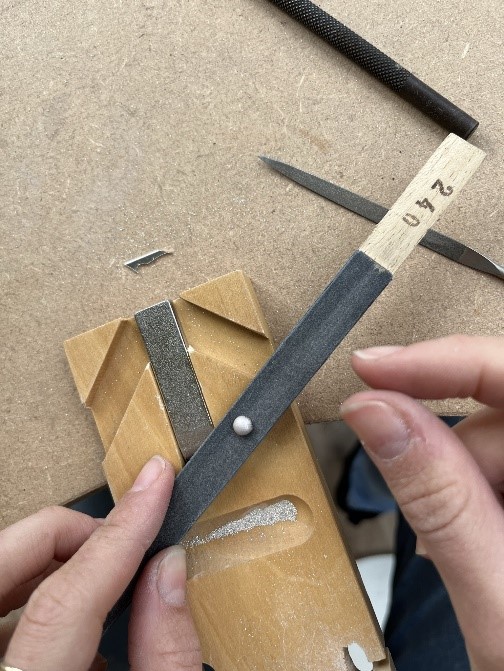
Step Six
When clean and dry, file and smooth the bottom of the blob using emery paper or a file.
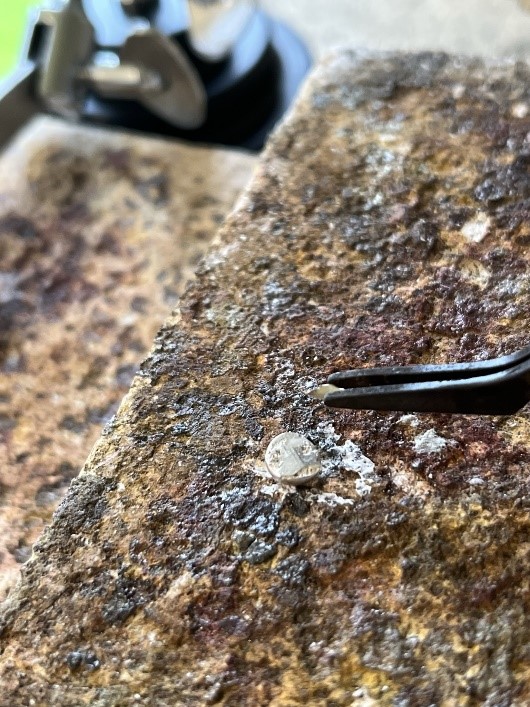
Step Seven
Place the blob flat side up and add flux and a small amount of solder. Using your hand blowtorch heat the silver blob until the solder melts and flows.
When slightly cool quench in water using tweezers to hold and add to a warm pickle. When clean and dry file and smooth the bottom of the blob using emery paper or a file if needed.
Step Eight
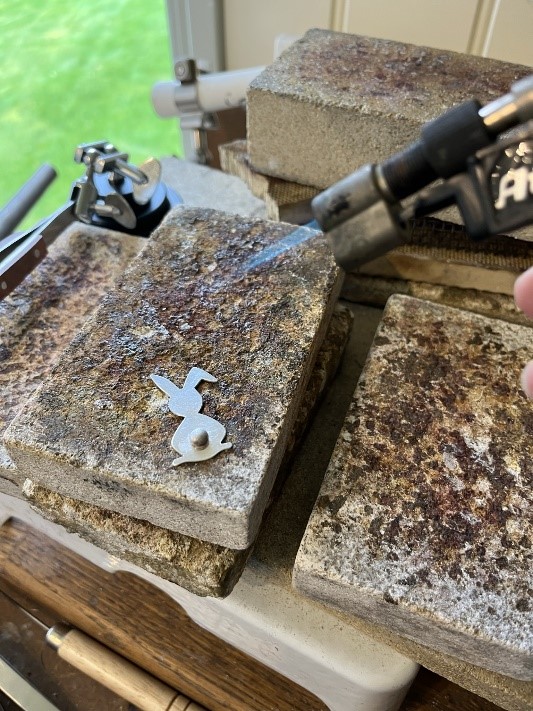
Add flux to the blob and place on the bunny pendant solder side down. Heat the whole bunny and the blob until the solder melts and flows.
When slightly cool quench in water using tweezers to hold and add to a warm pickle.
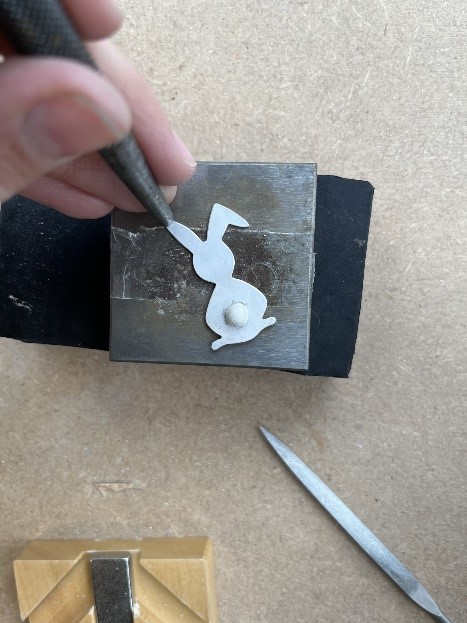
Step Nine
When clean and dry mark a dot on the top of the bunny ear and place your centre punch on this mark. Strike the top of the centre punch lightly with a hammer.
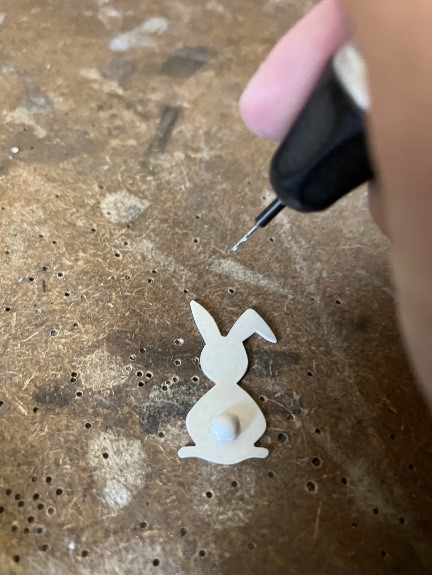
Step Ten
Drill a hole through the mark the centre punch has made using a pendant drill or bow drill.
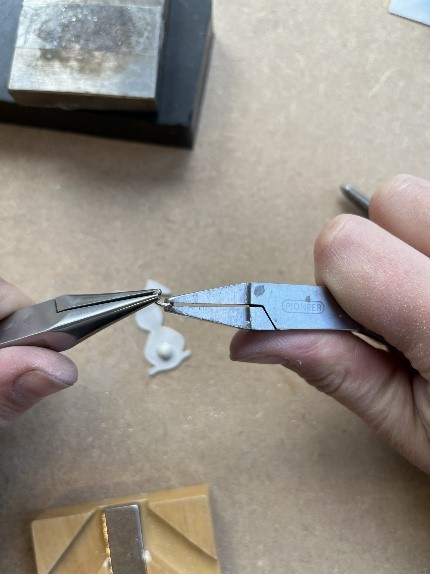
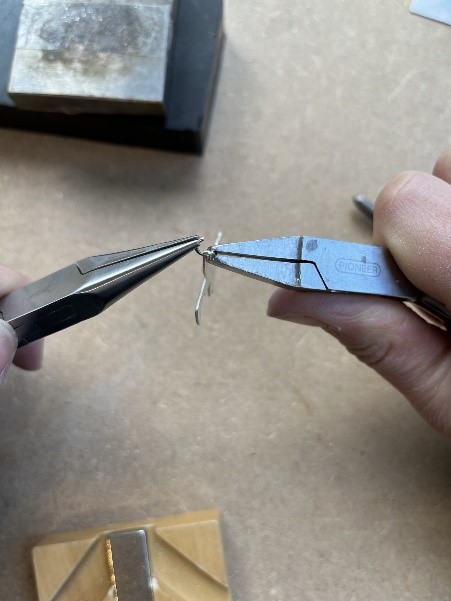
Step Eleven
Open a jump ring by gripping either side with flat nose/chain nose or snipe nose pliers. Thread the jump ring through the hole on the bunny’s ear.
Step Twelve
Close the jump ring by gripping either side with flat nose/chain nose or snipe nose pliers and twisting in opposite directions inwards to close and align.
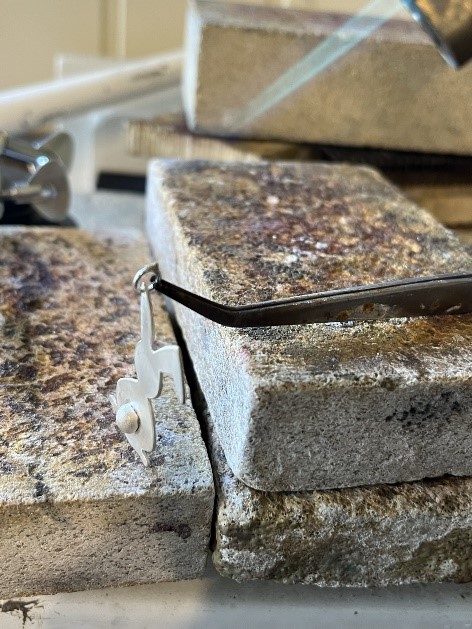
Step Thirteen
Using a third hand and reverse action tweezers hold the jump ring and add a small amount of solder paste to the jump ring join.
Heat the jump ring using your blow torch until the solder melts and flows, then leave to cool slightly before quenching in water and then add to a warm pickle to clean.
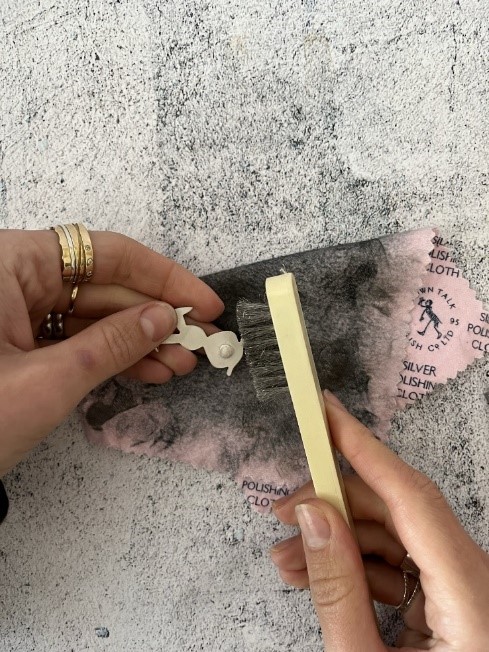
Step Fourteen
When clean and dry use a tumble polisher, polishing clot or wire brush to add the final finish.
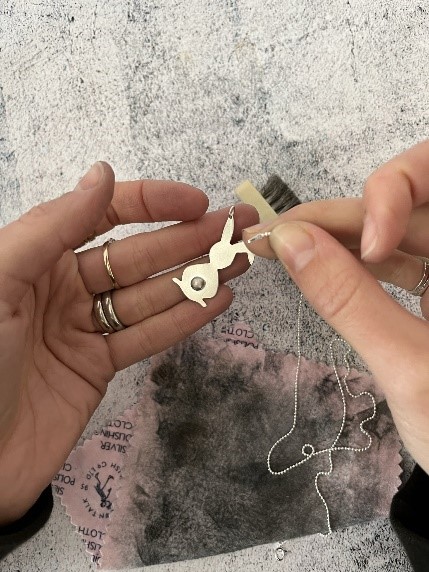
Final Step
Thread a silver chain through the jumping.
We hope you enjoyed making your Easter Bunny Pendant. If you have any questions or want to know more, get in touch with us on Facebook, Twitter and Instagram. We’d also love to see what you’ve been making so please share pictures of your creations with us too, tagging Cooksongold.

Sian Brown
Sian has been hand making her award winning jewellery in the West Midlands for over 12 years. Sian spent 10 years in Birmingham’s historic Jewellery Quarter before relocating to a quiet Worcestershire village.