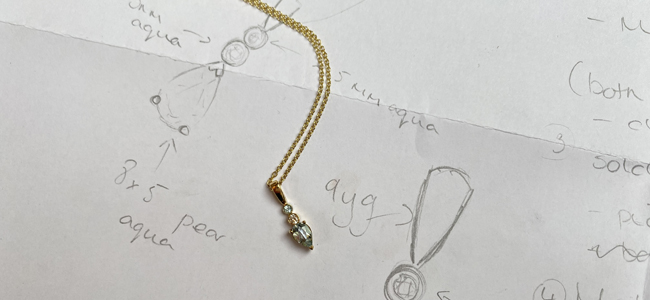
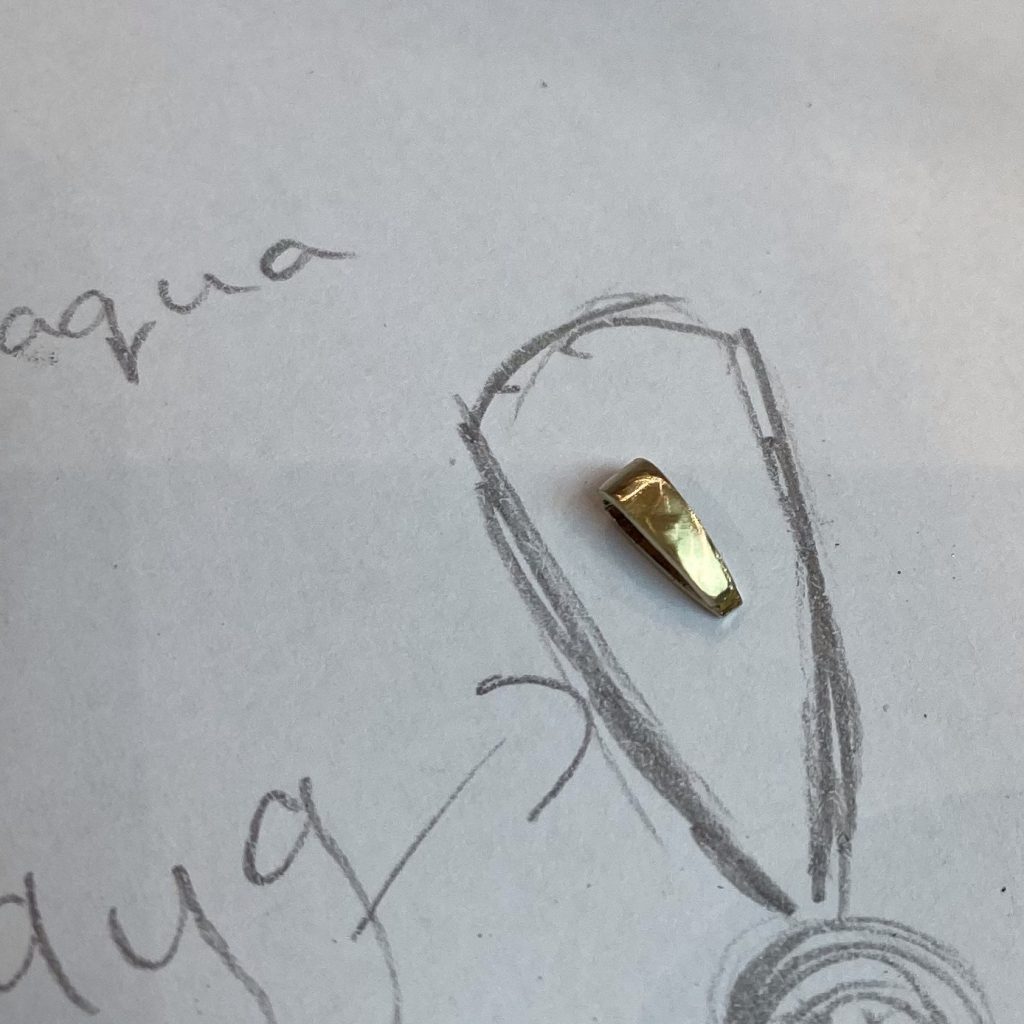
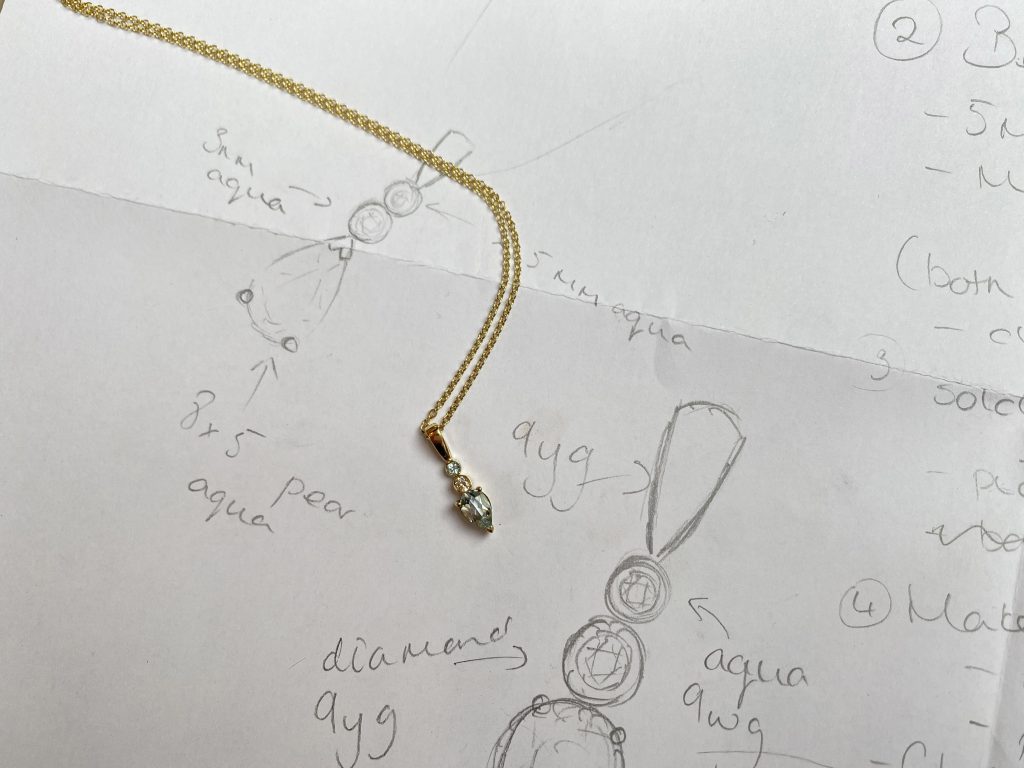
A classic and timeless style pendant made in gold, using gemstones of your choice but here we have opted to use Aquamarine and Diamond in contrasting 9ct Yellow and White Gold.
I would advise you need some experience in soldering more complex, fine pieces as well as some setting experience.
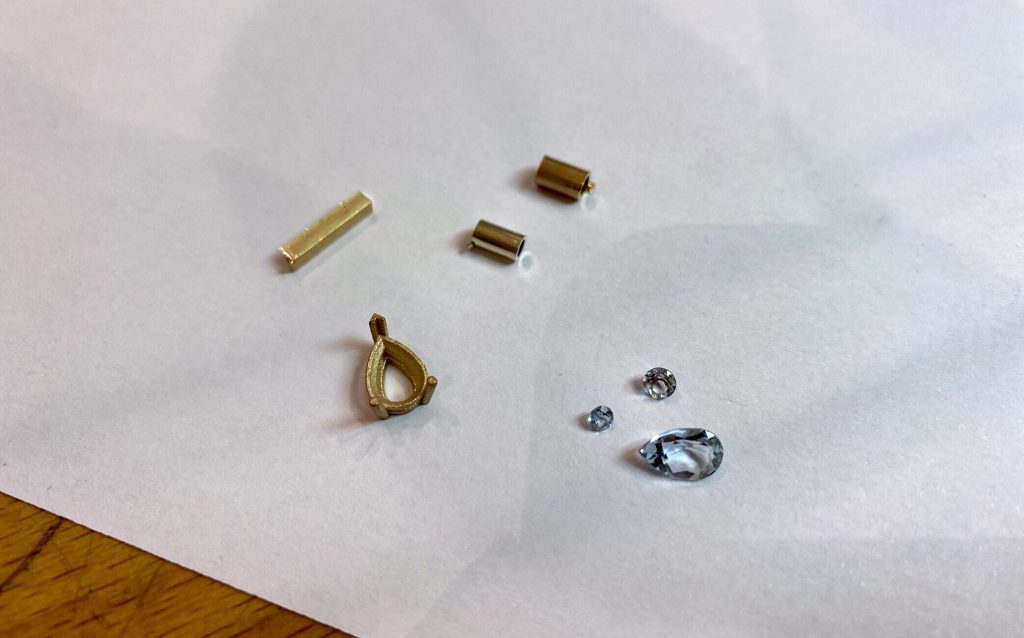
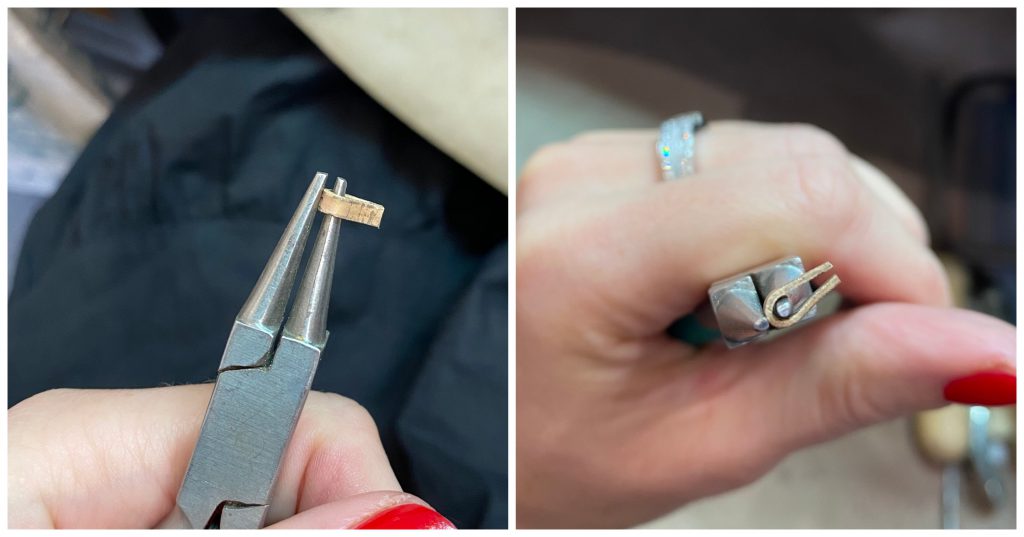
Step One: Get your settings prepared
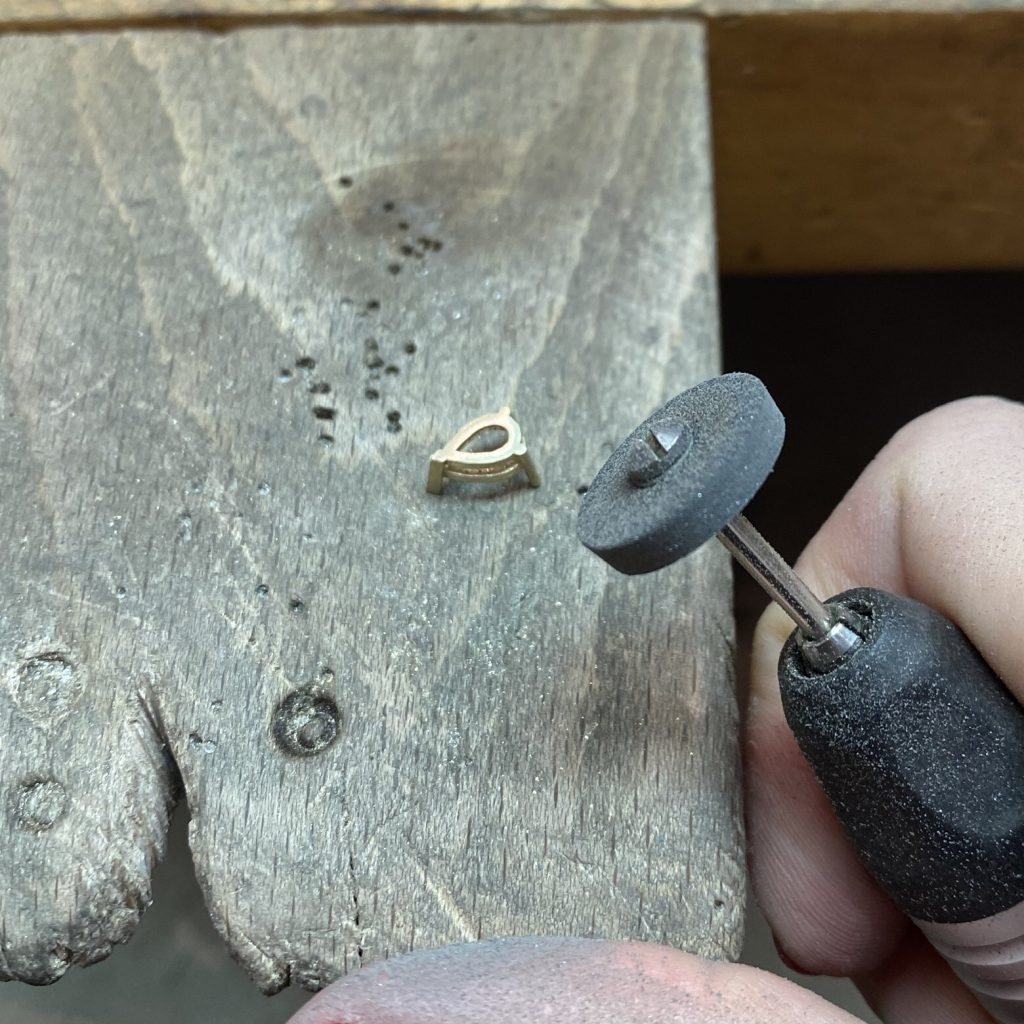
For our two bezel settings we are using tube/chanier (make sure the stones just sit on top of the tube setting and don’t fall through) and for the pear shaped aquamarine we’re using a ready made, claw set collet. Begin by cutting your tube down; measure the depth of your largest stone and add 1mm (for setting and cleaning up). File both of the ends so they’re flat and clean up the whole tube with an emery stick. Now make sure your collect is cleaned up, for this I use a black rubber and emery to get into the ‘nooks and krannies’ of the claws.
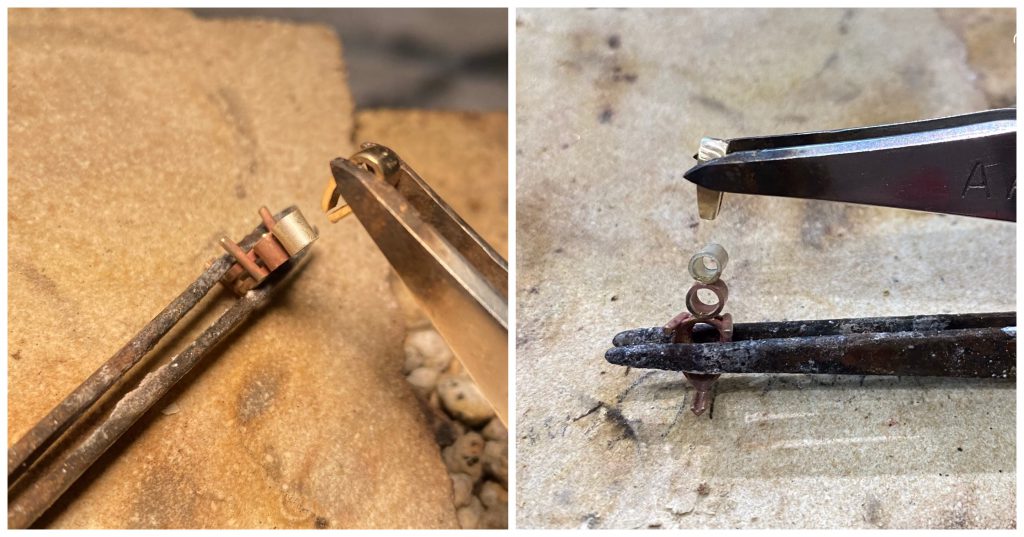
Step Two: Solder your settings together
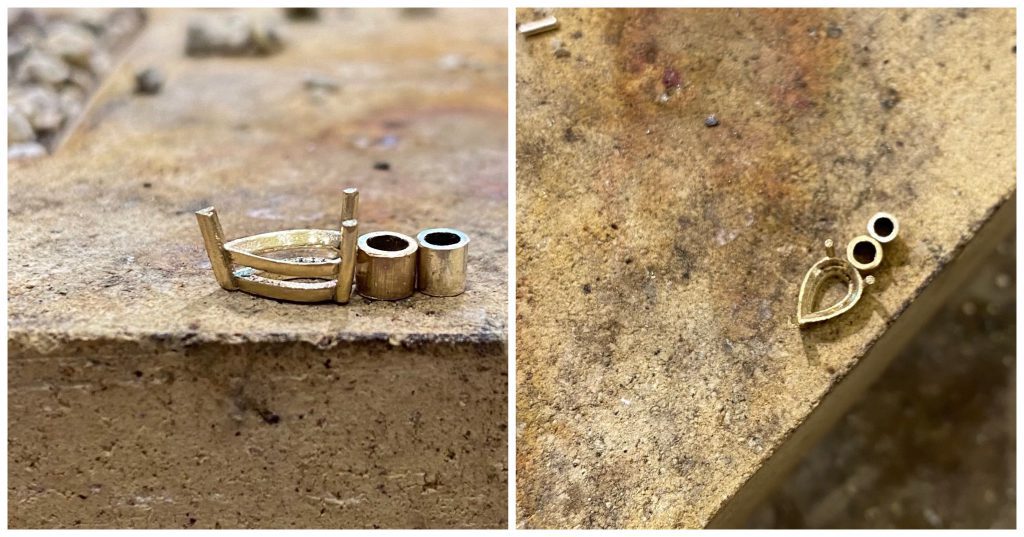
Line up your collets on your soldering block using small pieces of hard or medium solder and with a steady hand and sharp tweezers place the solder in between the collets and gently heat (I use a micro weld but can use a fluffier torch) until the solder flows – make sure you have ‘well fluxed’ the collets, I use easyflo. Pop them in a heated safety pickle to rid the flux and any oxidisation. (If you don’t have much practice with soldering I would recommend making this in silver first in case of melting)
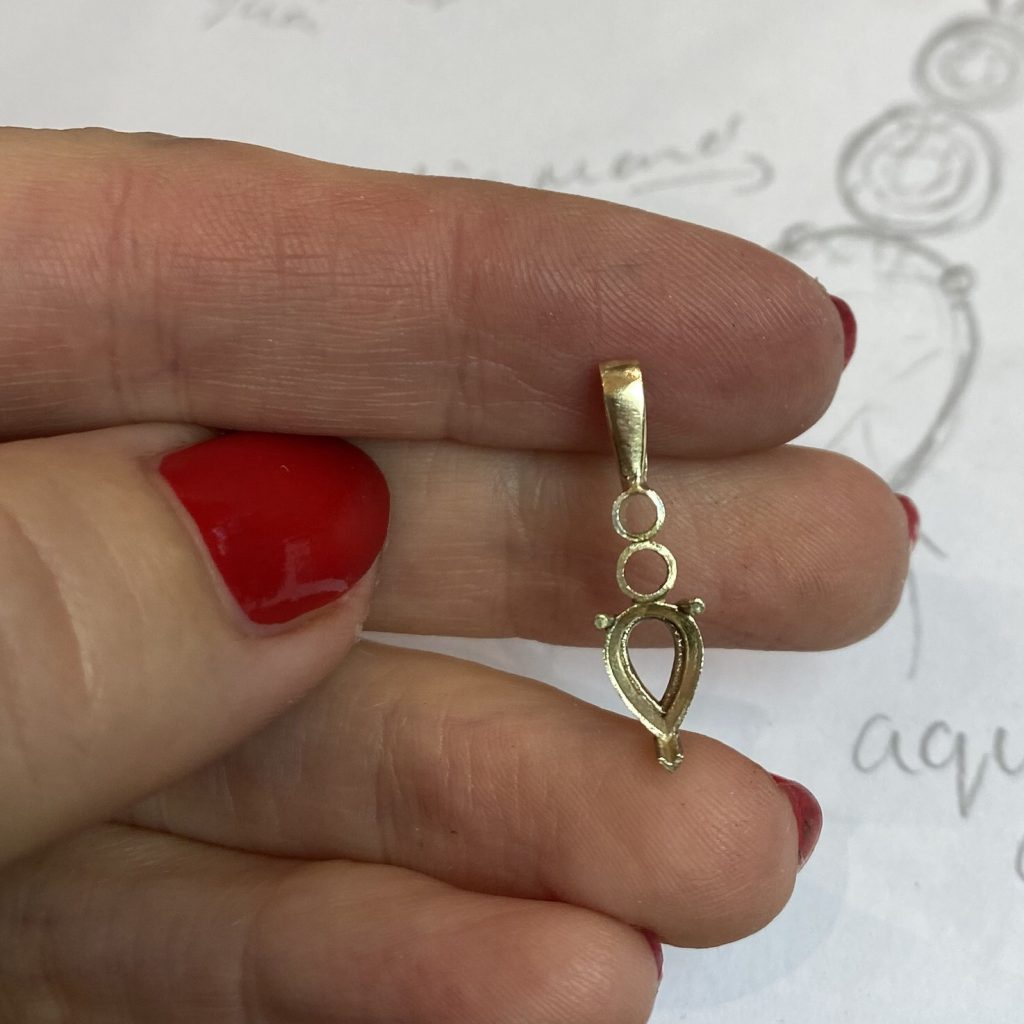
Step 3: Make bale
While your pendant is in the acid, it’s time to make your bale. These can be bought ready made however I always prefer to make them as they’re really easy to do and you can determine the exact shape that compliments the design – it’s all in the detail. Start with your 2mm squared wire and roll it length ways until you have a piece of sheet that is .8mm thick by about 20mm, remember to keep it annealed through the rolling process. Once you have the desired dimensions (don’t worry if they’re a little off but I wouldn’t let it go any thinner than .6mm) you can anneal if for a final time before bending it round.
Take your half-round/half-flat nosed pliers, hold it in the middle; take your parallel jaw pliers to bend it, squeezing the ends of the metal together. When the ends are touching, take the half-round/half-flat nosed pliers and keep holding it sturdy, resting on your bench peg while you file the ends that meet into a point. Use your roughest, toughest file to get the job done quicker but be careful to match each side up as you go along. It’s at this stage you can decide the shape of your bale, if you decide it’s too long then simply take a bit off the bottom and file to make the ends meet once again. Then clean up, file and emery until all the filing/rough marks are gone – the smoother the metal the finer the polish
Step 4: Solder the pendant and the bale
Time to join the pendant to the bale. Make sure the ends of your bale are a point but flat and the top of the pendant has a flat point to give a secure join. Back at your soldering block, secure the pendant in fire tongs, keeping a free hand to place the bale with your tweezers. If you’re not experienced or don’t have a steady hand you can use two sets of fire tongs, one to hold the setting and the other the carefully and securely balance the bale on top of the bezel. Cut a piece of easy solder (so the heat doesn’t melt the medium solder we have previously used) and flux your pendant and bale. Gently heat the pendant and place the piece of small solder on the point to join, once the solder is about to melt, carefully hold the bale in place until joined. Use a fluffy, small flame. Put in the safety pickle.
Step 5: Prepare for setting
Once the piece has been pickled thoroughly (you don’t want any black or pink colours on the metal) give the whole thing the once over with a fine emery stick or black rubber being sure to get in all the small spaces (including the inside of the settings, you can wrap some fine emery paper around a needle-file for this. If you have one, I would also recommend giving it a round in your barrel polisher to get the insides of the settings shiny before setting. Once out of the barrel, give a final emery and first round of polish with tripoli (if you use a two step polishing method.) Give a quick clean in the ultrasonic.
Step 6: Setting
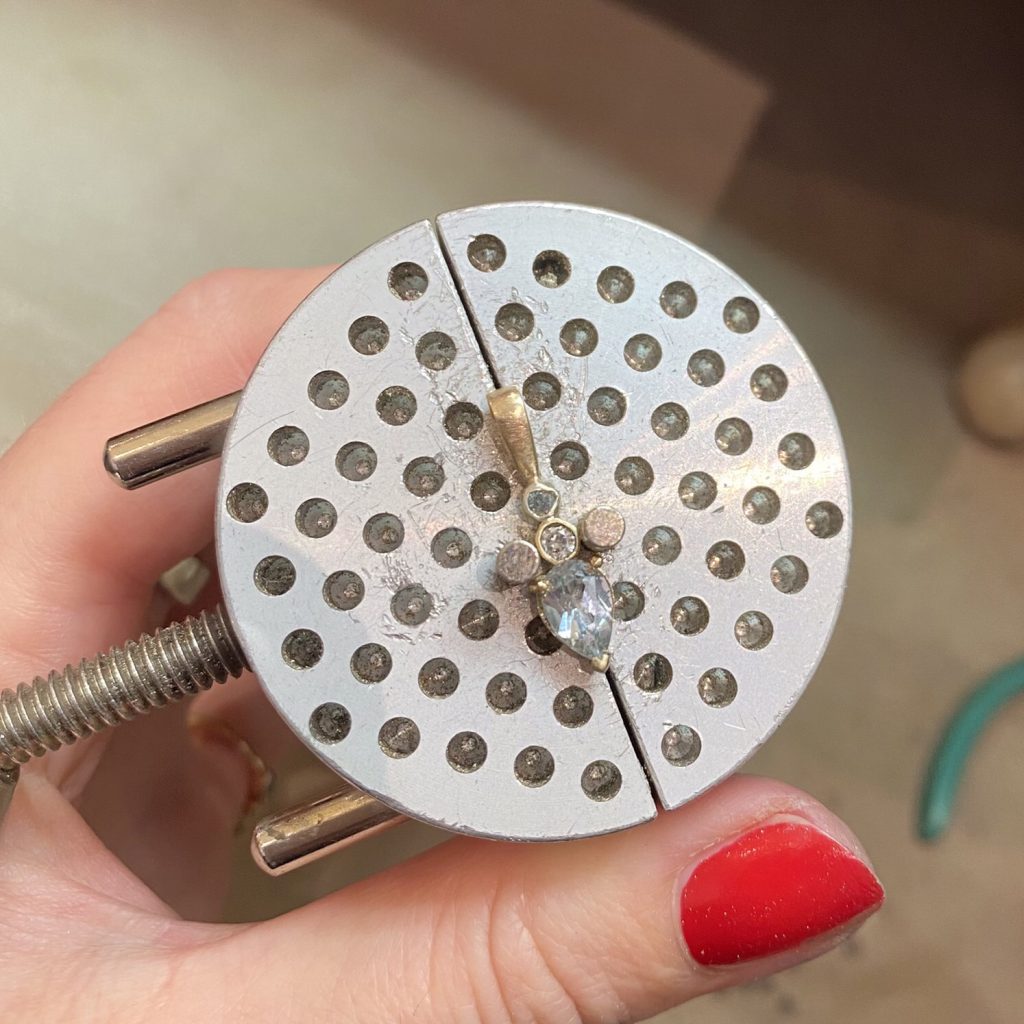
I would recommend you have some claw and bezel setting experience for this, if not, I’d do some practice with silver and CZ and find some tutorials. Set the hardest stone first, in this case it would be your diamond or CZ which is central in our project. Using a ball burr, slowly cut away enough of the metal to sit the stone just in the setting. About .5mm down, using a hart burr, cut a seat for the stone to sit comfortably on. If you can, click the stone into place securing by pushing the metal over from opposite sides with your bezel pusher.
Do the same with the Aquamarine but be more wary of the softer stone, be gentle and allow for the stone to be deeper and less even in proportion than a precise ‘diamond-cut’ stone. Take you time with this and try not to cut too deep into the bezel. In this tutorial, I cut the bezel too deep causing the metal to completely fold over on one section resulting in having to start again. For the pear cut Aquamarine, it should sit quite nicely in the ready made collet already so slightly bend the claws back, cut a seat with the hart burr and evenly bend the claws over.
Step 7: Polishing
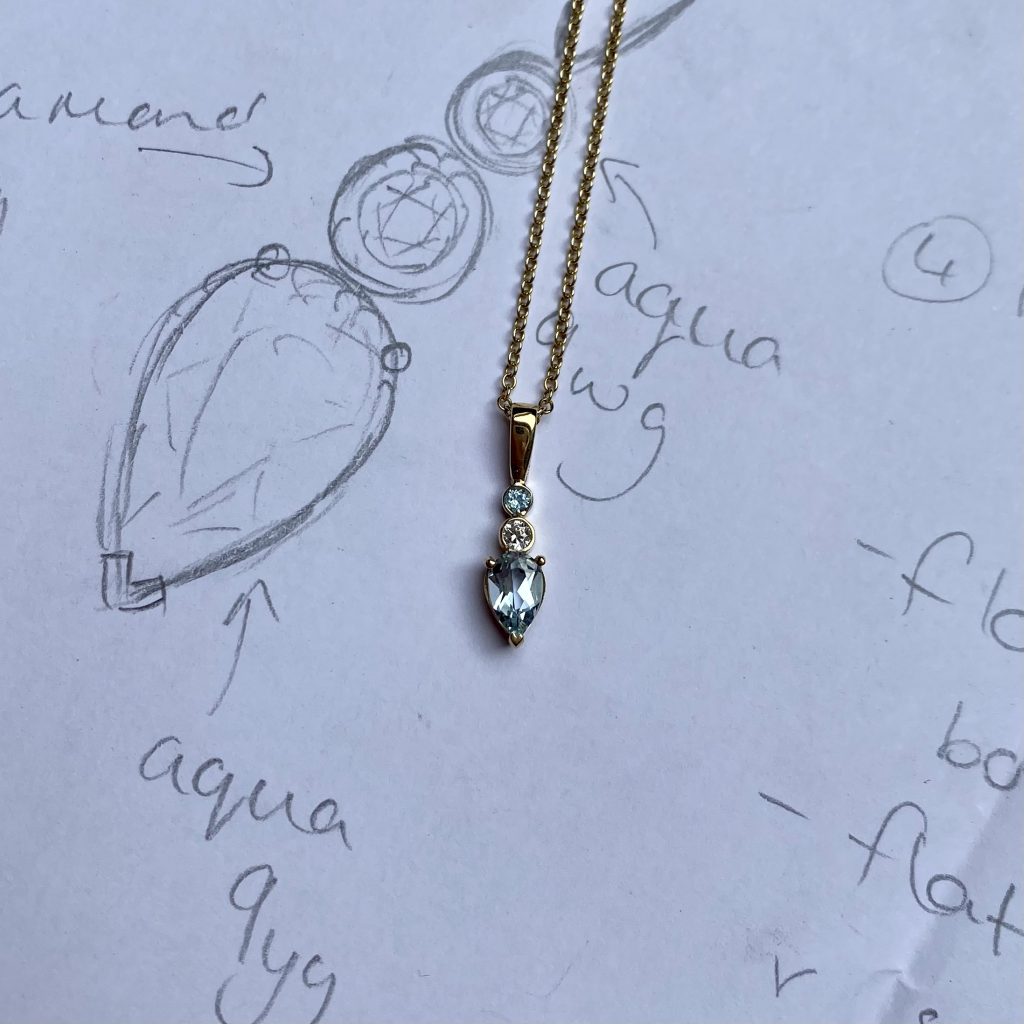
Now your stones are secure (if you’re not sure, push them from the back with something thin and hard – if they pop out or move, go back to securing them with your pusher) we’re nearly finished! Because we’ve been keeping the piece clean throughout the whole process this last part is relatively simple. Emery away any marks from setting, give a once over with tripoli (make sure you sonic in between compounds so you don’t contaminate them) and then give an all over final polish with your favourite high-shine compound – I use white dialux. Give a good clean in the ultrasonic and hang from a glittering 9ct yellow gold 18 inch chain.
Step 8: Admire your hard work!
This does not come without its challenges especially if you don’t have too much experience with soldering and setting. If this is the case for you but you want to give it a go (I have over 10 years experience as a jeweller and still had to correct mistakes) I’d highly recommend a practice run in Sterling Silver and larger, semi precious gemstones. Have confidence, take it slowly and take notes as you go along from things like dimensions to tips you’re learning and can come back too. I always have a notebook on hand to plan ahead and note-take on each piece I make – a tip from the master jeweller who taught me.
We want to see what you have been making! Share your creations with us on social media, tagging in Cooksongold on Facebook, Twitter and Instagram.

Roseanna Croft
Specialising in bespoke engagement and wedding rings and jewellery redesigns. Carefully created, using exquisite gemstones and precious metals of your choice. Expertly crafted, each handmade jewel encaptures an incredible story… Yours.