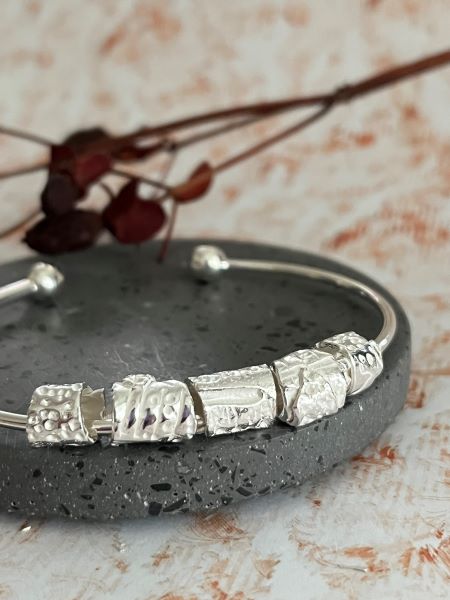
Want to learn how to make a clay bead bracelet? This project will guide you through the step by step process of transforming silver clay into stunning textured beads that can be stacked onto a silver screwable torque bangle allowing you to easily add and change them to create a unique piece of jewellery.
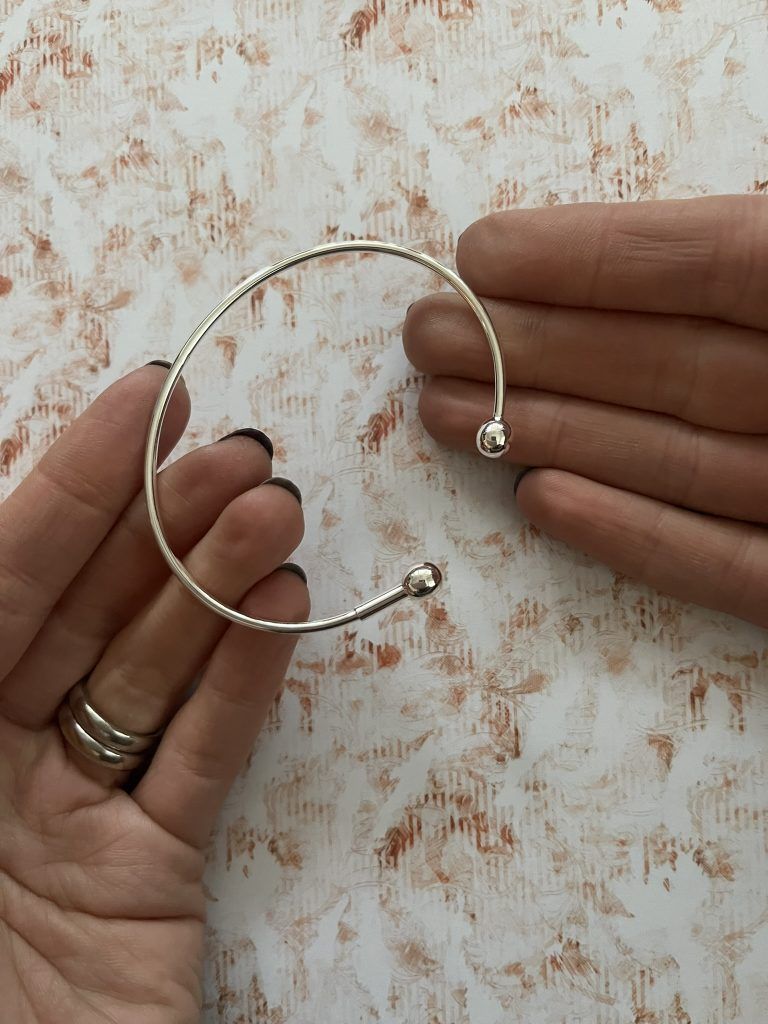
The bangle has a screw-on ball end making it quick and easy to change the look of the bangle.
What you Need:
Metal Straw or Pencil
Objects to Make Texture
Our Step By Step Tutorial
Step 1
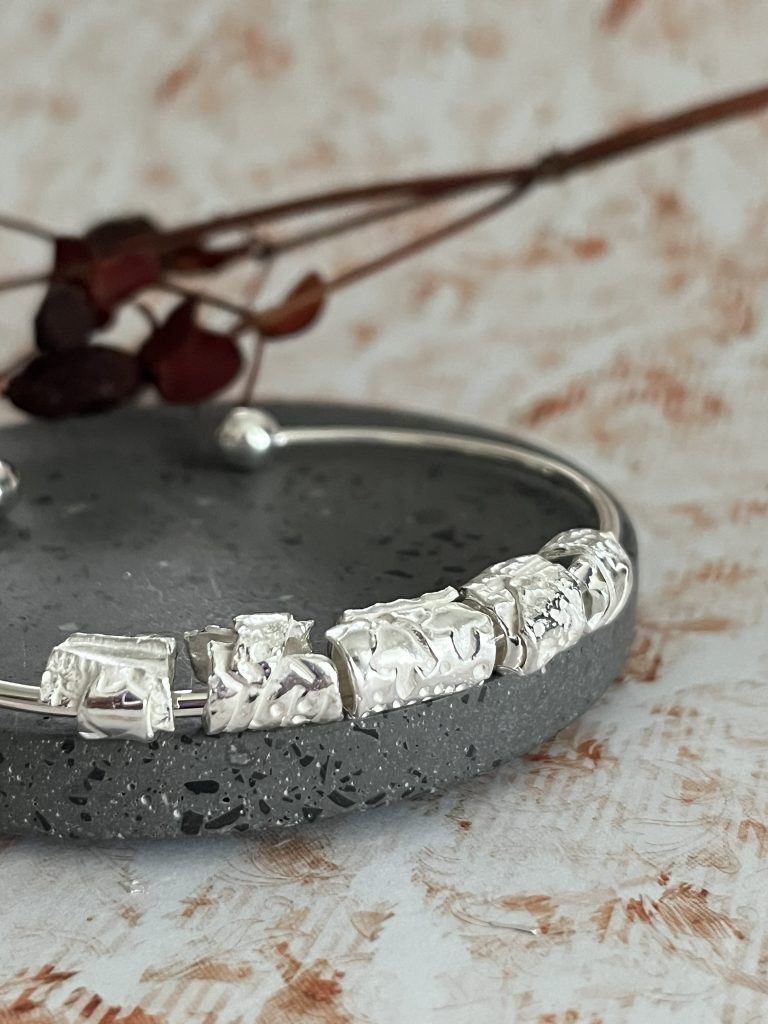
Have you chosen bangle to hand. For this particular project we have opted for a silver bangle with ball fittings. The end balls of the sterling silver bangle unscrew thus giving the ability to add beads and charms.
Step 2
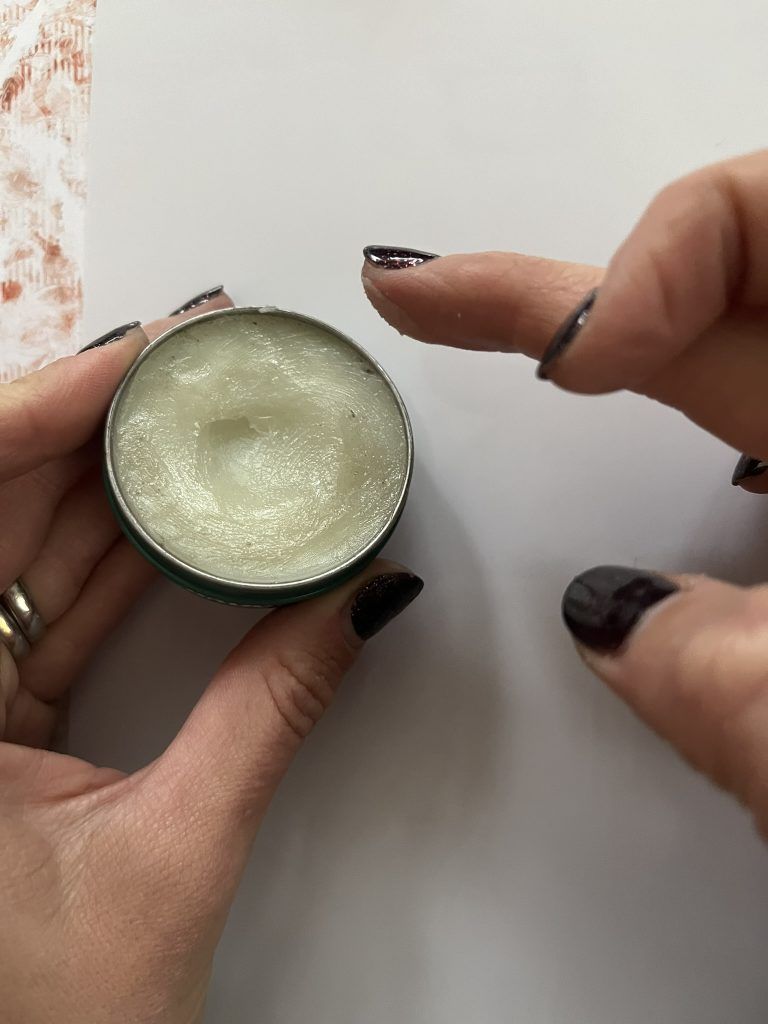
Get your work surface ready. We recommend using a wipeable smooth surface or work mat. There is a work mat included in the silver clay kit. Apply silver clay balm to the surface of your work mat and your fingers to ensure the clay does not stick to either.
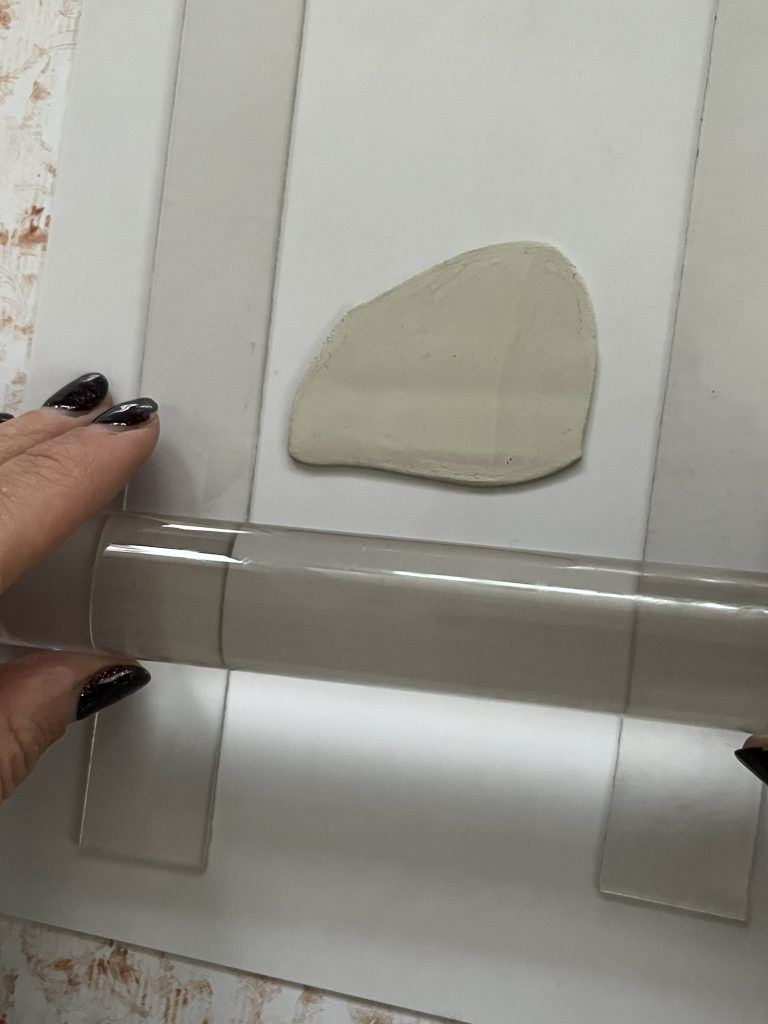
Step 3
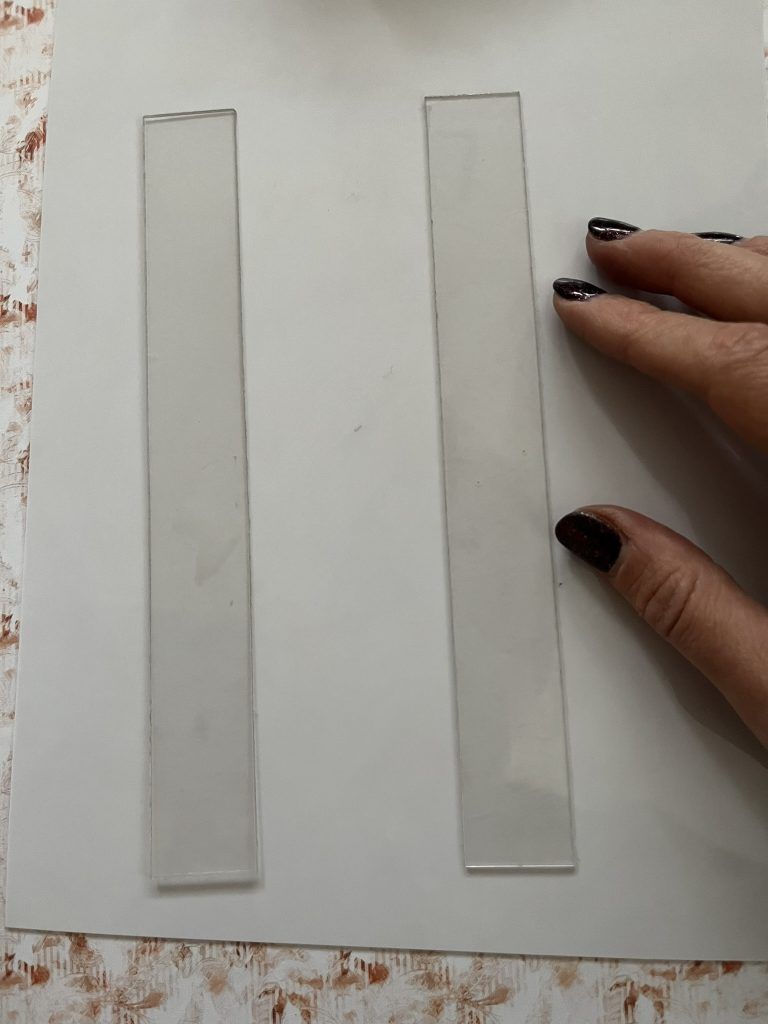
Place down two acrylic strips or you could use playing cards stacked up either side to your desired thickness. Need to insert why this is part of the process?
Step 4
Place 20g of silver clay inbetween the acrylic strips and use a roller to roll out the clay to the thickness of a £1 coin.
Step 5
Use the found objects and any tools you have to add texture to the silver clay.
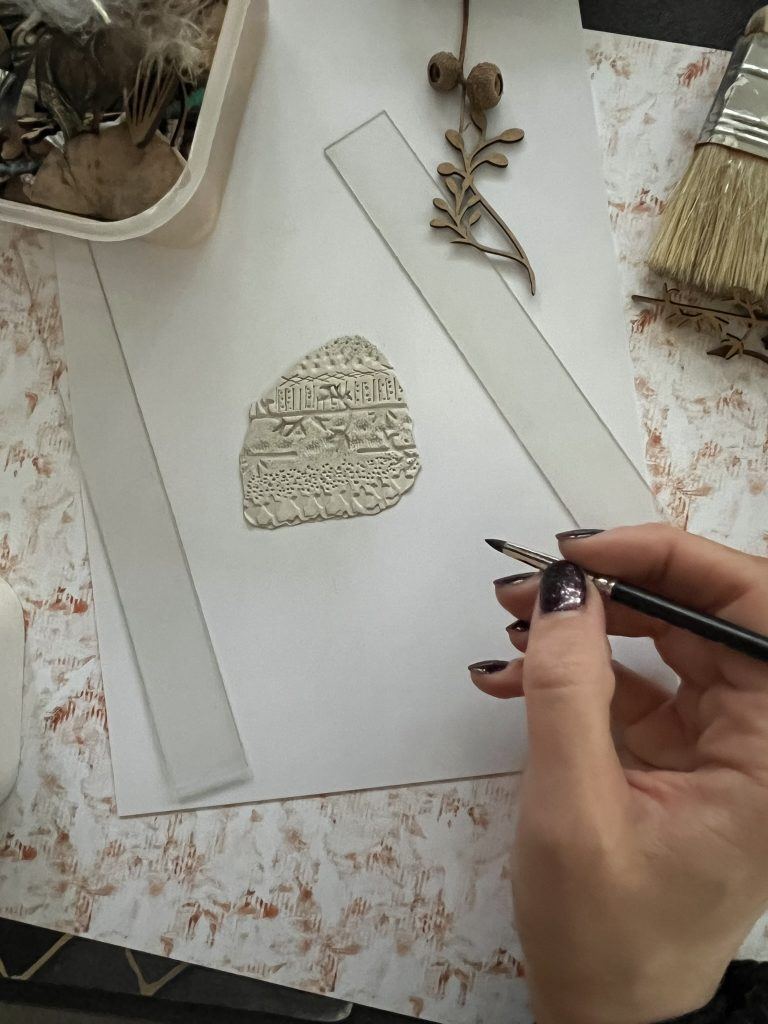
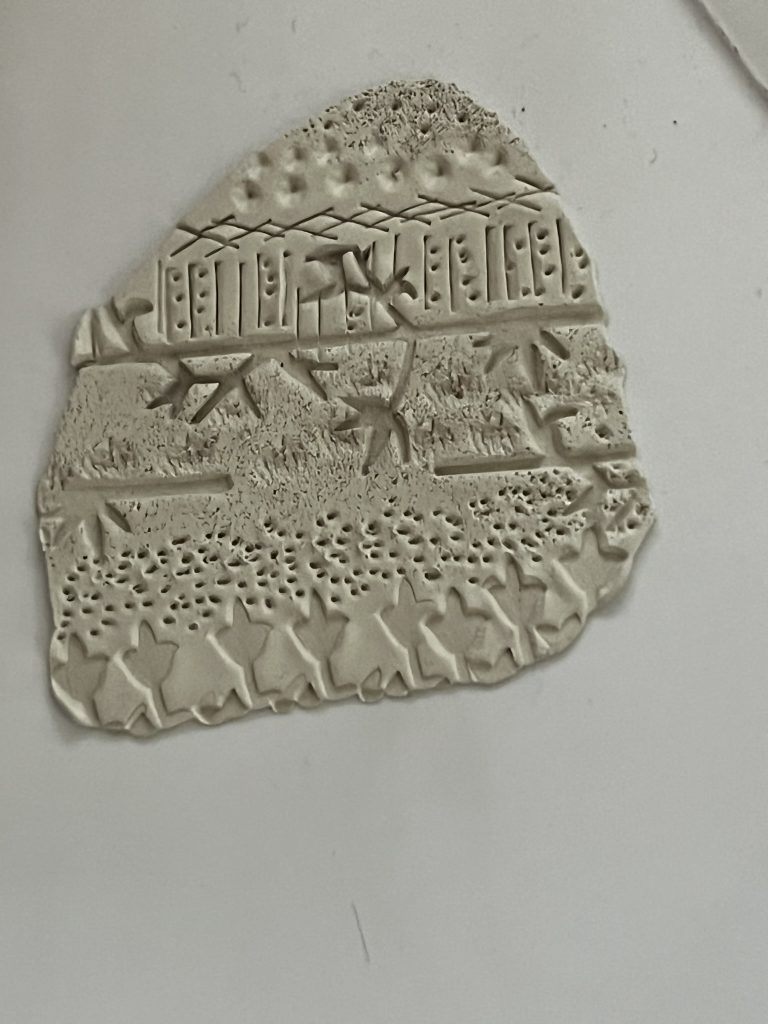
Step 6
Add repeating patterns to the silver clay ensuring that you do not push too deep as this could cause weak spots in the clay.
Step 7
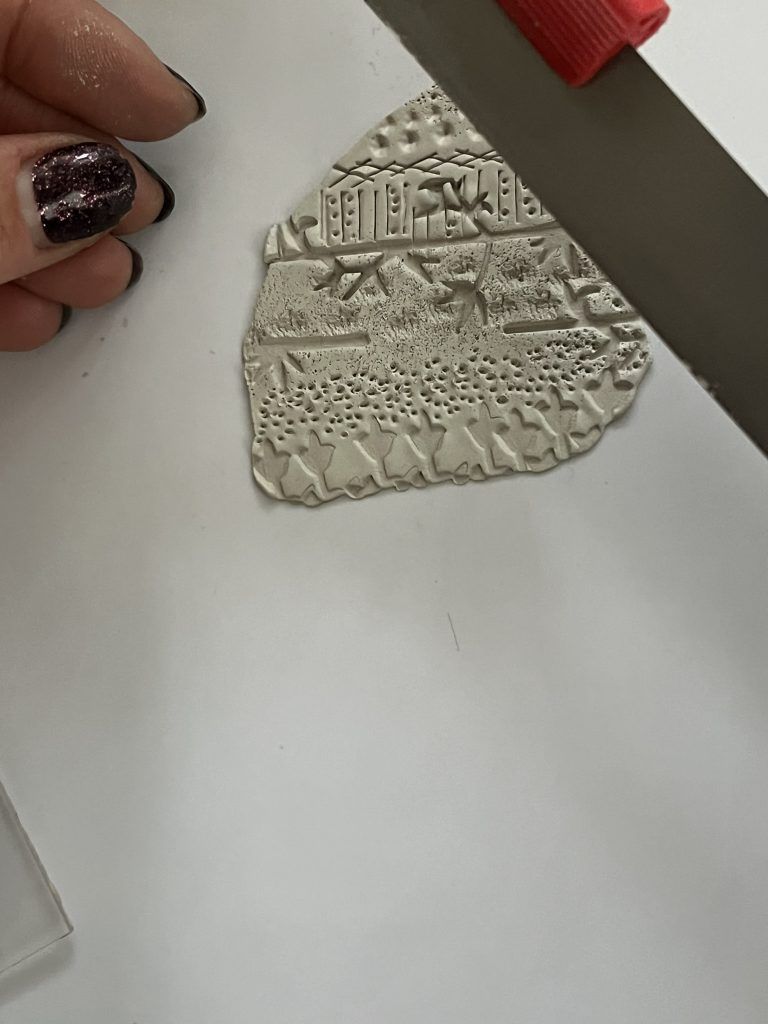
Use a knife or FIMO cutters so cut the silver clay into strips approximately 10mm wide. Cut the strips to approximately 20mm long.
Step 8
Use a straw (or something slightly slimmer if you want your beads sit tighter on the bangle) and wrap the clay slips around the straw gently overlapping the ends and pushing them so they join without impacting the pattern and texture.
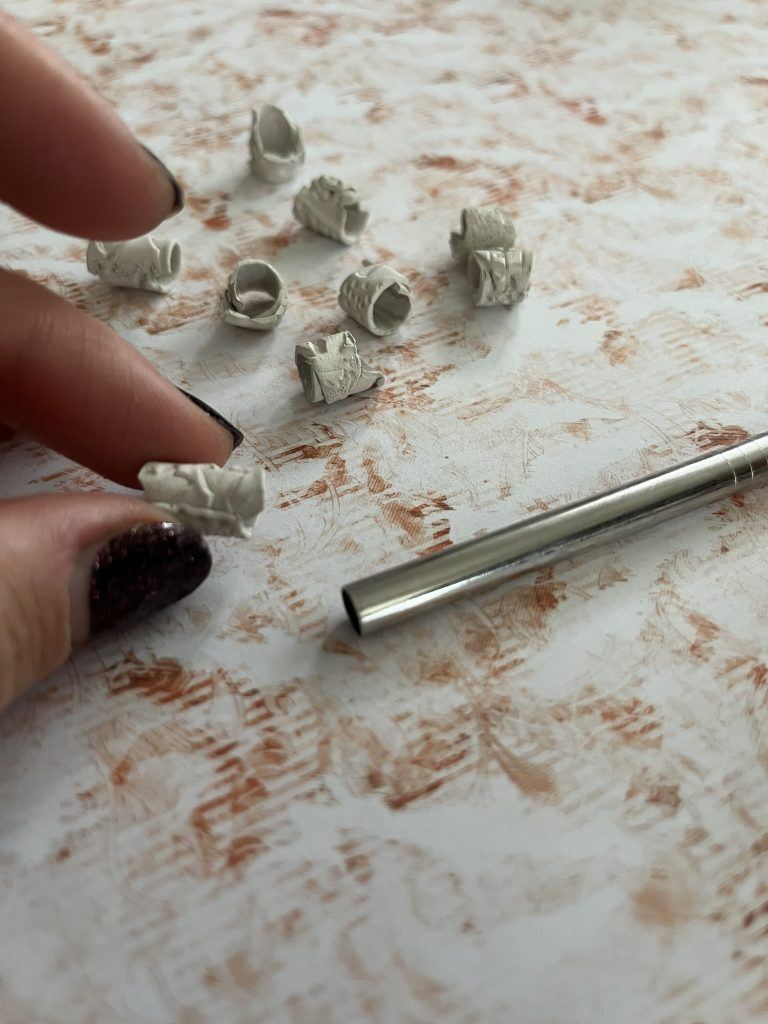
Step 9
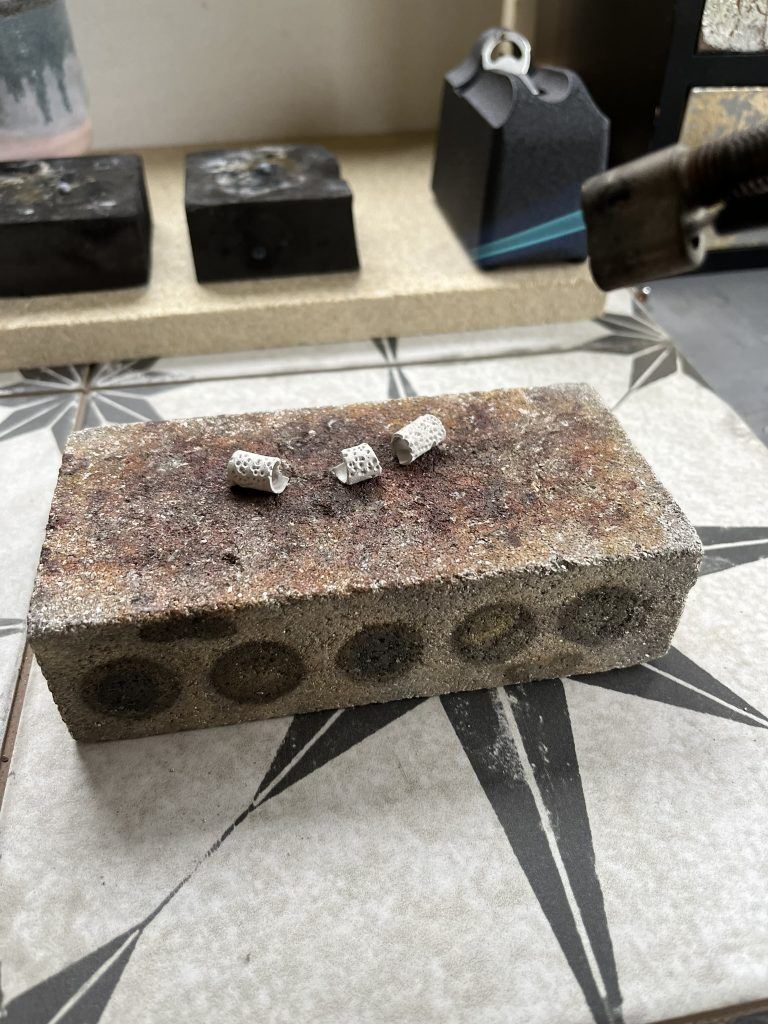
Leave the clay bead somewhere warm to dry for 24 hrs. When fully dry place the beads on a soldering block. Use a handheld blow torch to heat each bead up individually. Heat the bead evenly firstly burning off the binder and then ensuring that the silver has sintered together. Follow the instructions on firing the silver clay with the instructions from the pack.
If this is your first time firing silver clay, we recommend following the instructions that you will find on the back of your clay packet. As with all of our jewellery making projects, practice before working on your final piece, firing clay can take a bit of time to master but once you’ve got it then your clay jewellery making will be easy!
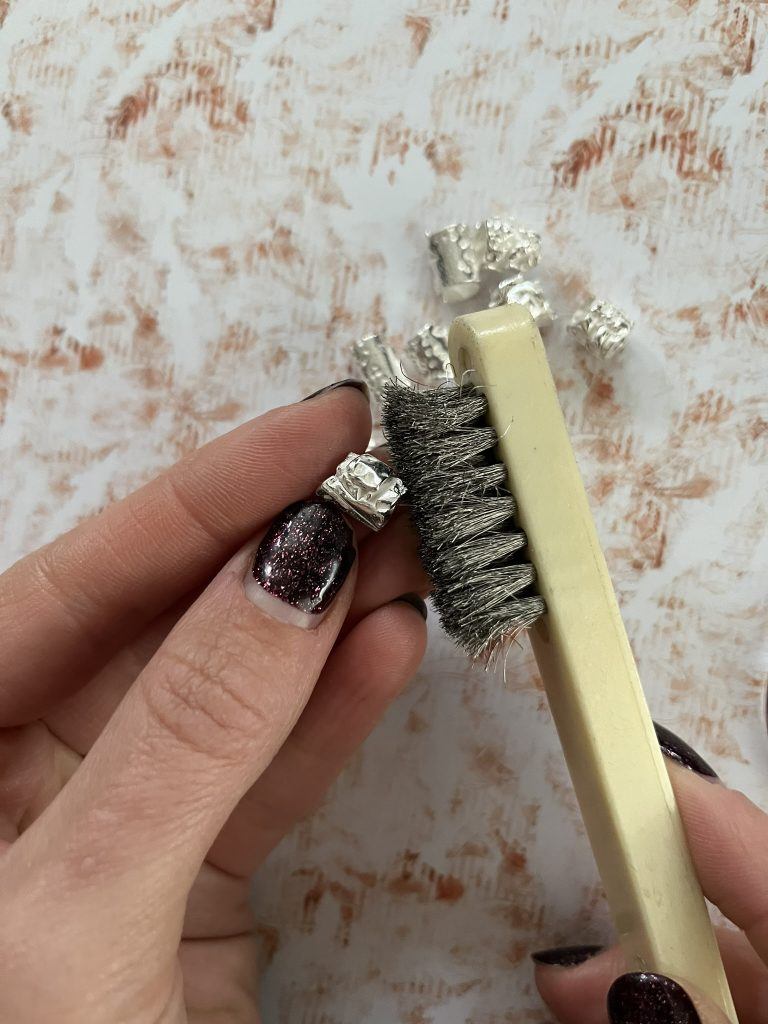
Step 10
When cool, use a wire brush to bring out the shines.
Step 11
Thread the beads onto the silver bracelet and screw on the end ball.
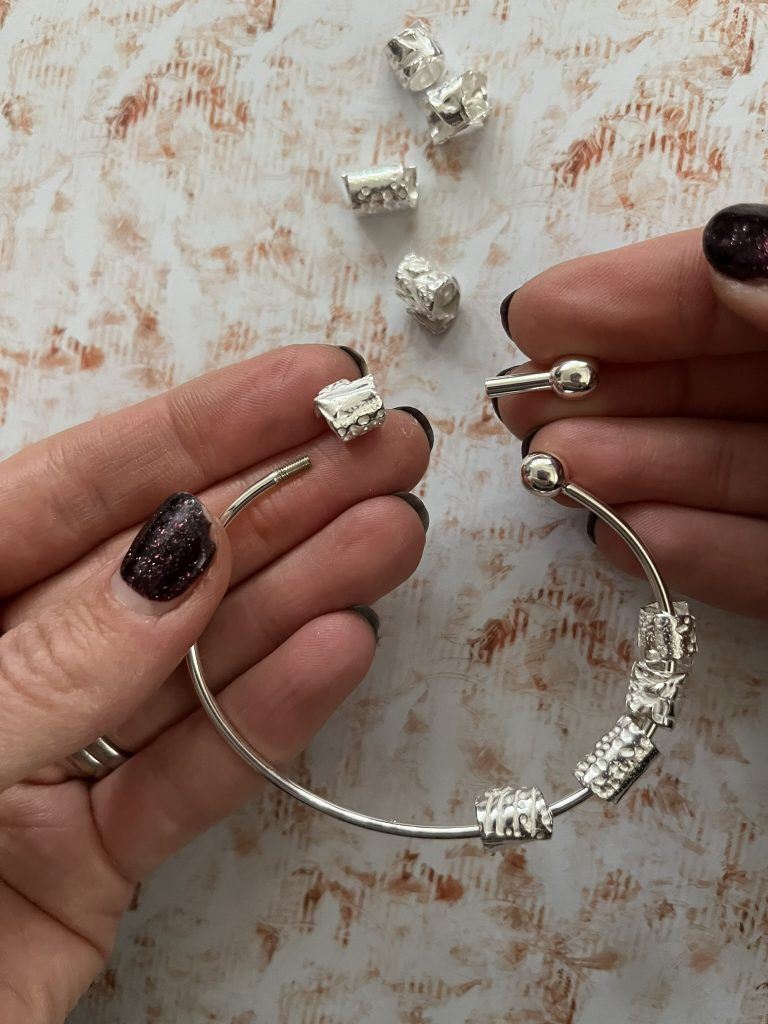
Step 12
Add as many or few beads as you like and interchange them as often as you like.
This is such an easy way to create jewellery with silver clay and perfect for beginner jewellery makers.
We stock an extensive range of silver clay and silver clay tools and accessories from leading brands including Project X Clay and Art Clay Silver so you’ll find everything you need to get started.
Give this a go and tag us in your pieces over on our social accounts!

Sian Brown
Sian has been hand making her award winning jewellery in the West Midlands for over 12 years. Sian spent 10 years in Birmingham’s historic Jewellery Quarter before relocating to a quiet Worcestershire village.