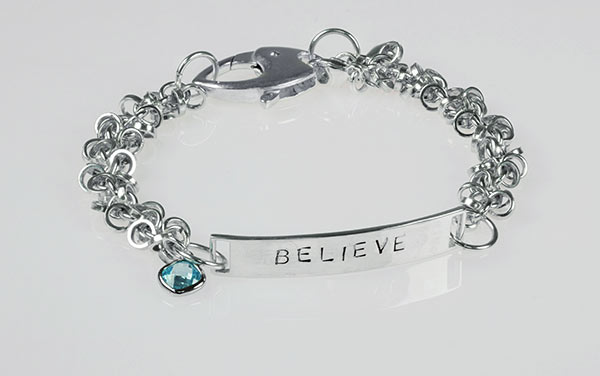
Follow these simple instructions to make this modern Boho chic version of a traditional identity bracelet.
Step 1: Measure your wrist
Firstly, measure your wrist and make a note of the length you require for a snug fit. For minimal movement add a further 1cm, for a loose fit add a further 2cm. This will be the total length of the finished bracelet from end to end when open.
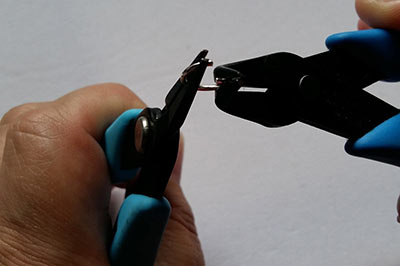
Step 2: Open the jump rings
Open all four jump rings. This saves time later on and may as well be done whilst you have the pliers to hand.
When opening the jump rings make sure you use a forward and backwards motion not a side-to-side motion. Grip the ring firmly to avoid movement in the pliers as this may scratch the silver.
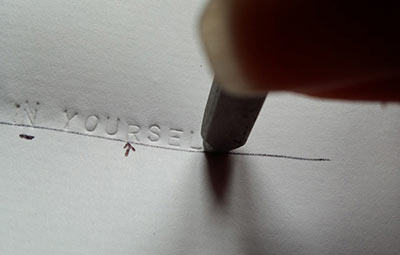
Step 3: Mark where to stamp
Measure the distance between the holes on the ID tag and mark on a piece of paper.
Using a soft surface, such as a jewellery mat or a cushion, practice on the paper with the placement of the stamps and press in by hand to make an indent on the paper.
This gives you the chance to make minor changes in your placement before stamping into the silver.
Step 4: Secure the blank
When you are happy with your practice run, prepare the ID tag by sticking a line of tape to indicate the bottom level of your letters, this will act as your baseline and is where the bottom of your circular stamp base will sit.
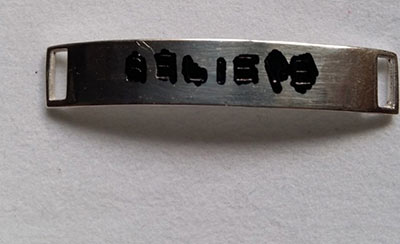
Step 5: Use enamel marker pen
Once you have stamped the letters, use ImpressArt Stamping Enamel Marker Pen to colour in the impressions. Don’t worry about being messy; any excess ink can be wiped off with a tissue.
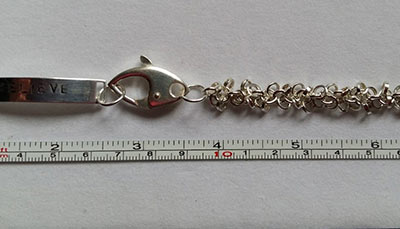
Step 6: Measure the chain
Attach a jump ring to the navette clasp and a further two to the holes on the ID tag. Attach the chain to the jump ring on the navette clasp. This will show you the total length of the bracelet and allow you to work out how much chain you need to remove to make it fit your wrist.
Although this is not the finished order of attachments it is an easy way of laying it out to check for length before making any drastic cuts to your chain. Measure the length of the bracelet you require and cut off the excess from the chain.
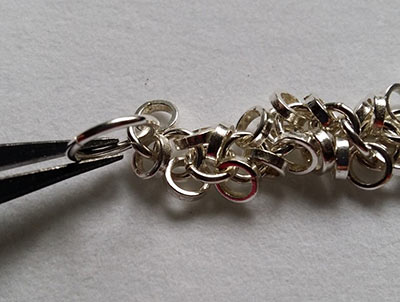
Step 7: Cut the excess chain
The chain is made of solid links, each having two further rings attached to the centre ring. Make sure you cut the centre link so that the two extra rings still remain.
Once you have cut off the excess chain, find the centre point of the remaining chain. Again cut a centre link so that you have two equal lengths of chain. You are now ready to do the final assembly of your bracelet.

Step 8: Attach all chain to the clasp
Remove the navette clasp from the ID tag. Attach the chain with the navette clasp on one end to one of the jump rings on the ID tag. Make sure you attach the jump ring through the centre ring of the chain, not the free links.
Step 9: Add the components
Attach the remaining chain to the ID tag by opening the jump ring. Whilst the jump ring is open, place the aqua charm onto the jump ring and close.
Add the remaining jump ring onto the remaining free end of the chain. Again make sure you add the jump ring to one of the centre rings of the chain. This jump ring will act as the fastening that the navette clasp hooks into.
Finally, add the detachable star charm. This is attached through the large attachment hole of the clasp.
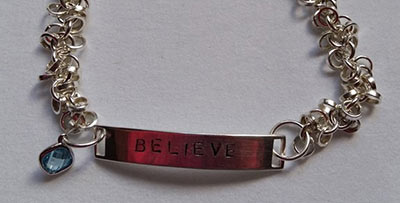
Your bracelet is now complete.
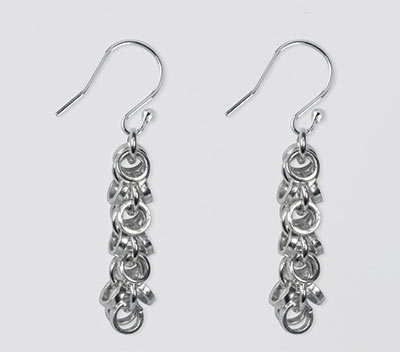
Tip: You can also use excess chain to make matching earrings using Sterling Silver Hook Wire .
See the downloadable version of this project to print and keep.
We want to see what you have been making! Share your creations with us on social media, tagging in Cooksongold on Facebook, Twitter and Instagram.

Lorraine Sanderson