Michael Cartwright Goldsmith shared on our Facebook page a how to make guide for an adjustable bangle.
Step 1.
Roll out some Sterling Silver flat wire or Sterling silver sheet 4mm x 1.25mm 8.5″ long.
Top tip: I have always added 0.5″ to the clients hand size

Step 2.
Bend the wire around and solder the ends together.
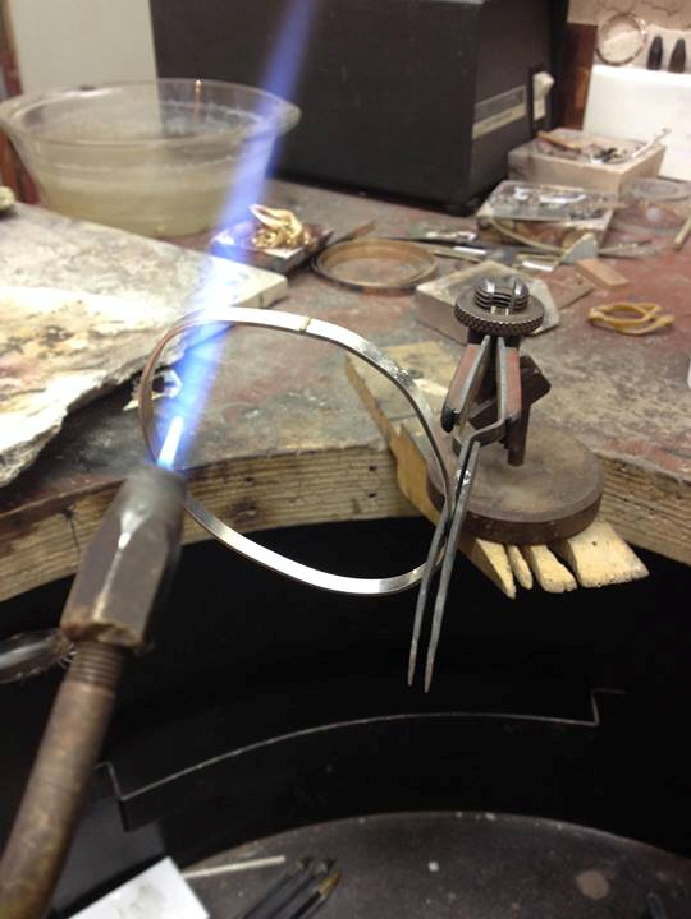
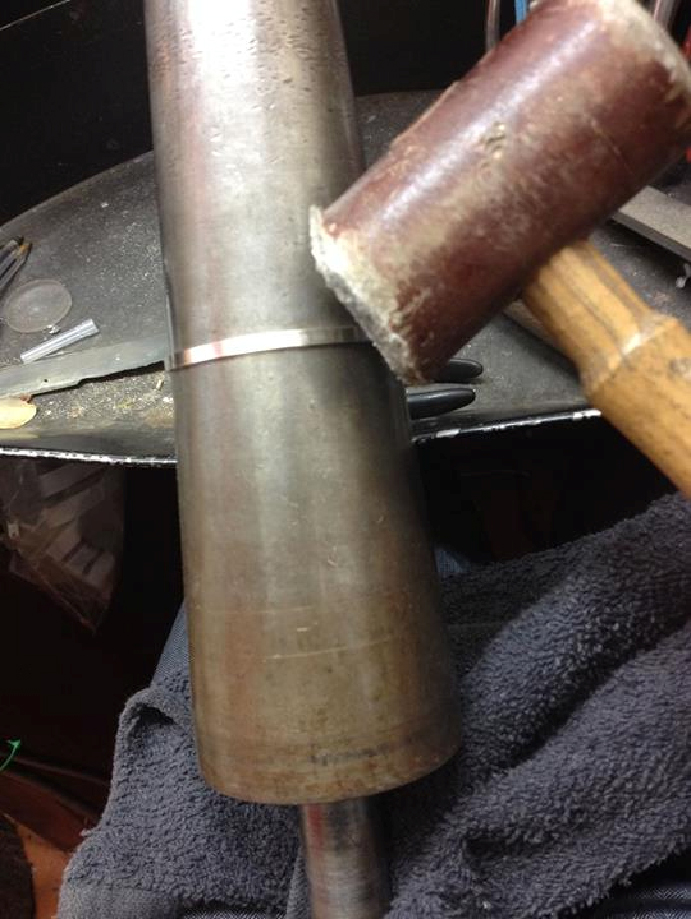
Step 3.
Shape the bangle by knocking it round with mallet on mandrel.
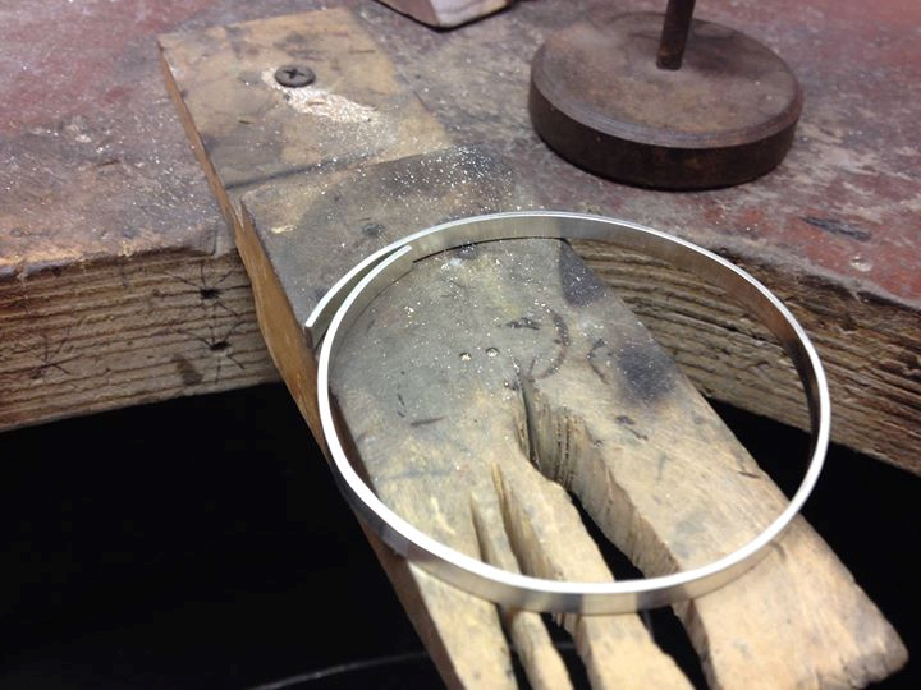
Step 4.
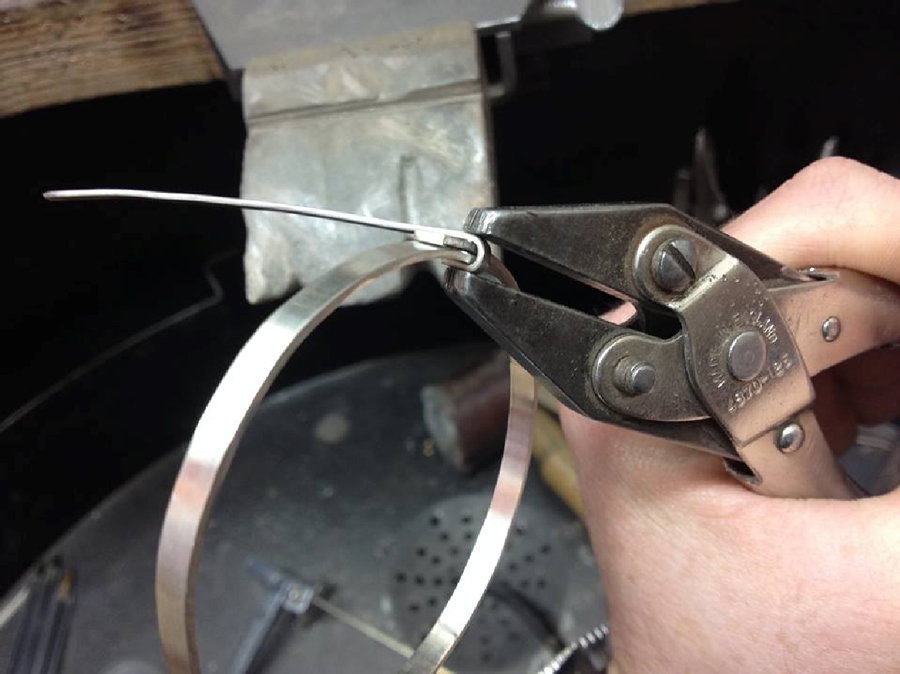
Cut the join with a saw. Overlap the 2 ends being careful to keep the bangle round in shape.
 Step 5.
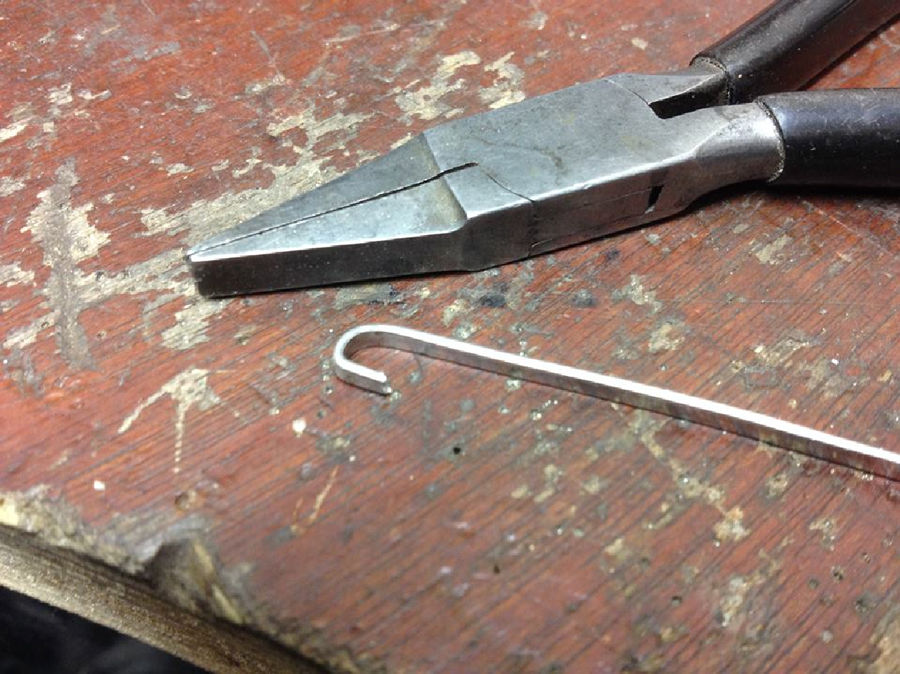
To make the end pieces , roll out a cut off from the bangle to 2.25 x 0.8mm, with a pliers carefully bend into a hook shape.
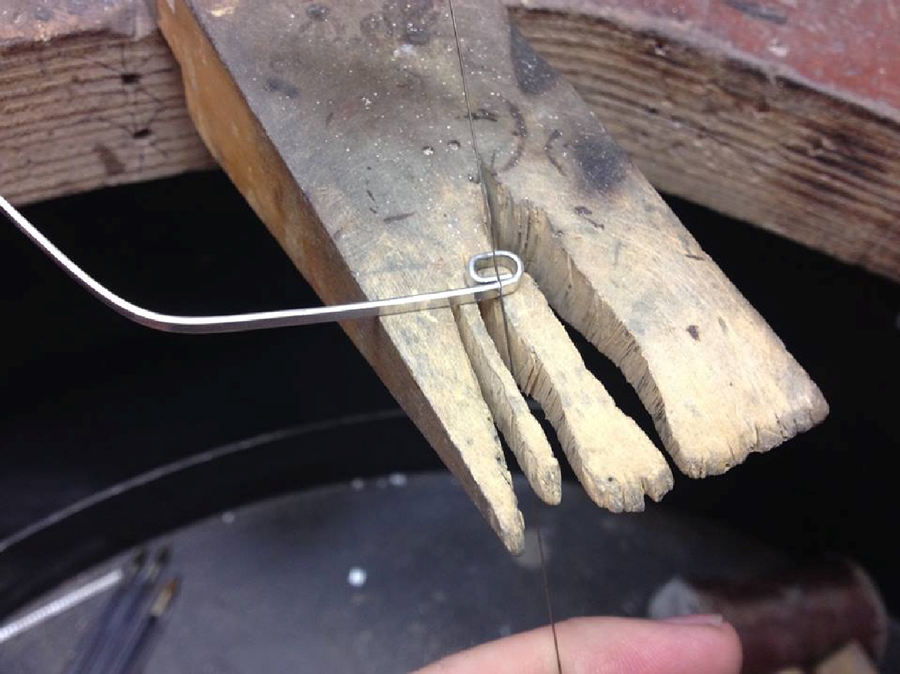
Step 6.
Put the strip over the overlapped section and carefully trying not to mark the bangle bend the strip around the overlapped section, not too tight though
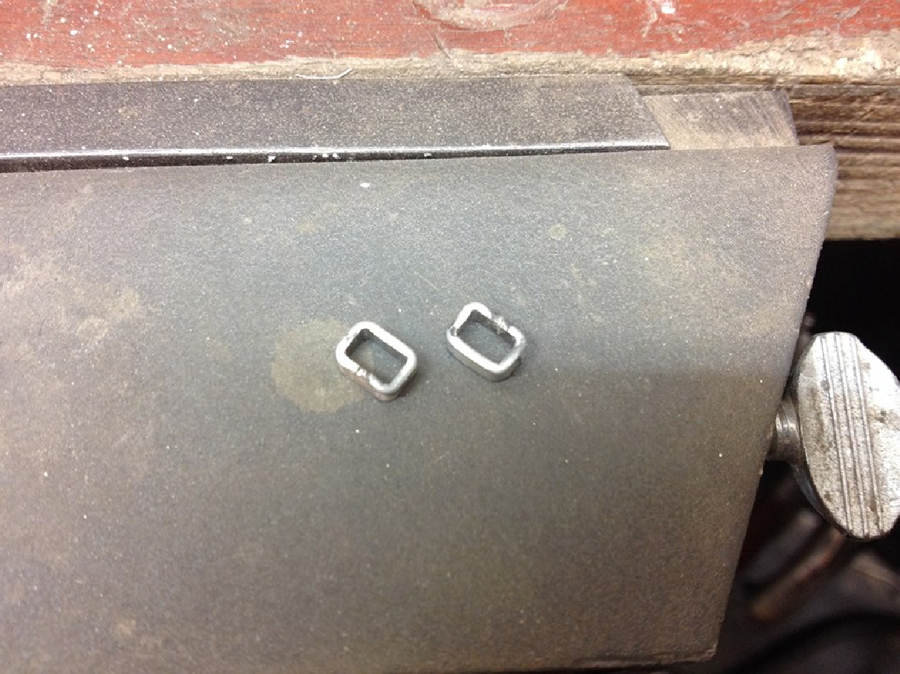
Step 7.
Cut through the end with a saw where they overlap
Step 8.
Bend the end pieces so they join to form a good join, solder them with hard solder if possible.
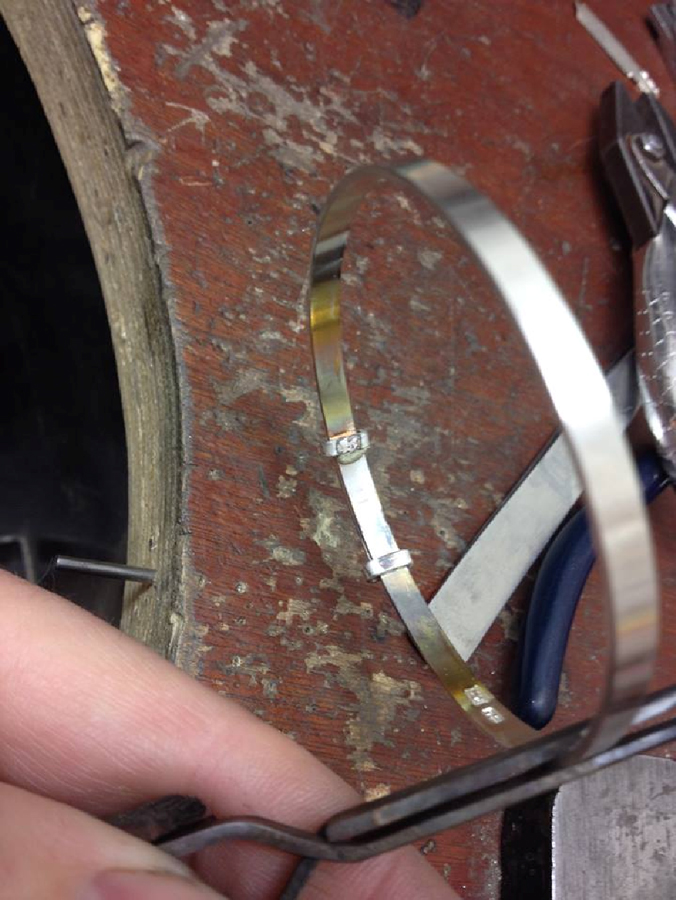
Step 9.
Pop the ends on the bangle. Keep the sides with the join, on the inside of the bangle so they are underneath so there’s no chance of seeing the joins when wearing the bangle (although we will buff and polish the joins).
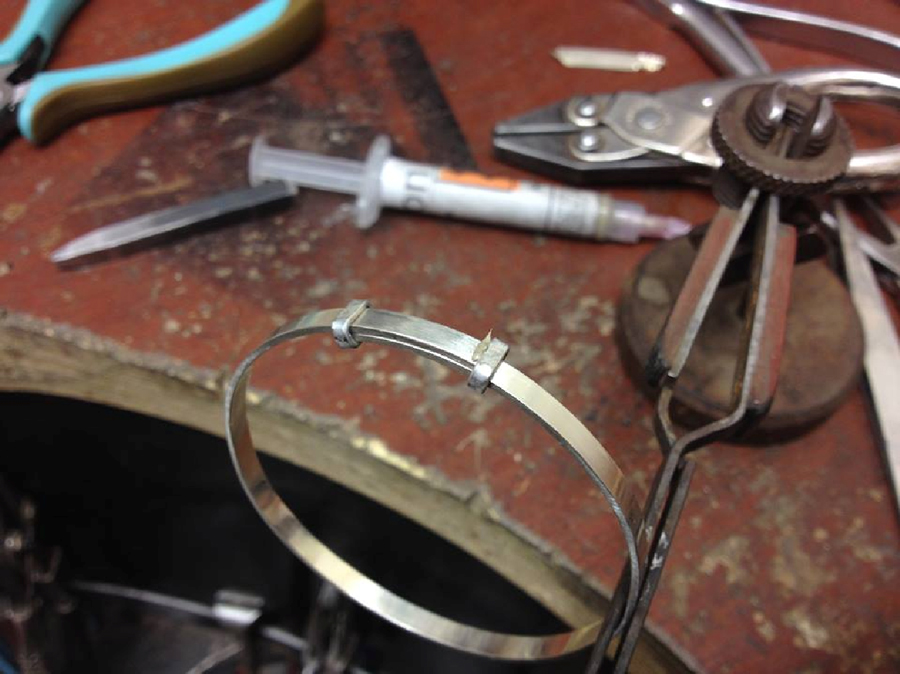
Step 10.
Pinch the end pieces in place so they don’t move around. Make sure they are straight and flush with the ends of the bangle. Solder them in place with easy or medium solder. Make sure you don’t let the solder flow around and underneath the bangle and solder both parts together. Concentrate the heat on just the area to be soldered.
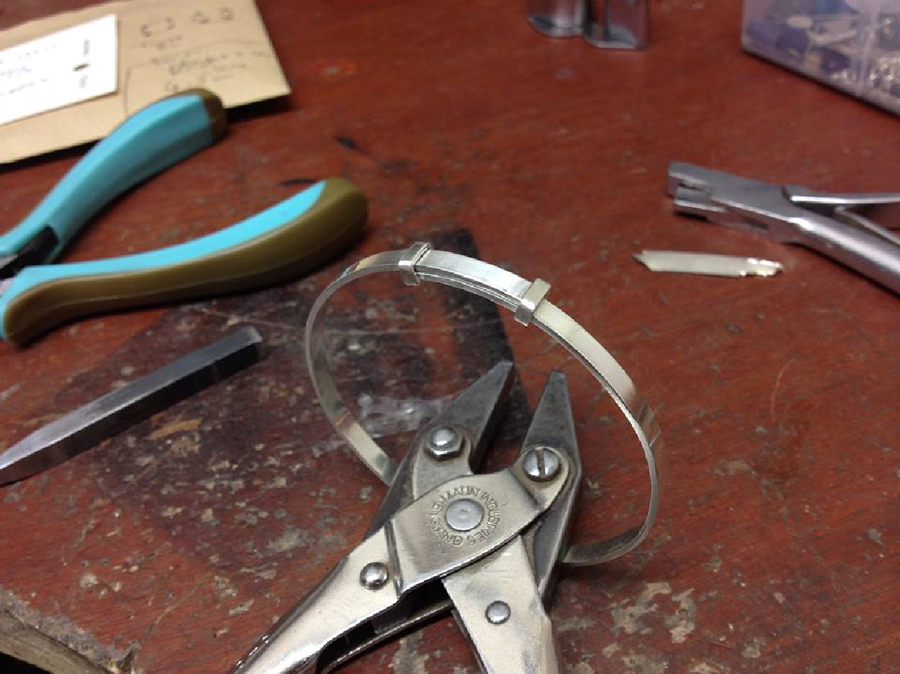
Step 11.
Don’t forget you will be soldering one end piece to the top side of the bangle and the other end piece to the inside of the bangle.
Step 12.
Pinch the side if the end pieces to loosen them after soldering.

Step 13.
Now its just a case of cleaning up any marks with a buff and then polishing.
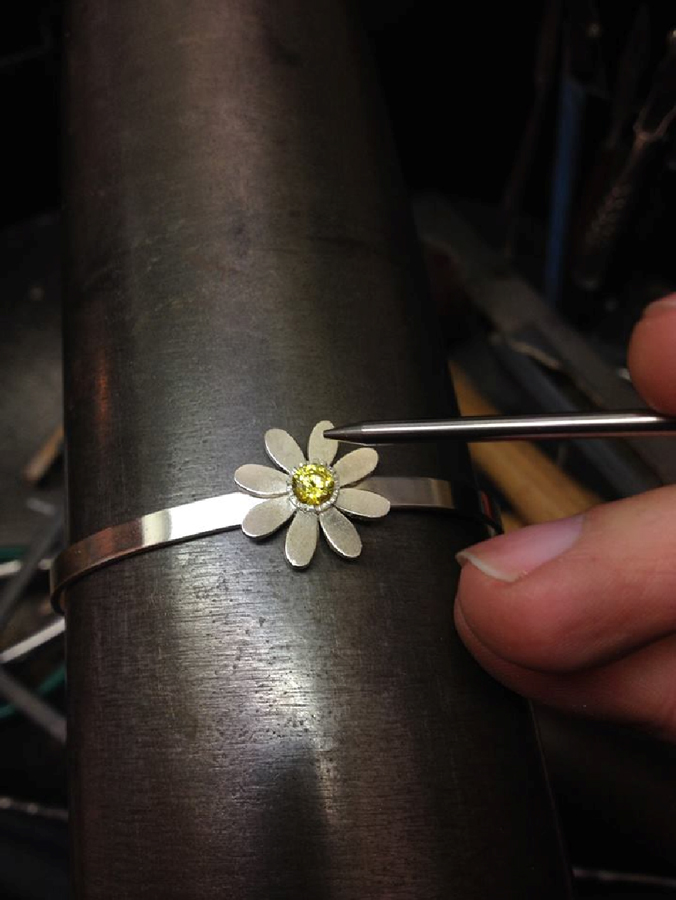
Top Tip: You can add an optional centre piece on the top of the bangle – I am going to add a daisy design!
Step 14.
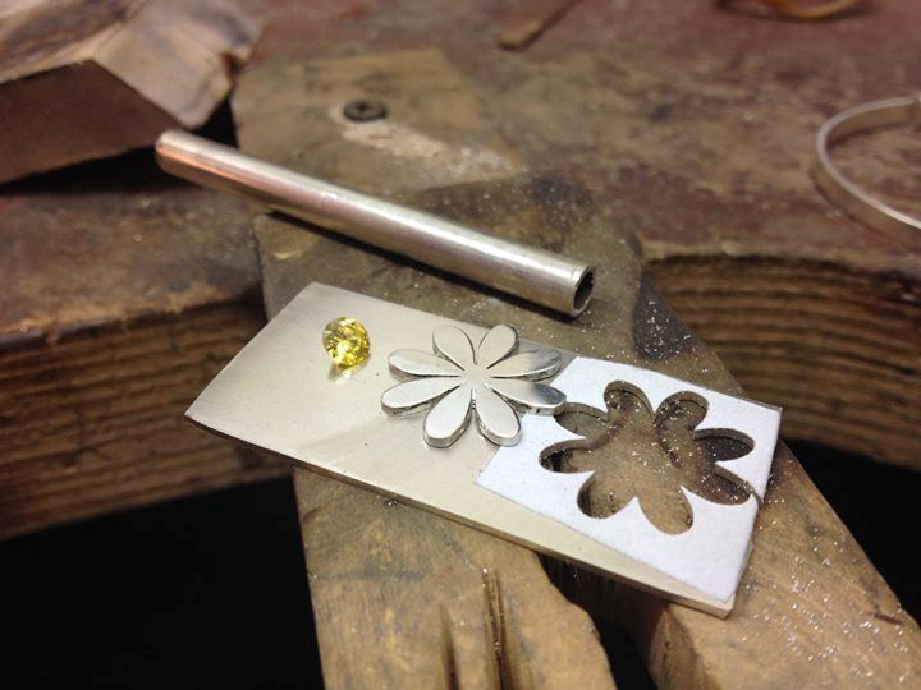
Pierce out a flower shape from some 1mm sheet
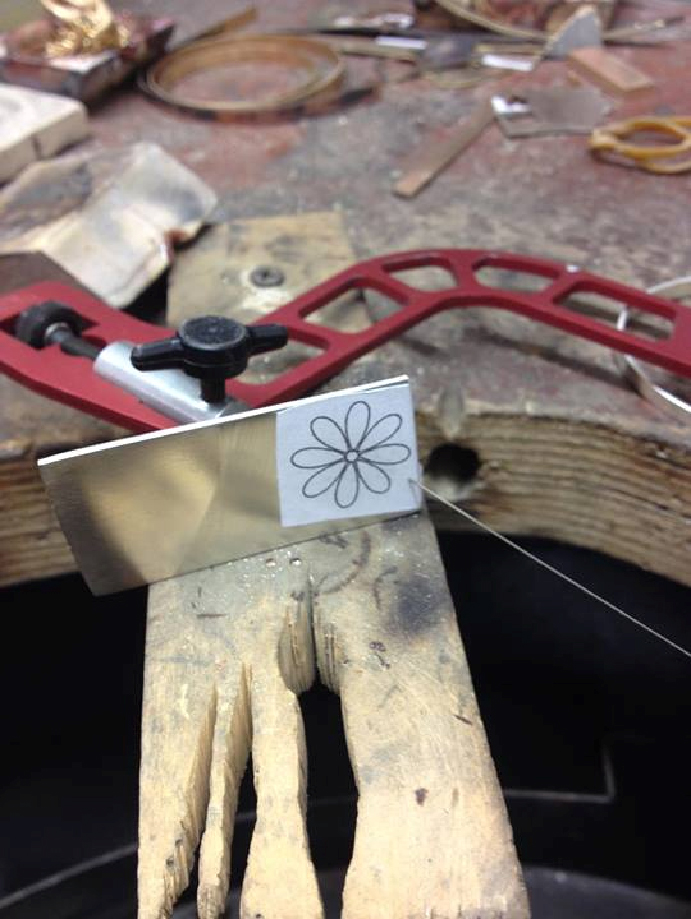
Step 15.
You could make a feature within the flower e.g. setting a stone in the centre, or you could melt some silver or gold into a ball in the centre instead.
Top Tip: To make the setting, use a piece of tube, then cut a seat for the stone before placing the stone in. Cut grooves around the outer edge before using a beading tool to secure the stone
Step 16.
Clean the components first, add some Magic Boric on them before soldering as this cuts down on fire scale.

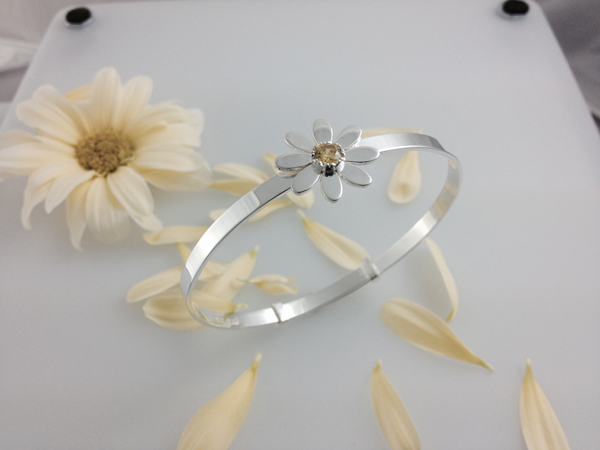
Step 17.
Finishing touches and I’ll be all done.
Step 18.
The Final Piece

Cooksongold