We partnered with Emma Seward, a budding jeweller and gardener, to create this Art Clay Silver Leaf Pendant tutorial. The piece clearly shows how Emma loves to create pieces that combine these two loves.
Step 1
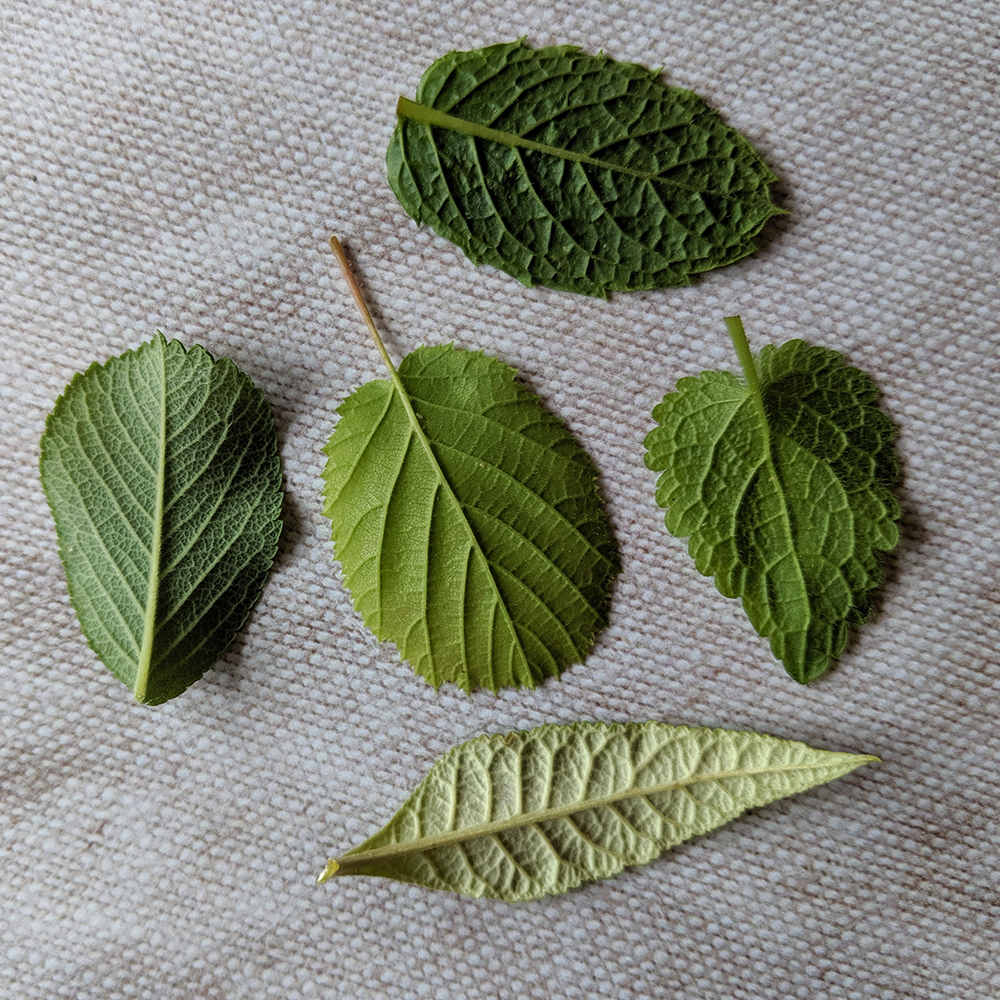
Choose a fairly sturdy leaf that has lots of texture – herb leaves like mint or sage are good. In this project we’ve used a dead nettle leaf. Try not to use leaves that are too hairy, thin, or furry.

Tip: if you place some grease-proof paper on top of your work surface, any silver paste that misses the leaf and goes onto the paper can be easily ground up once it’s dry as it will slide off the paper easily; it can then be turned back into paste.
Step 2
If your leaf has a stalk, you can leave this intact at this point as can be helpful to be able to hold your leaf by the stalk for the initial stages. Begin by fully coating the back of your chosen leaf with diluted paste.

The easiest way to dilute the paste is to load your paintbrush with water before dipping it into the paste pot. Let this first layer dry thoroughly before adding a second diluted layer of paste. Again, allow to dry thoroughly.

You could use a hairdryer or heat gun to dry each layer more quickly but you do run the risk of your leaf blowing away! This piece was air dried for a few hours in between each layer.
Step 3
Now you can apply undiluted paste for the next two layers. Dry thoroughly between adding each layer.

Step 4
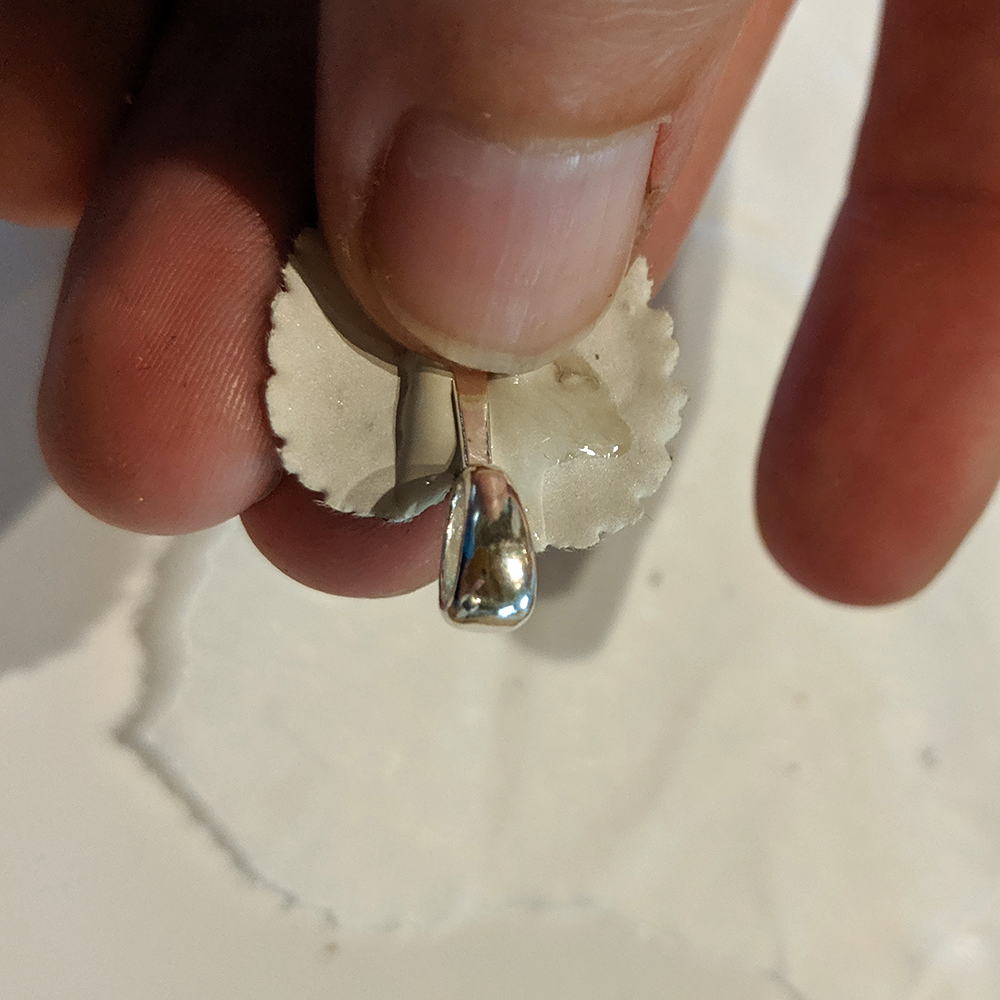
If your leaf stalk is still intact (sometimes they fall off naturally), carefully snip it off as close to the main leaf as you can. Apply a fairly thick blob of undiluted paste in the place where you’d like to embed your bail.

This next bit is a bit fiddly and slightly messy, but don’t worry if it takes you a couple of tries! Place the bail into the blob of paste and then hold the bail in place for about a minute.

This will allow the paste to start to dry around the bail.
Step 5
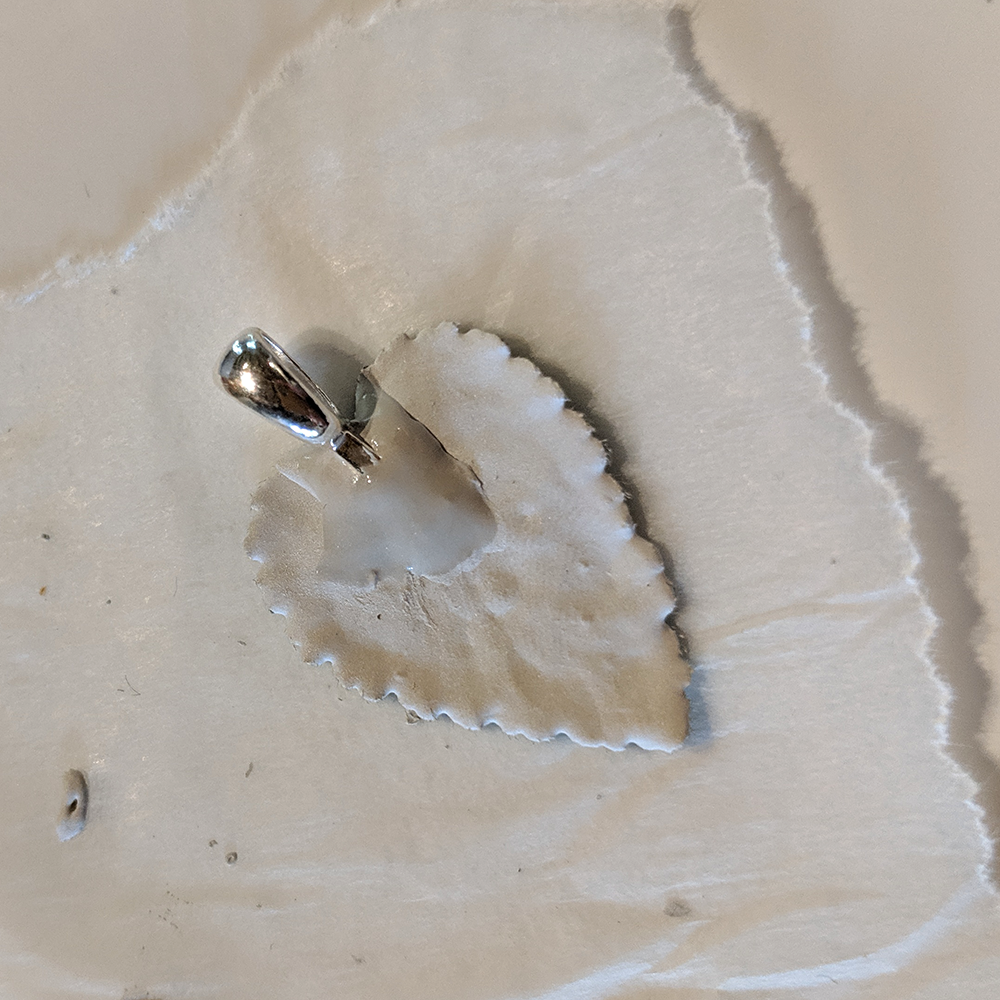
Carefully place the pendant back onto your work surface and gently cover the embeddable part with paste.

Allow to dry thoroughly.
Step 6
Continue to add undiluted paste layers, incorporating the bail, until the pendant is around 1mm thick – you shouldn’t be able to see any leaf texture at all.

Remember to dry thoroughly between each layer.
Step 7
Once your pendant is dry, use a damp cotton bud to very gently remove any silver paste which is on top of the leaf.

Step 8
Use the emery stick to file any sharp points and redefine the leaf edges if they have been lost a little.

Step 9
Fire the pendant using your chosen method. This pendant was fired in a Prometheus Mini Kiln Pro-1 With Digital Controller (product code: 855 1004) at 665°C for 45 minutes. You could also fire using a blowtorch or a gas stove.
Step 10
When cool, brush all over the pendant with the brass brush – it’s always a magical moment when you see that first shine of the silver!

Step 11
Polish the pendant with a polishing pad to really start to get a good shine.

Step 12
You could leave the pendant as it is at this point, or if you’d like to bring out more detail, make up a solution of Liver Of Sulphur and warm water by following the instructions on the packaging carefully. Warning: it does not smell nice!

You can either paint the front of the pendant with the solution or immerse the whole pendant. The pendant will begin to patina; when the recesses of the leaf veins are fairly dark, rinse the pendant in clean water.
Step 13
Polish the pendant again with a polishing pad to remove the surface patina – the leaf vein recesses will remain dark, and you will be left with a highly detailed silver leaf.

Step 14
Finally, rub over the surface of your silver leaf with the burnishing tool, taking care not to scratch the surface.

This will really make your leaf sparkle.
Step 15
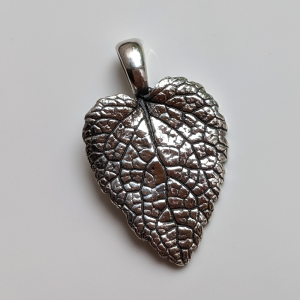
And you’re done! Add a silver chain (Cooksongold have a good selection) and enjoy your new pendant!

Many thanks to Emma for taking the time to make this product for us and show the process. If you would like to follow Emma, you can find her on Instagram and Twitter.
Make sure you check out the rest of our silver clay guides, projects and resources, part of our how to make jewellery hub

Cooksongold